
Why convert the project into a C++ project?
-
To set up a dedicated server, you need to add a server module to the project. You cannot add a server module unless your project has a source folder. To initiate the source folder, you must convert the project into a C++ project.
Follow the steps to convert the project to a C++ project:
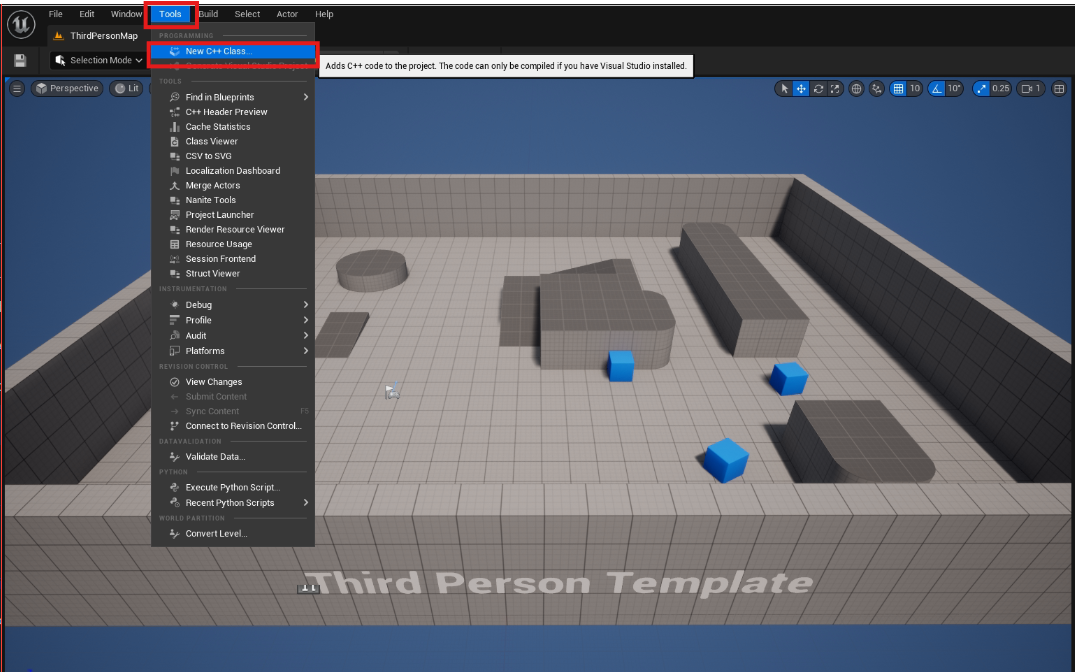
Step 1. Navigate to Tools > New C++ Class
Once the C++ class is added, close the Unreal Editor.
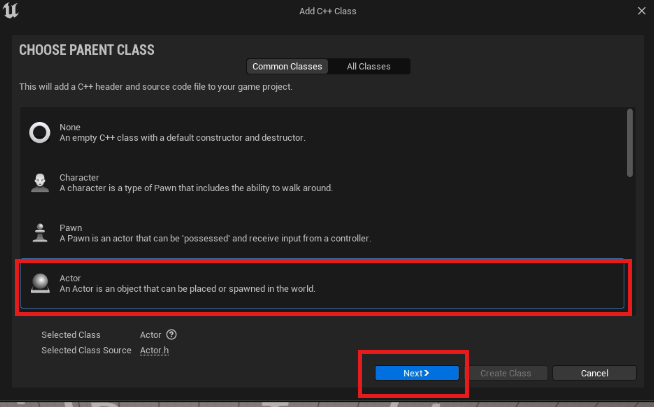
Step 2. Choose Actor and click Next button.
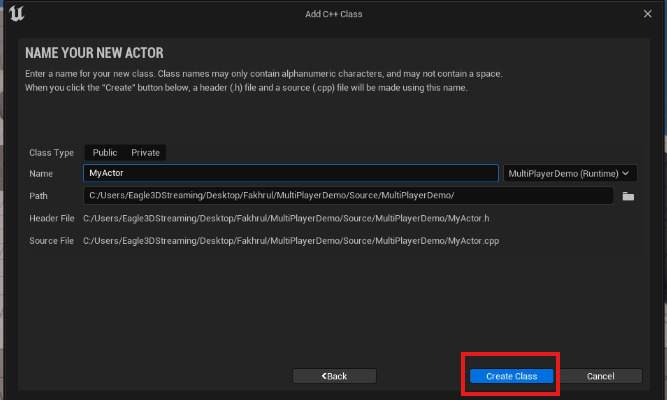
Step 3. Press Create Class
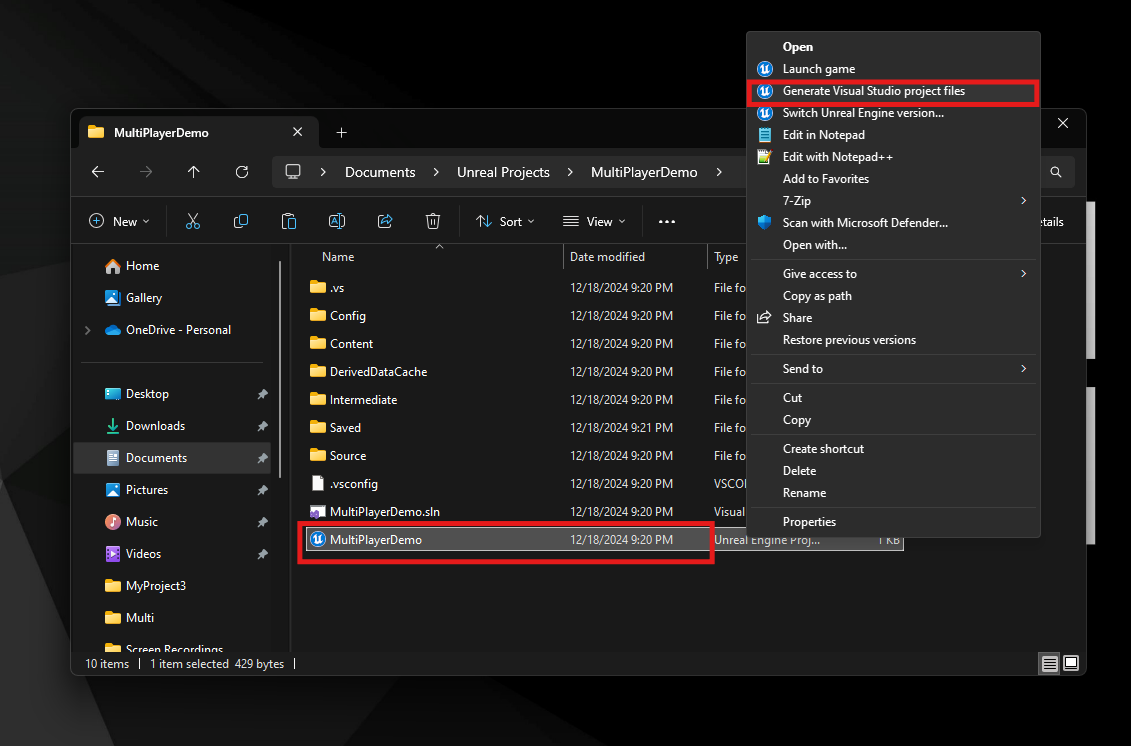
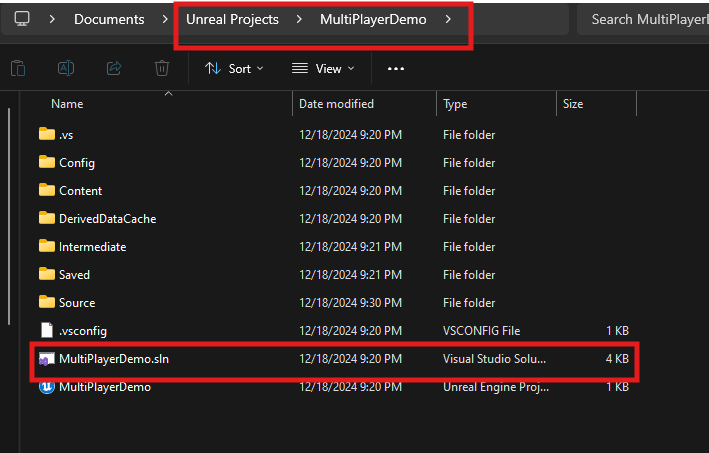
Step 4. Right-click the .uproject file of your Unreal Engine project and select Generate Visual Studio project files.
Step 5. Double-click the .sln file to open the project in Visual Studio.
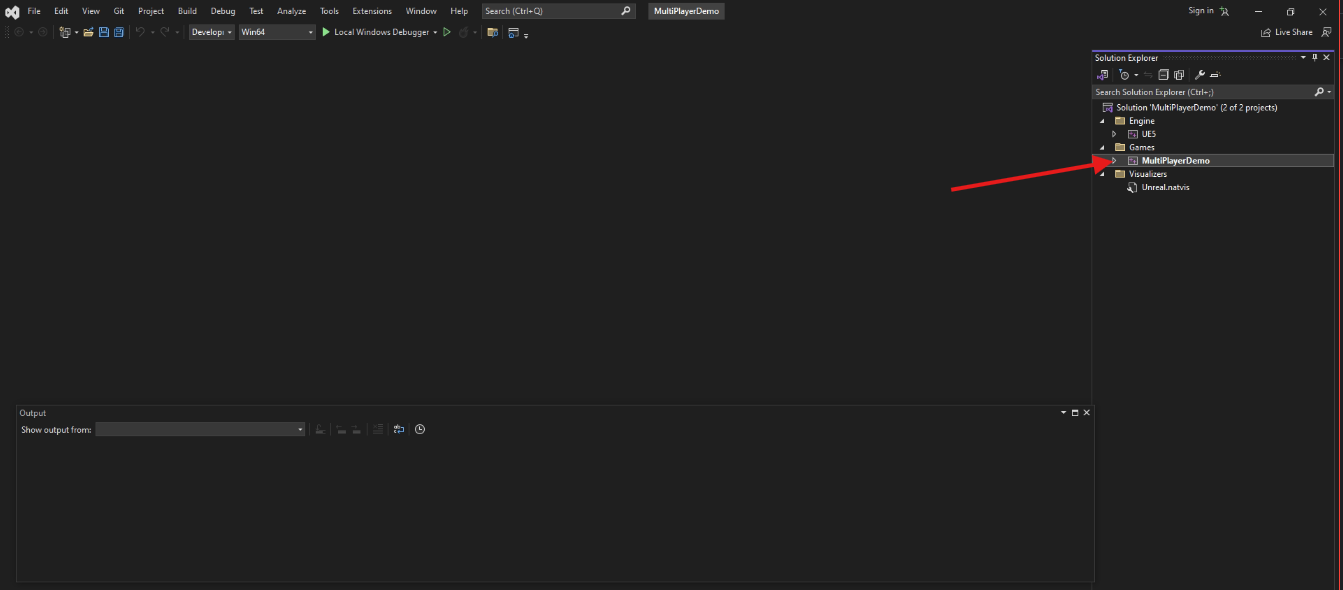
Step 6. Select the project inside the Games folder (Figure 4), choose Development Editor as the configuration (Figure 5), and then build the project by pressing Ctrl + B.
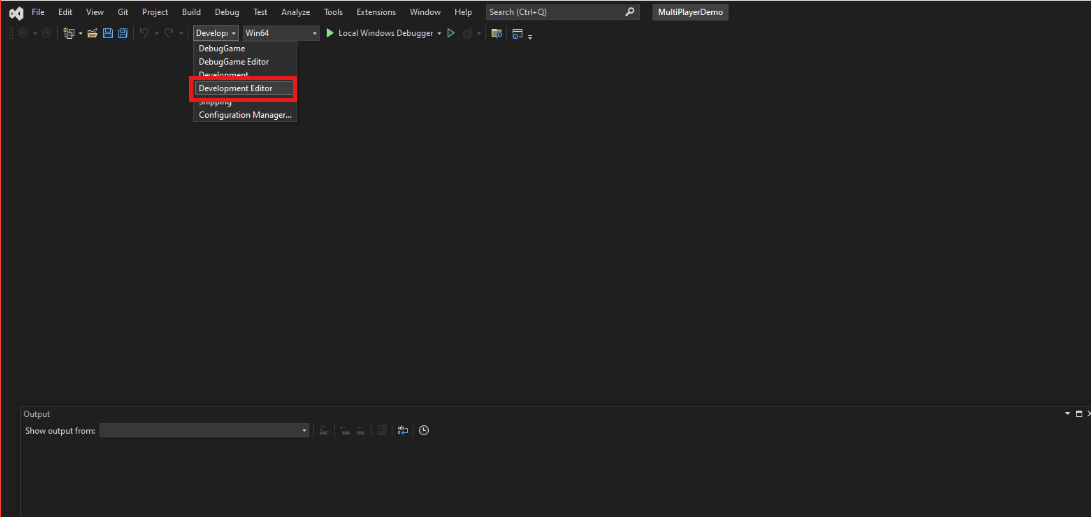
Close the project once the build is complete.
Need help?
If you need any assistance, feel free to reach out through any of the following channels:
🛠️ Support Portal: Contact Our Support Team
💬 Discord Community (Faster Support): Join Our Discord Community
📧 Email Support: support@eagle3dstreaming.com
Follow us on:
Facebook | GitHub | LinkedIn | YouTube