
Using E3DS Automation Plugin
Enable E3DS Automation plugin to Package and Upload your App automatically in a single click.
This plugin works with all Unreal Engine Versions.
Prerequisites
Download 7Zip Application and install it- Download (7-zip.org)
Unreal engine :
This plug-in is compatible with both the GitHub version and the Epic Launcher version of Unreal Engine. However, enabling "do dedicated server build" may cause packaging to fail if you are not using the GitHub version.
Preparing the GitHub version of Unreal Engine is an extremely lengthy process, which also requires a powerful machine with ample space.
If you need to build a dedicated server and want to avoid the hassle of building the GitHub version of Unreal, you can use our prebuilt Unreal Engine, which is capable of packaging dedicated servers too. You can download it from the Utilities section of the Control Panel.
Instructions
Getting the plug-in
The ‘E3DSAutomationTools’ plugin can be installed in multiple ways, not just through the Epic Launcher’s Marketplace.
Fab: You can download the plugin from Fab using this link.
An update to Fab’s Automation Tool is coming soon to support Unreal Engine 5.4.
Repository: The latest version of the plugin, with bug fixes which supports Unreal Engine 5.1 to Unreal Engine 5.5 is available in this Bitbucket repository: https://github.com/e3ds-ue4/E3DSAutomationTools
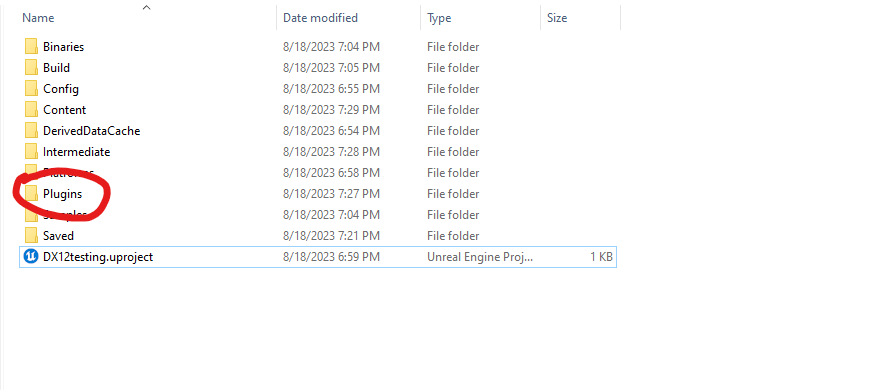
Manual Installation: install the plugin manually in your project’s ‘Plugins’ folder:
If your project doesn't have a Plugins folder, create one.
Copy the
E3DSAutomationToolsfolder from the following directory:C:\Program Files\Epic Games\UE_5.2\Engine\Plugins\Marketplace\E3DSAutomationToolsPaste the folder into your project’s Plugins directory.
Open your Unreal Engine project and enable the plugin from the Edit > Plugins menu.
If you cannot find the plugin in the specified directory, you can alternatively clone it from the repository.
Cloning the Repository directly to the project’s Plugins Folder
Alternatively, you can clone the repository directly into your project:
If you don’t have a Plugins folder, create one in your project directory.
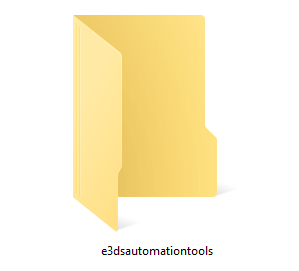
Clone the repository into this folder, which will create an
e3dsautomationtoolsfolder inside Plugins.Keep the folder name as
e3dsautomationtoolsto match the repository.For C++ projects, generate Visual Studio files from your
.uprojectfile, open the solution, and recompile the project to ensure the plugin is added correctly.
Opening the Project
If you're working with a Blueprint-only project, you will be prompted to compile the newly added plugin. Click 'OK' to initiate the compilation process. Your project will automatically open once the compilation is complete, typically after a minute or so.
Enabling the Plugin
When the project is open make sure the plugin is enabled by going to plugins and searching 'E3dsAutomationTools'.

Configuring 'E3DS Automation Tools Settings'
Navigate to:
Project settings > Plugins > E3DS Automation Tools Settings.
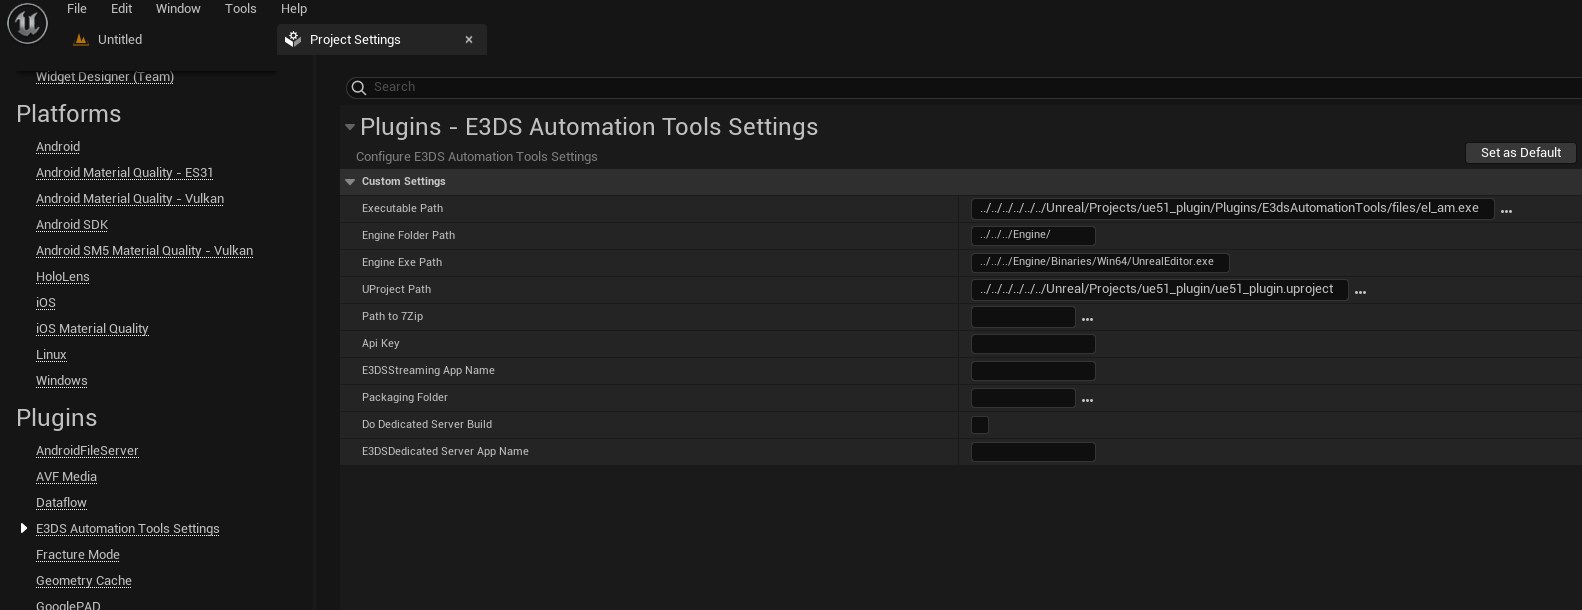
Enter the following required data in the settings page:
Executable Path: It is the path of the EL_AT.exe file which can be Downloaded from this link. Download it and save it somewhere.
Path to E3DS Executable: Click on the ellipsis (...) next to 'Path to E3DS Executable' (refer to the image below), then browse and select the 'el_am.exe' file you just downloaded.

Engine Folder Path: It is the path of the “Engine” folder of your Unreal Engine in which you open your project. It will automatically be added when you open the project with this plugin.
Engine Exe Path: It is the path of the Unreal Engine’s executable file.
UProject Path: It is the path of the project that you have opened this plugin with (Current Project that is opened).
If any path is incorrect, the plugin might not start, or errors could occur during uploading or packaging.
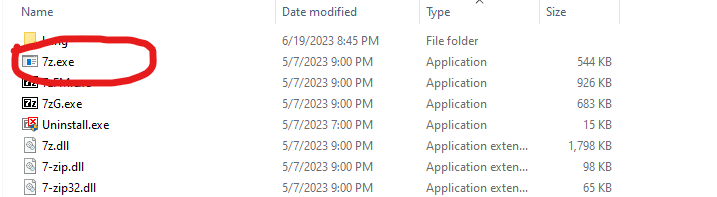
Path to 7Zip: It is the path to your 7Zip executable file. It can be found in “C:\Program Files\7-Zip” or the path where you installed it. Make sure to add the ‘7z.exe’ file.
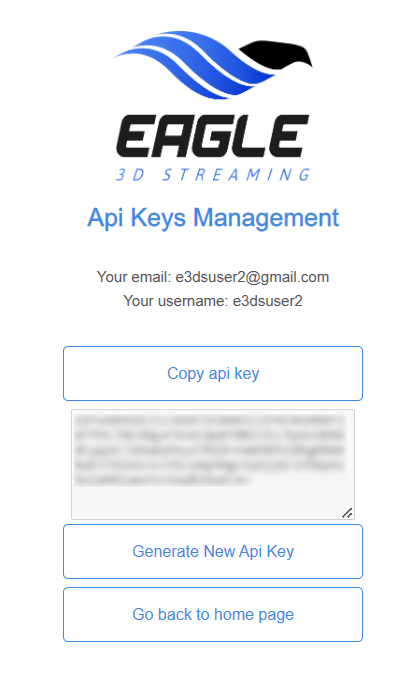
API key: Paste your API key collected from your E3DS Control Panel.
To get your API Key, click on: Api Keys (eagle3dstreaming.com). This requires Logging in to your Control Panel if you aren’t already logged in.
If you haven’t signed up yet, create a new user Account. For more details, refer to this document.
E3DSStreaming App Name: Enter the name of your application you want to upload on the Control Panel such as MyApp1, MyApp2 etc.
Make sure to enter an app name that matches the name of your exe file as it could cause your app to get stuck on the Loading screen later when you play the app.
If you upload using a name that has been previously used, it will create a new version of that application.
For example, if you have an app named 'Car App' and you upload again with the same name, it will be uploaded as a new version of 'Car App'. For more details on creating app versions, refer to this document.
Packaging Mode: Select a ‘Development’ or ‘Shipping’ build based on your need.
Packaging folder: In this choose the path where you want to store the packaged version of your application on your computer.
Important: Do not check the “Do Dedicated Server Build” checkbox unless you are using a Source Code Version of Unreal Engine and making a build for Dedicated Server. Here’s a link to making a build for dedicated server.
E3DS Dedicated Server App Name: If you choose to do the Dedicated Server Build, put the name of the dedicated server app that you want to upload in the E3DS Control Panel.
Testing URL: This is URL that will be opened when you have uploaded the application. You can put your application name at the end of it.
Packaging and uploading the Project
Now that all the settings are done, whenever you are ready to package your project and upload, go to windows tab and at the bottom click on ‘E3DS-Push To Cloud’.
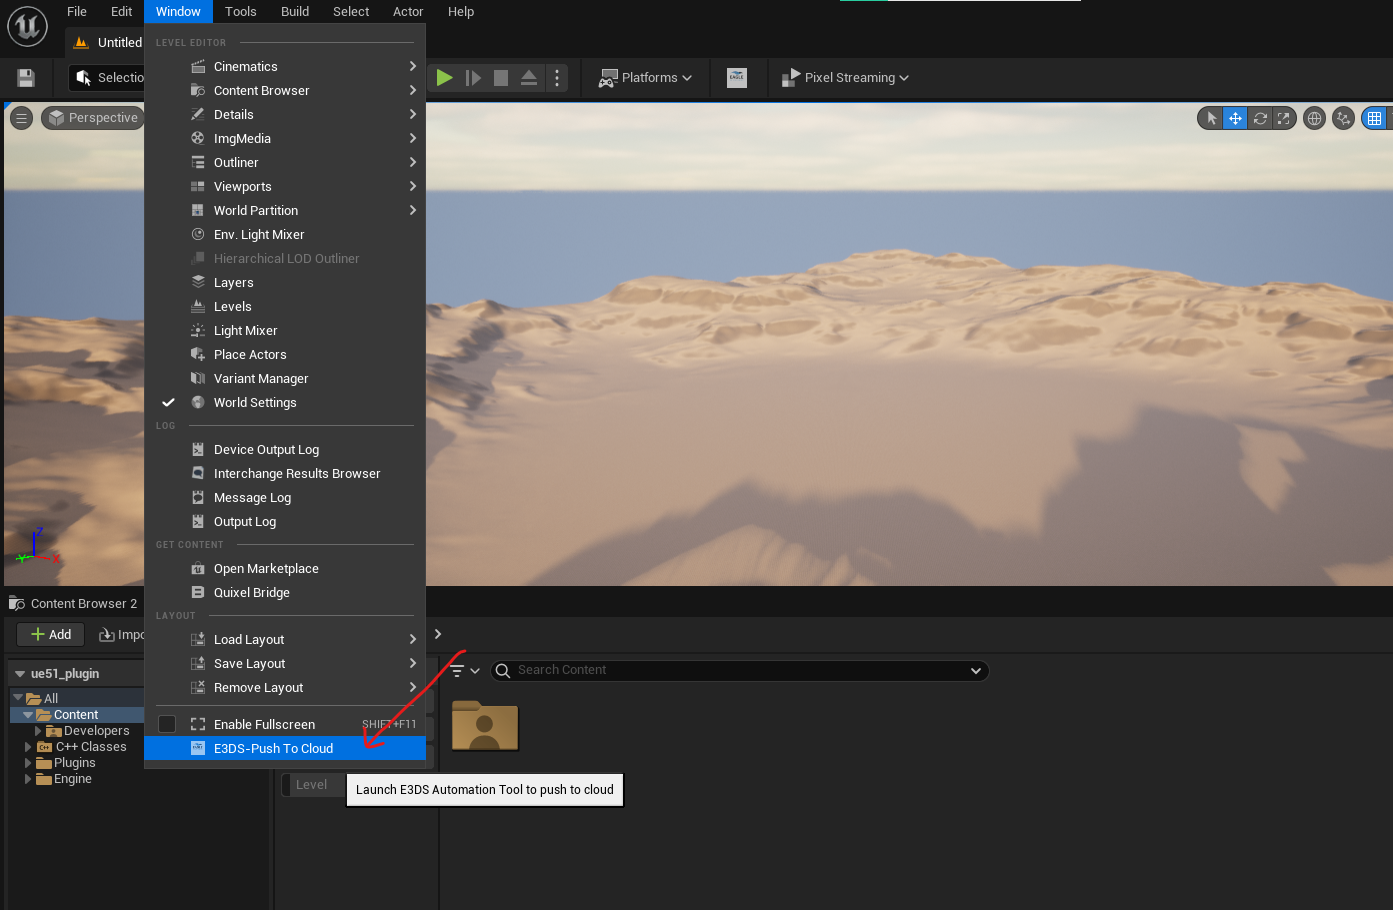
It will automatically start the packaging and uploading to control panel with the App name that you gave in the project settings.
If you are on a C++ project, you need to package your project manually the first time before using this Plugin.
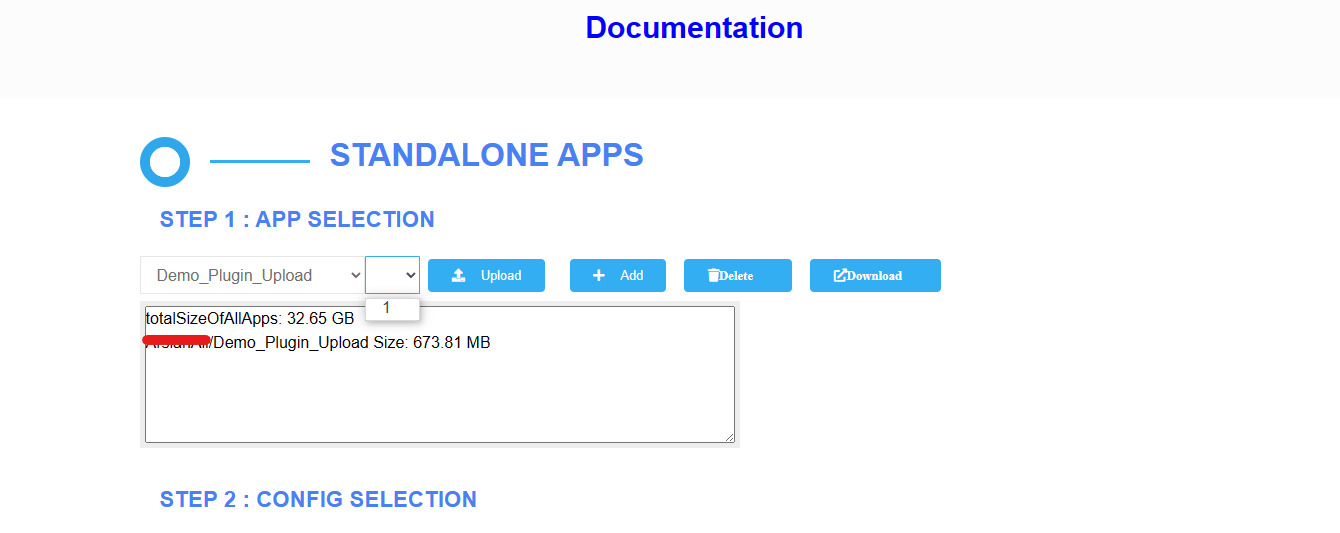
If you try to use this plugin for the first time for packaging, it will package and upload a small file in bytes.
When the Upload is complete it will show the message below:

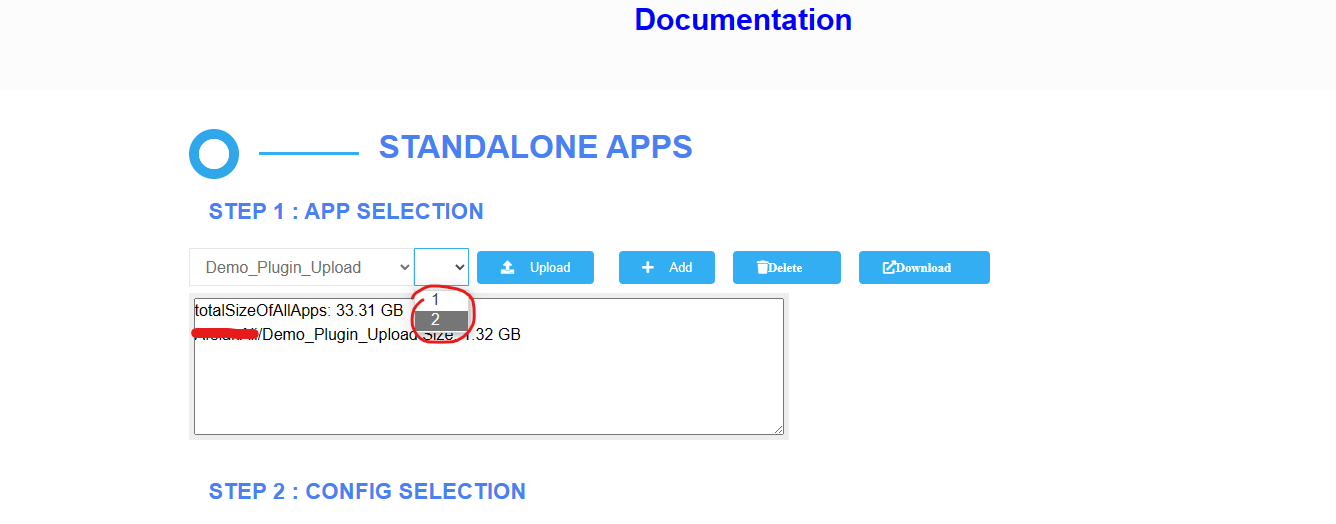
In the Control Panel, you can see your application uploaded with the app name.
If you upload your application with the same name again it will increase the version number of the application.
To see this document’s steps in action, check out the Youtube video below.
https://www.youtube.com/watch?v=K_VEIttiRMENeed help?
🛠️ Contact our Support Team
💬 Join the Community on Discord
Follow us on:
Facebook | GitHub | LinkedIn | YouTube