
Learn to use VOIP from the New Control Panel.
Real-time communication between users while streaming. (using broadband internet connection)
Prerequisites
Make sure to :
-
Have access to the New Control Panel.
-
Have an Eagle 3D’s User Account.
Note : To use VOIP via iframe you have to add users microphone access permission to iframe :
<iframe allow="camera;microphone" style="visibility: hidden;" id="iframe_1"
Instructions
Step 1. Go to ‘UI’
Go to : Control Panel > Applications > Select your App > Edit Config >Advanced Options > UI.
If you need information on how to generate a Streaming Link, check this document.
If you need to Create a New Config, follow this document.
Step 2. Enable VOIP
.png?cb=fef49878128745b04fd8534f72e951c3)
Step 3. Enter a room name in the text field and click Save
Note : Entering a room name keeps your channel safe from intruders.
.png?cb=962ff5de4a1947ca46de4378ea2ca648)
Warning ❌ 🚫
IF you don’t enter a room name, then VOIP will be disabled.

Step 4. Run the game to check the feature
1. Go to :
Control Panel > Applications > Select your App > Streaming Link > Play App.
Refer to this document if you need to create a New Streaming Link and this document if you need to Upload a new App.
2. The VOIP setting icon is displayed in the Starting App Page

3. Permission to use your Microphone
Eagle 3D Front end will ask for permission to access the Microphone.
.png?cb=64065a82289a344f6e4810aeb2765d35)
4. Room joined successfully
Once you allow the Microphone access, you successfully join the room.
.png?cb=d4425e4f302e3224d69427ff54a6f05a)
5. Click the phone icon 📱 to start the conference call
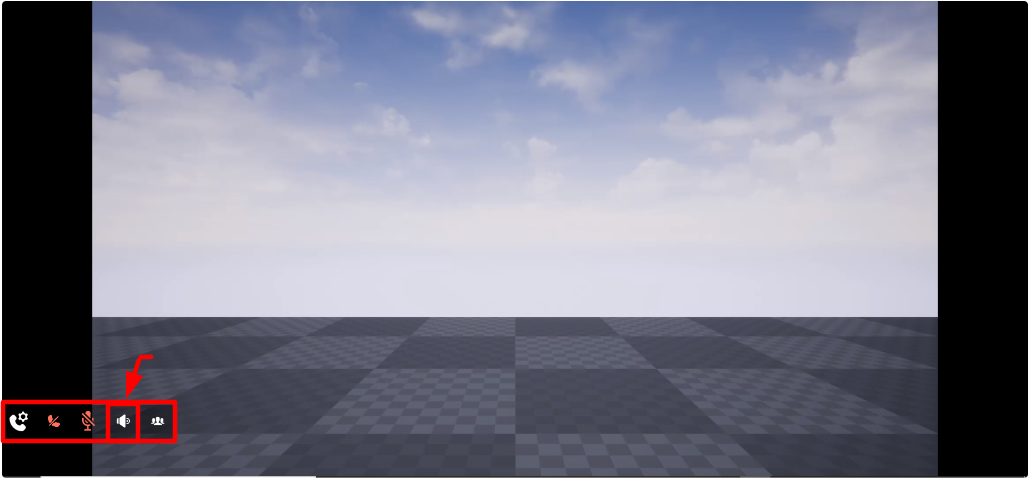
6. Check the Participants that are present in the call
.png?cb=d83eac2cfdc92792b32c71228bb05ee6)
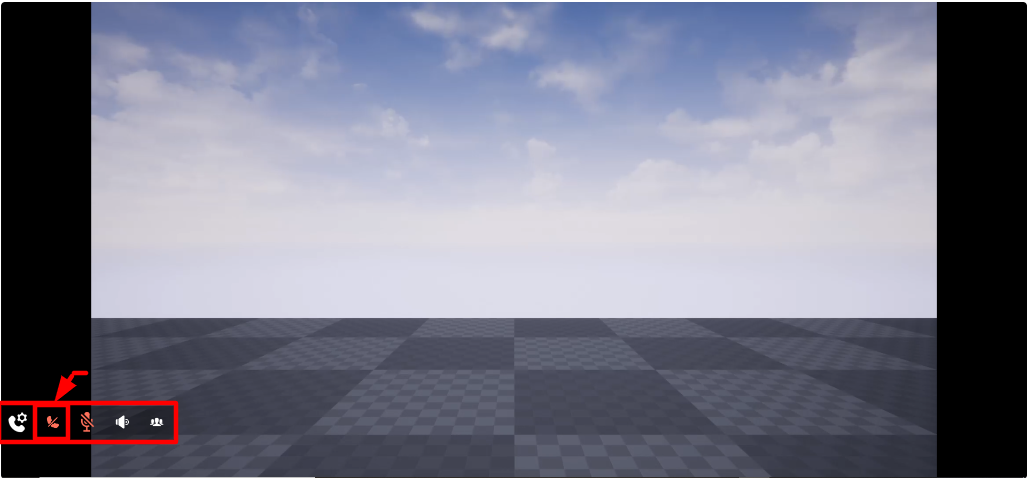
7. Click on the Mic icon 🎙️ to enable it
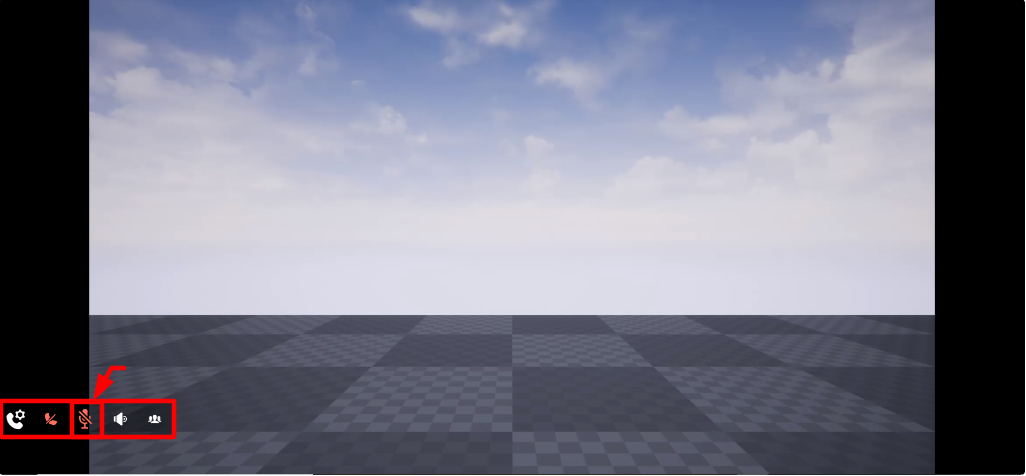
8. Click on the speaker icon 🔊 to enable it
See how to use .
See how to use the Meeting system from the Old Control Panel and from the new Control Panel.
Need help?
If you need any assistance, feel free to reach out through any of the following channels:
🛠️ Support Portal: Contact Our Support Team
💬 Discord Community (Faster Support): Join Our Discord Community
📧 Email Support: support@eagle3dstreaming.com
Follow us on: