Use and functionality of the Notification Feature in the Control Panel.
Prerequisites
-
Access to the New Control Panel.
Instructions
Step 1. Sign In to your Control Panel
Login with your information.
Step 2. Check the Notifications
-
Click the Bell icon
.png?cb=4c0f6c30affb478be8006b4700968372)
-
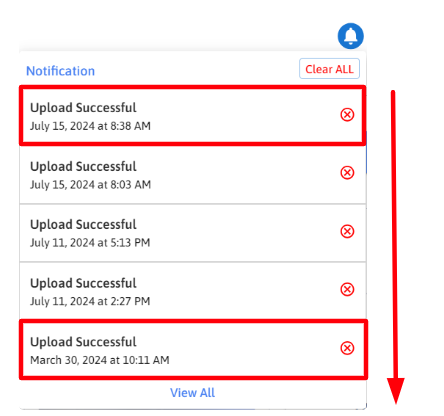
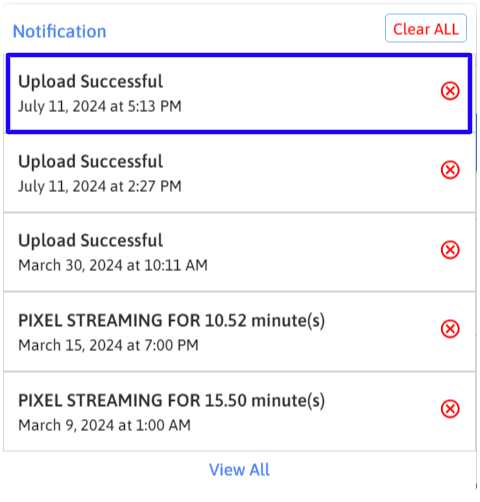
Get the Notification Drop Down Menu
Notifications are stacked with the most recent ones at the top and the oldest at the bottom.
Each notification displays the date and time (See image below).
-
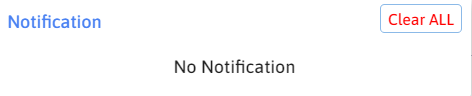
Click Clear All (optional)
Clicking 'Clear All' will delete all notifications.
This action is irreversible and cannot be undone once you click the button.
-
Select a specific notification in the menu and click 🇽 (optional)
Every specific notification has an 🇽 button to delete it.
Deleting a notification (e.g., the one at the top) makes the next one in line the most recent in the menu.
-
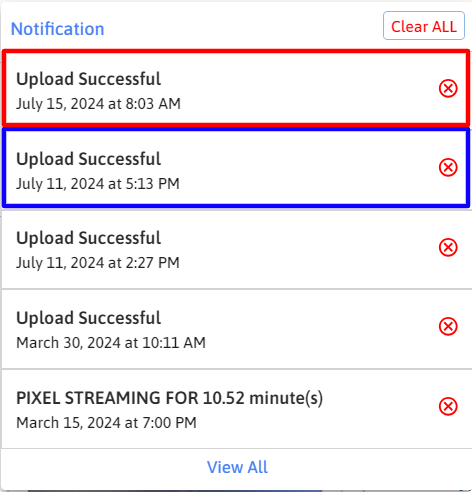
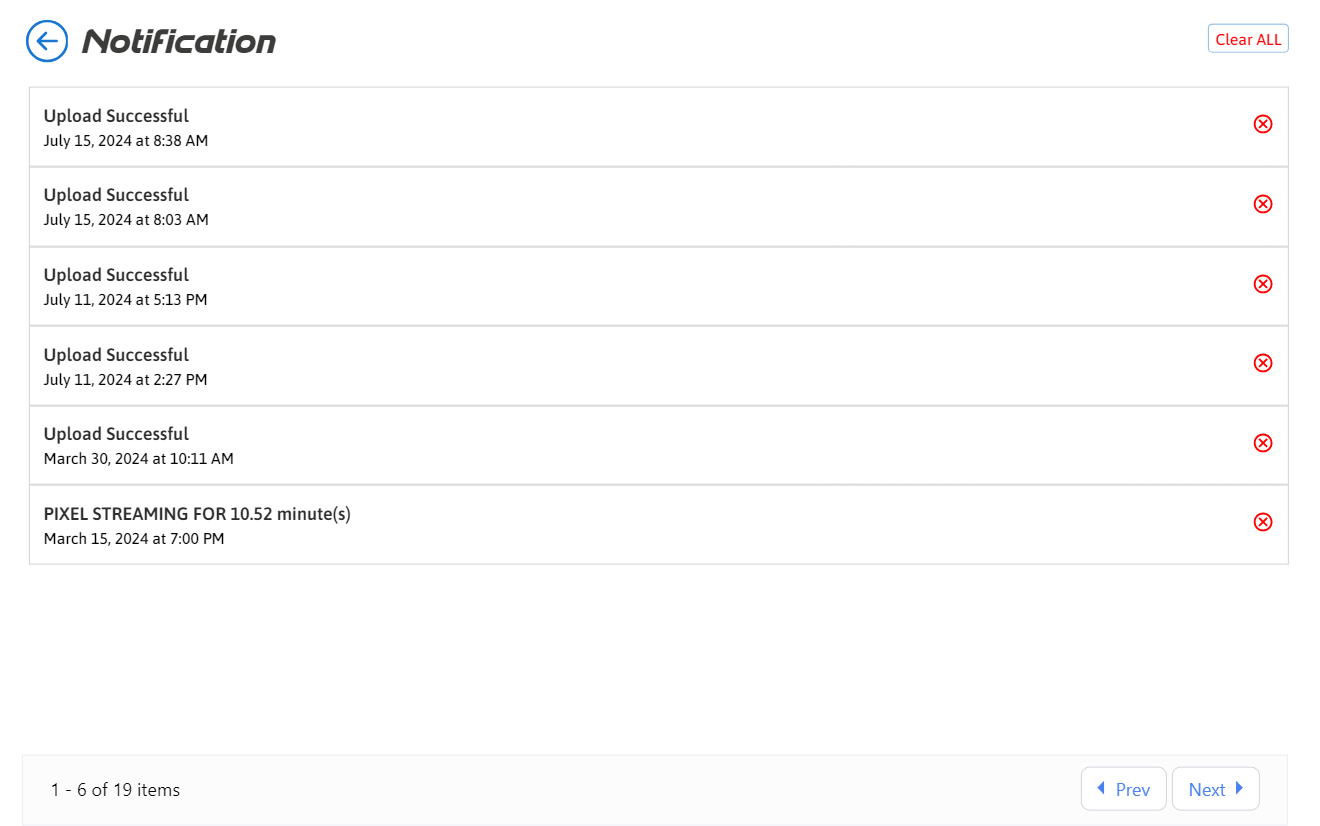
Click View All
Clicking 'View All' expands the dropdown menu into a larger window displaying all notifications.
-
Click Next/Previous
Use the 'Next' and 'Previous' buttons to navigate between notification pages.
Clicking 'Next' will display additional notifications on a new page, showing details about daily streaming usage or App upload status.

-
Click ‘Back’ ⬅️
Clicking 'Back' will close the notification window and return you to the Control Panel.

Notes :
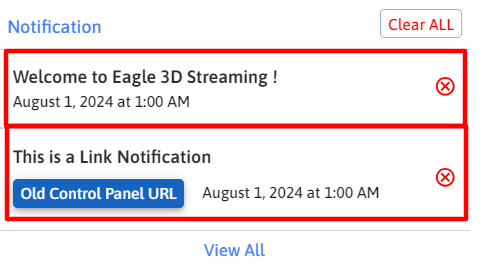
You may also receive instant alerts about important system events, updates, and warnings from our E3DS Team on your Control Panel.
It is how we can keep you informed of key activities and system changes in real-time.
.png?cb=b786552a01f8c391d327e9ecc5861f74)
The notification received could be a short message or a link. (See image below).
Clicking the blue button will open the link in a new tab.
Need help?
If you need any assistance, feel free to reach out through any of the following channels:
🛠️ Support Portal: Contact Our Support Team
💬 Discord Community (Faster Support): Join Our Discord Community
📧 Email Support: support@eagle3dstreaming.com
Follow us on: