Skip table of contents

Packaging Server Build

Follow the steps to package server build:

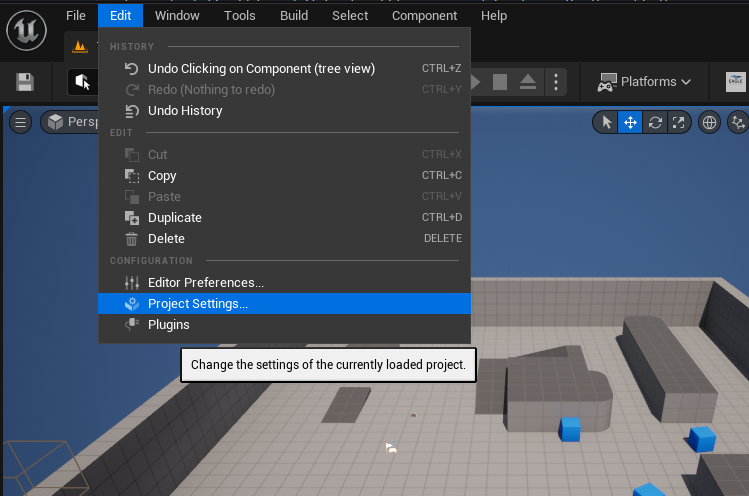
Step 1. Navigate to Edit > Project Settings

image-20241129-141901.png

Figure 1. Project Settings

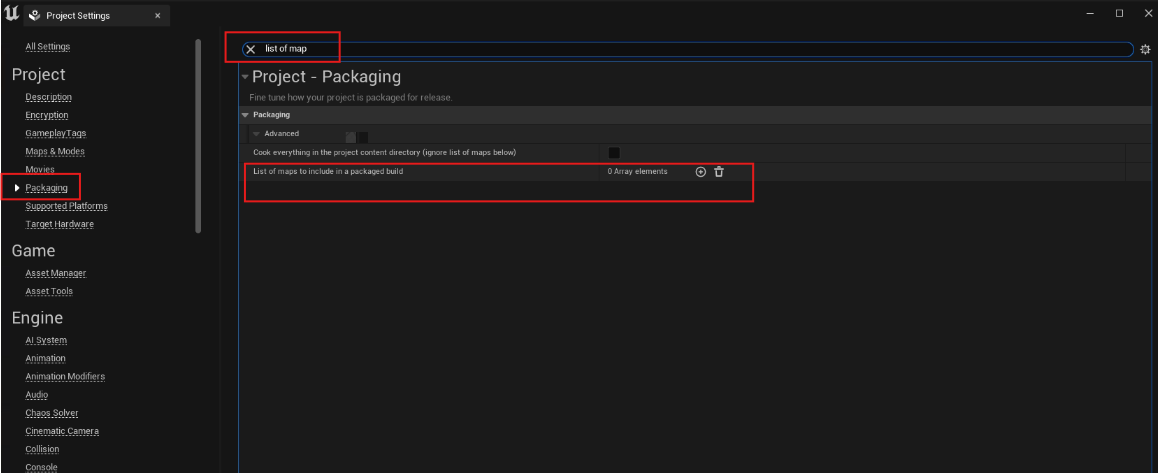
Step 2. Select Packaging and search “list of map”

image-20241202-181545.png

Figure 2. Select Packaging

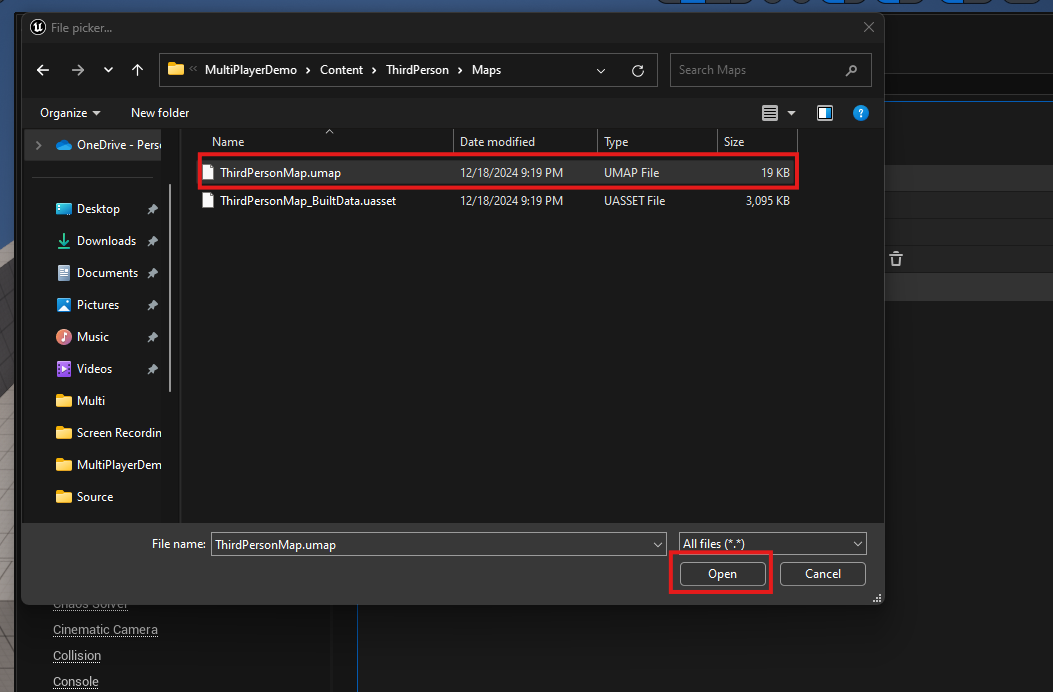
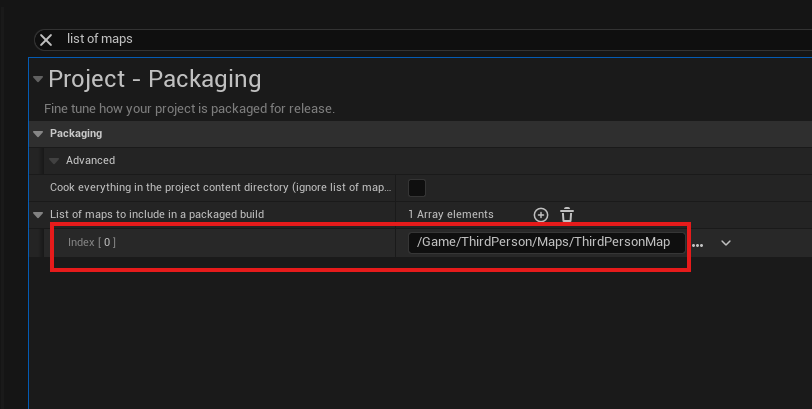
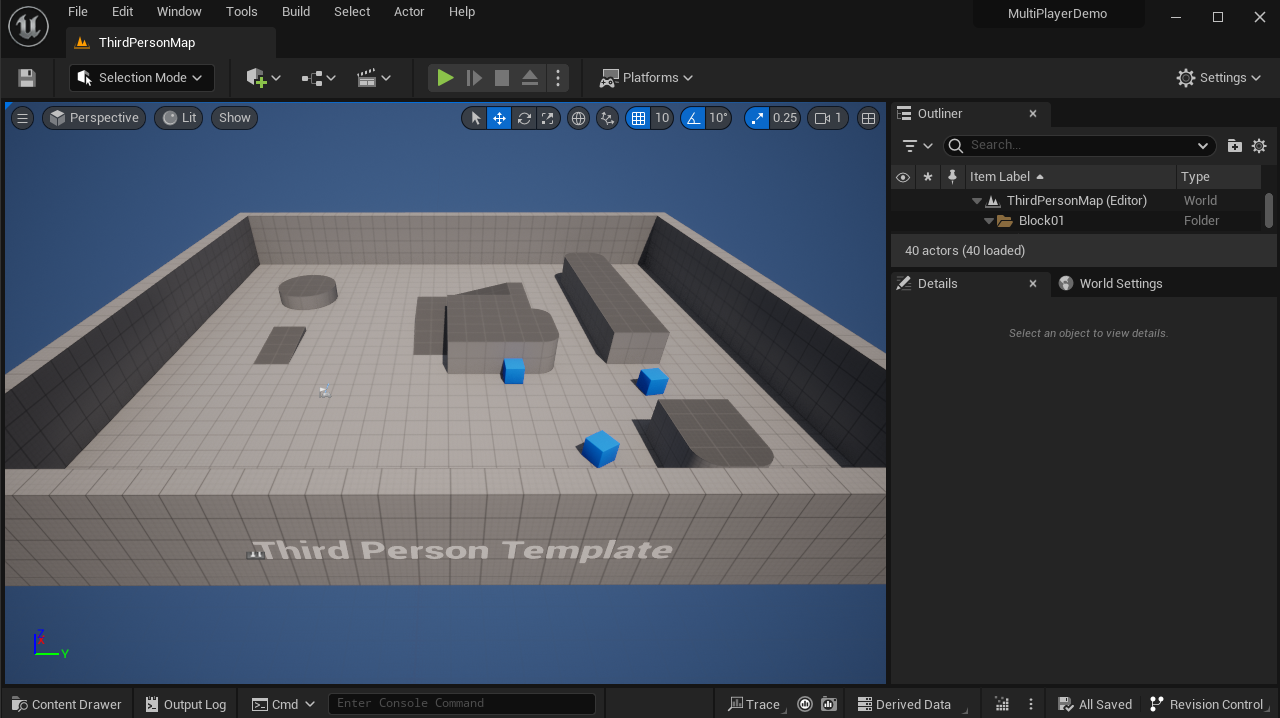
Step 3. Add Third Person Map

image-20241218-154836.png

Figure 3. Add Third Person Map

image-20241218-154930.png

Figure 4. Map Added

Step 4. Select Build Target as YourProjectNameServer

image-20241226-140217.png

Figure 5. Select Server Build

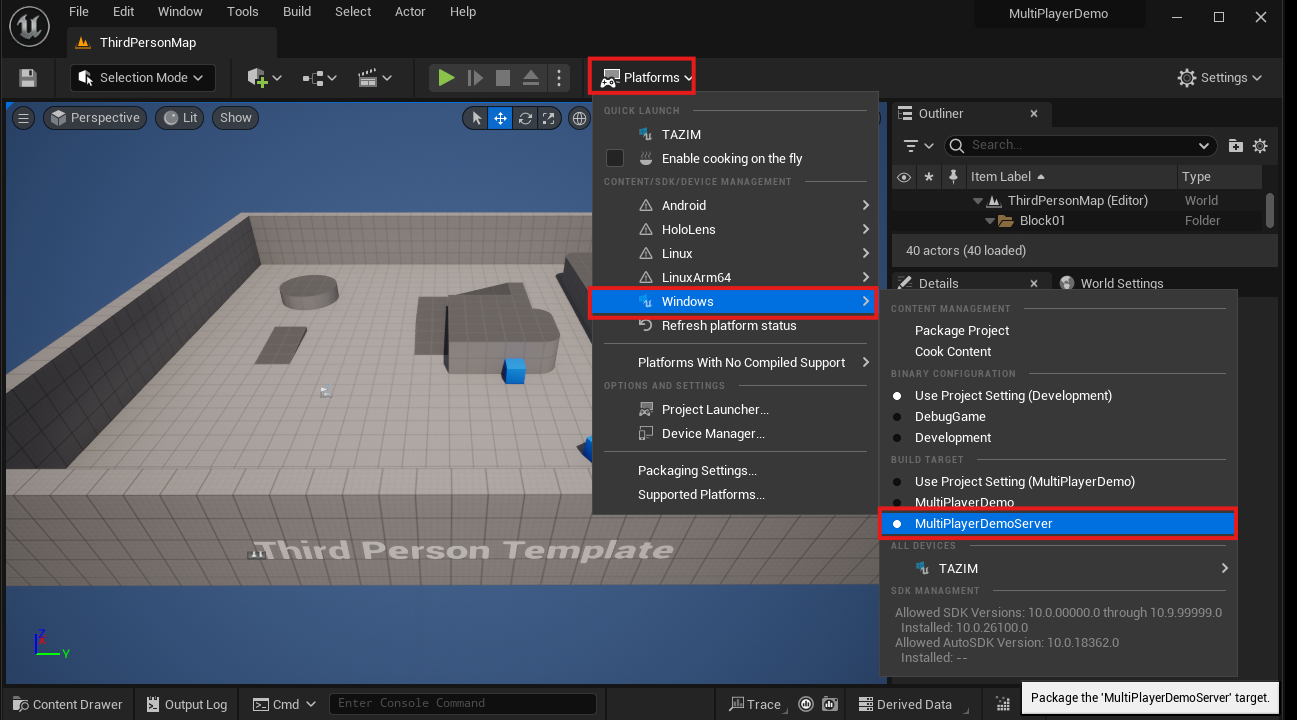
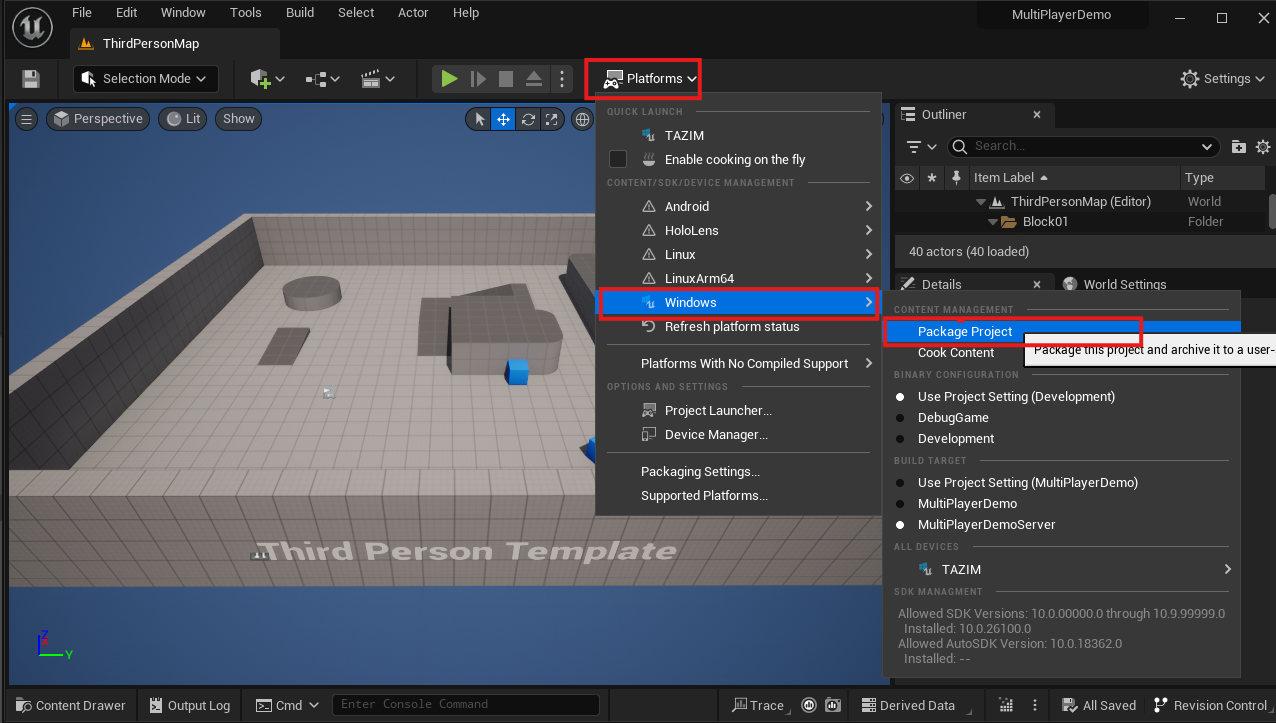
Step 5. Navigate to Platforms > Windows > Package Project

image-20241226-140327.png

Figure 6. Package Server

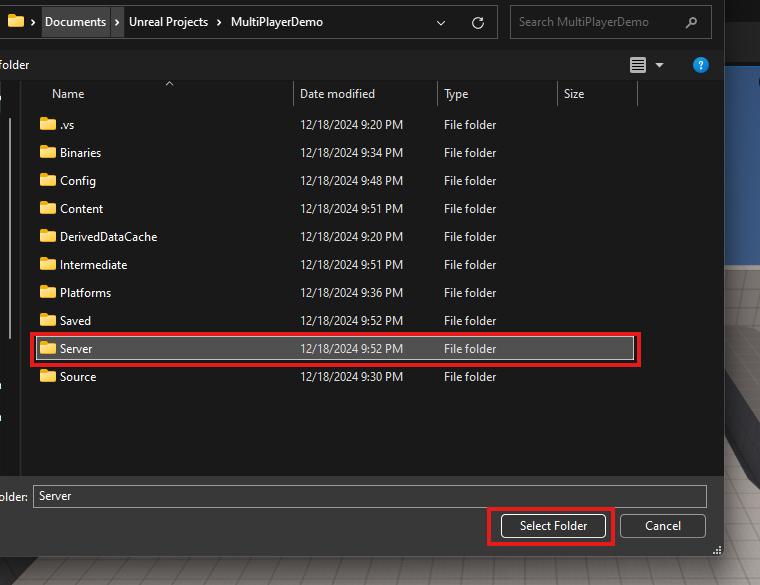
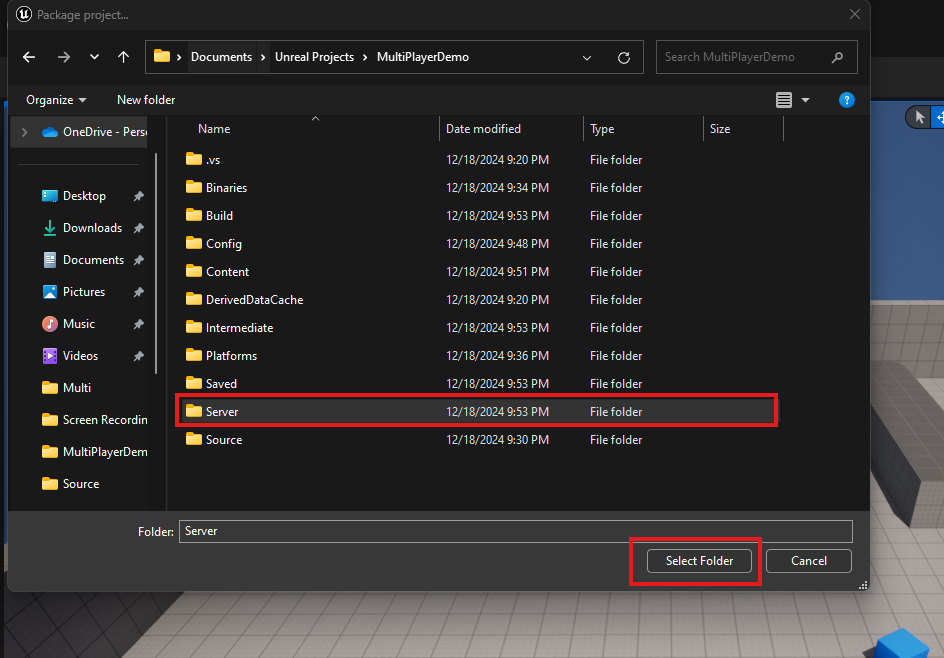
Step 6. Select an empty folder

image-20241218-155319.png

Figure 7. Select an Empty Folder

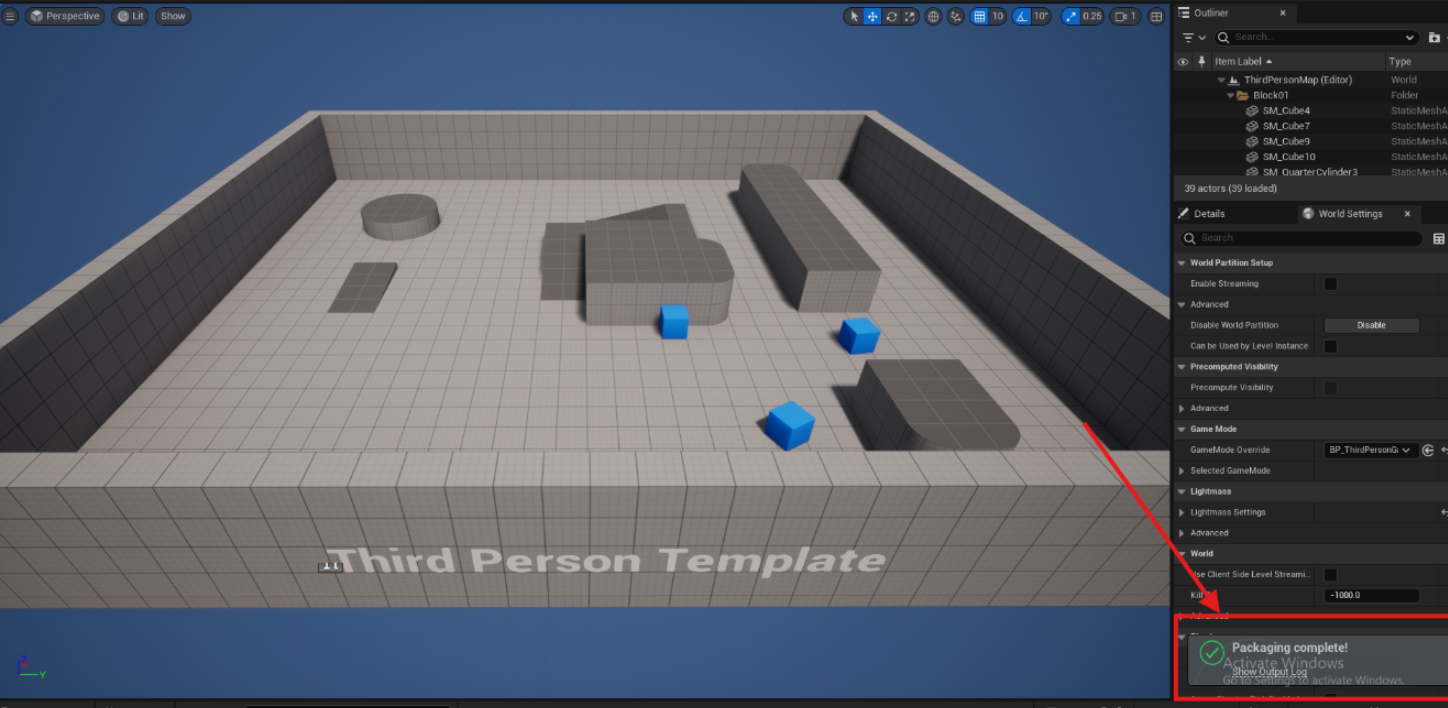
Step 7. Click Show Output Log to see the output log

image-20241226-140700.png

Figure 8. Packaging Failed

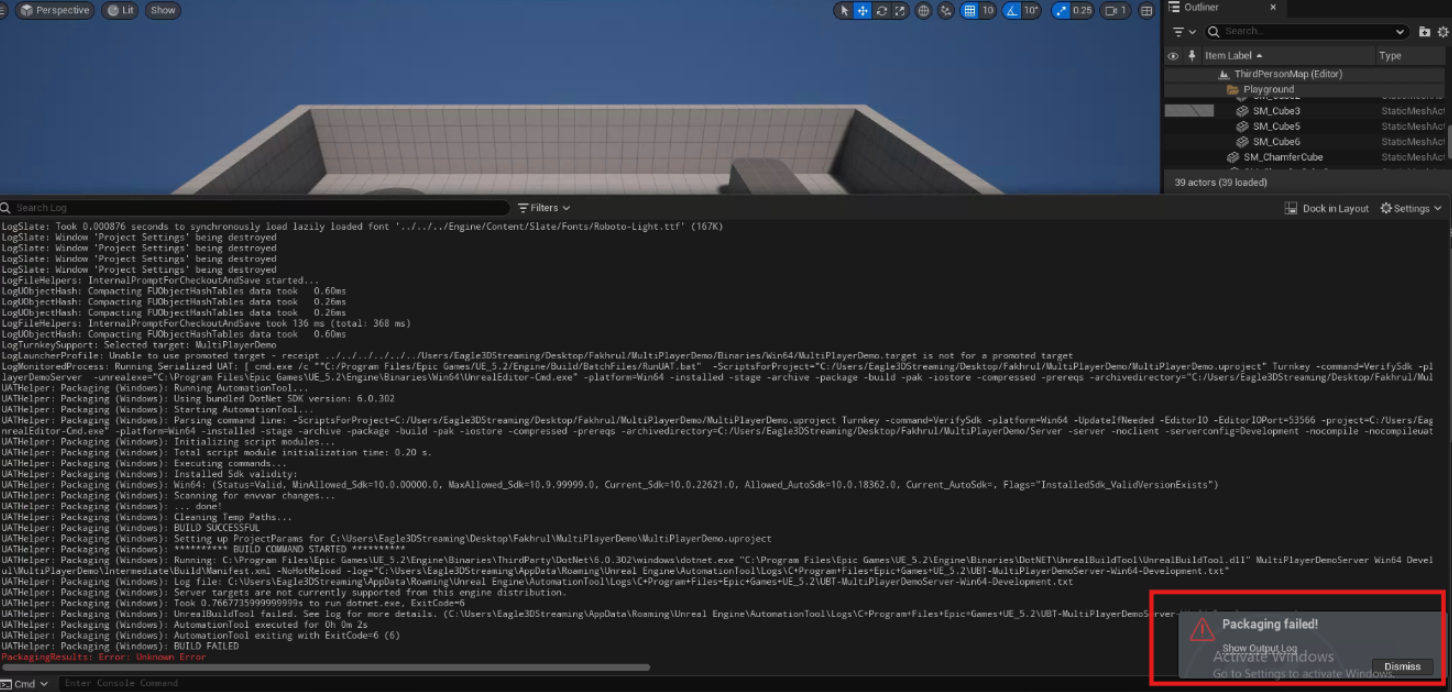
We will see packaging failed due to Unknown Error.

To avoid this kind of packaging failure, you must use a source build of Unreal Engine. You have two options:

  1. GitHub (Source Build) version from Epic Games.

  2. GitHub (Customized Source Build) version from Eagle 3D Streaming.

Binary version of Epic Games

GitHub version of Epic Games

GitHub Version of E3DS

  • Does not support creating dedicated server build.

  • Provides support to create dedicated server build.

  • The build process is lengthy and requires a high-speed internet connection to download a large amount of data (around 50GB).

  • A significant amount of storage space is needed (around 350GB for UE 5.5).

  • At least 16GB of RAM is required.

  • A 8-core processor is necessary for optimal performance during the build process.

  • Provides support to create dedicated server build

  • Does not require a separate build process, as it is already pre-built and integrated.

  • No need for high-end hardware specifications.

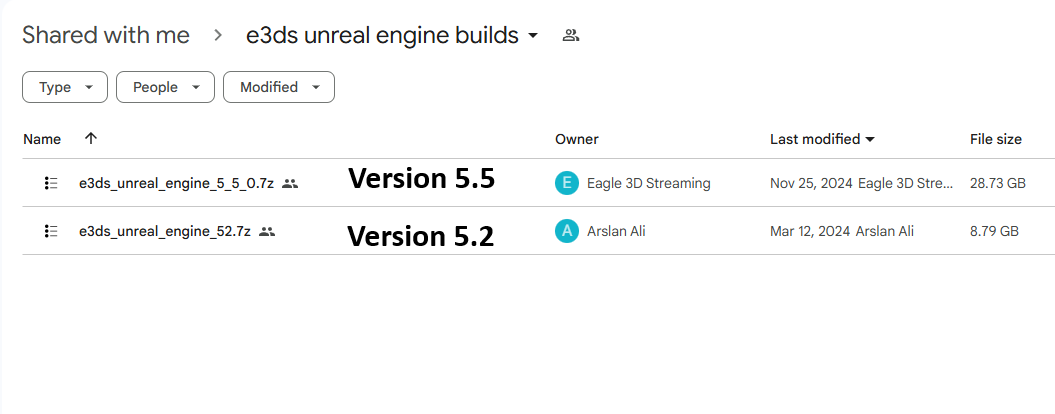
Step 8. Download E3DS version of Unreal Engine

Download the source build Unreal Engine of Eagle 3D Streaming from this URL.

dtive.png

Figure 9. Download Your Preferred Version

image-20241204-163131.png

Figure 10. Downloaded ZIP File

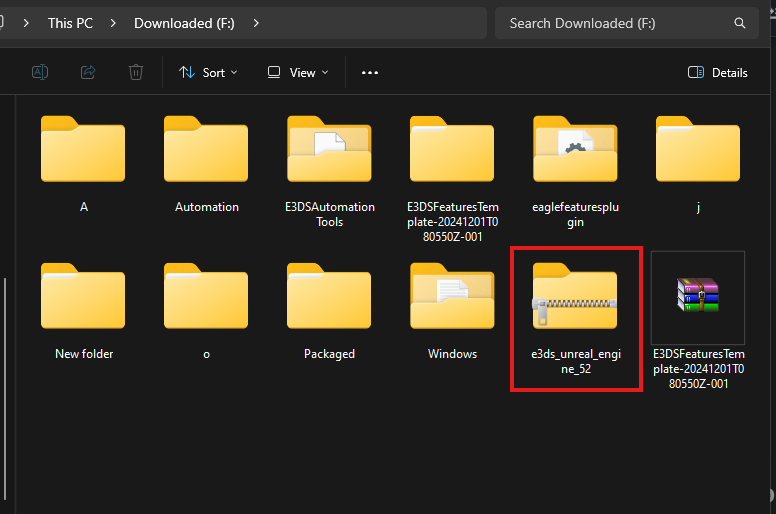
Step 9. Extract the downloaded ZIP file

image-20241204-163849.png

Figure 11. Content inside Extracted Folder

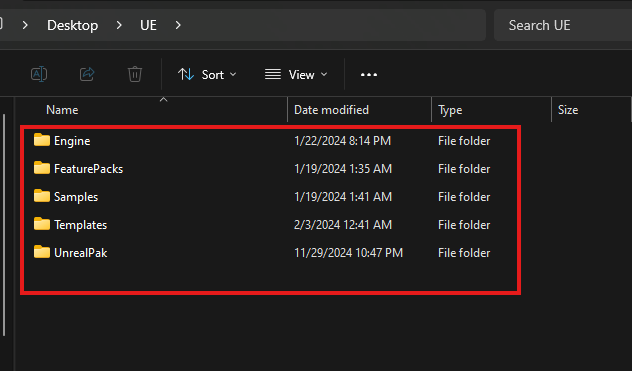
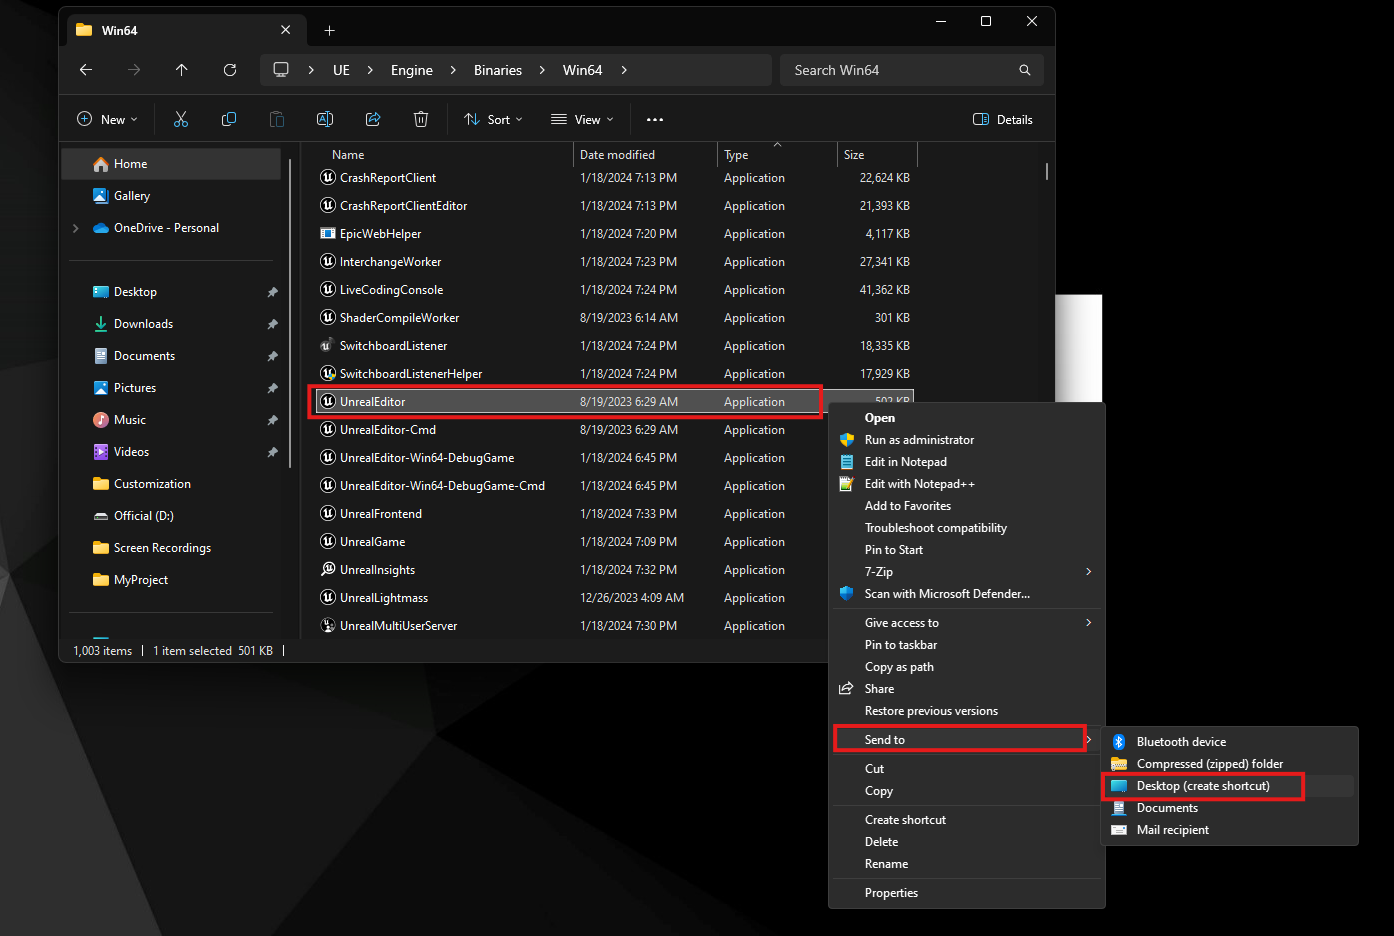
Step 10. Navigate to Engine > Binaries > Win64 and sort the files by Type

image-20241204-164354.png

Figure 12. Navigate to Win64 Folder

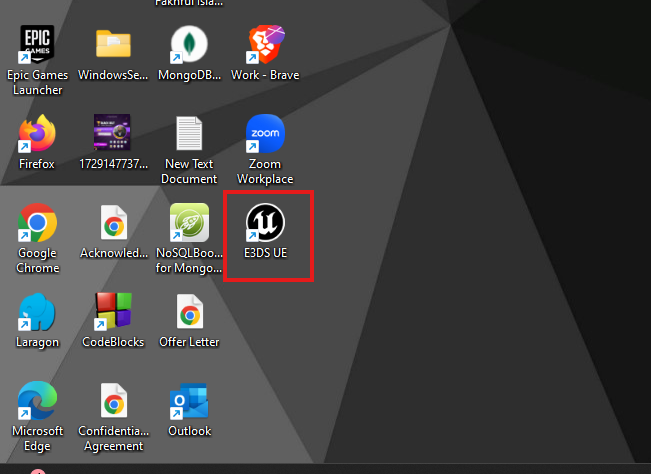
Step 11. Create a shortcut of Unreal Editor in desktop

image-20241208-032701.png

Figure 13. Create a Shortcut of Unreal Editor

image-20241208-032915.png

Figure 14. Rename the Shortcut

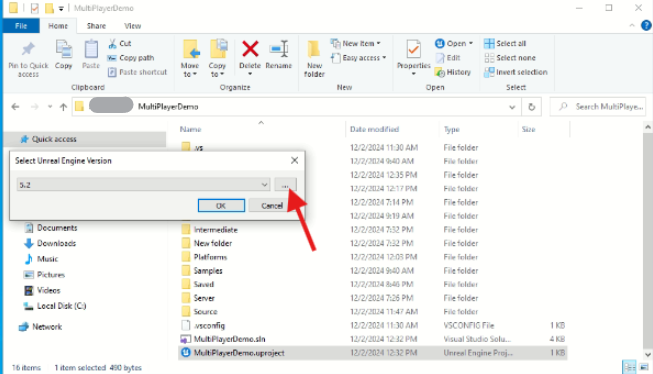
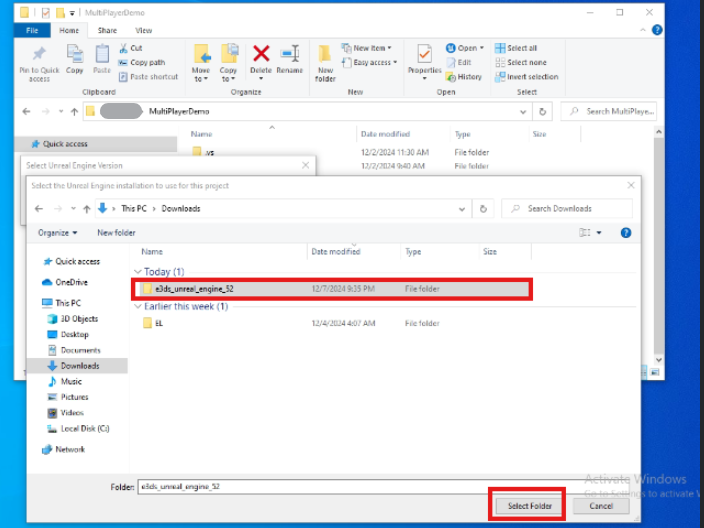
Step 12. Switch the Unreal Engine version

image-20241218-155445.png

Figure 15. Right Click on .uproject File and Select Switch Unreal Engine Version

image-20241218-155551.png

Figure 16. Browse to Extracted Folder

image-20241218-155633.png

Figure 17. Select Extracted Folder

image-20241218-155738.png

Figure 18. Generating Project Files

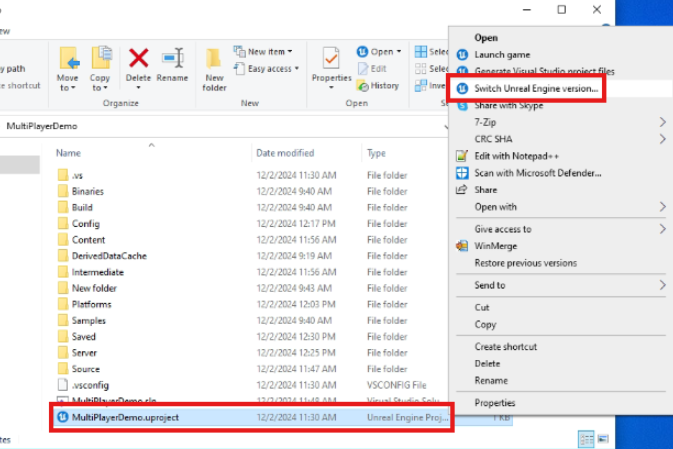
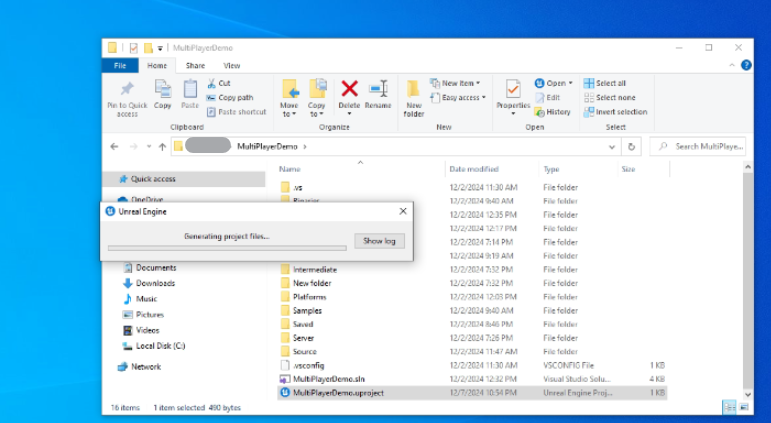
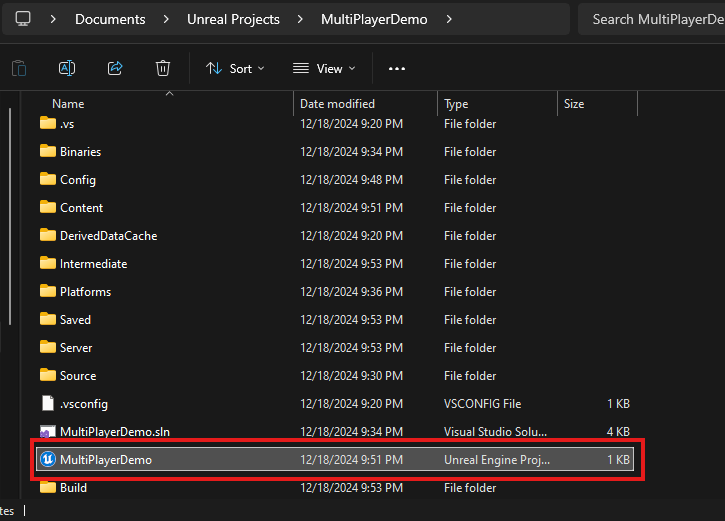
Step 13. Open the project by double clicking on .uproject file

image-20241218-155852.png

Figure 19. Open the Project

image-20241226-140425.png

Figure 20. The Project is Opened in Unreal Editor

Step 14. Now Package the server build

image-20241226-140327.png

Figure 21. Package the Server Build

image-20241218-160104.png

Figure 22. Select an Empty Folder

image-20241226-140546.png

Figure 23. Packaging Successful


💬 Ask questions and help your peers Community Forum

📄 Need help? Contact Support


Facebook | GitHub | LinkedIn | YouTube

JavaScript errors detected

Please note, these errors can depend on your browser setup.

If this problem persists, please contact our support.