
Before uploading your Linux-packaged Unreal app to the Eagle 3D Streaming platform, it's important to verify that it runs smoothly in a Pixel Streaming environment. This guide will walk you through testing your app locally using Epic’s Pixel Streaming Signaling Server.
Important Note
-
All steps must be performed on a Linux machine.
-
Ensure your Unreal project has the Pixel Streaming plugin enabled.
-
The app should already be packaged for Linux.
Follow the steps below:
Step 1. Run the .sh file as Desktop App
Run the packaged .sh file directly:
chmod +x YourProjectName.sh
./YourProjectName.sh
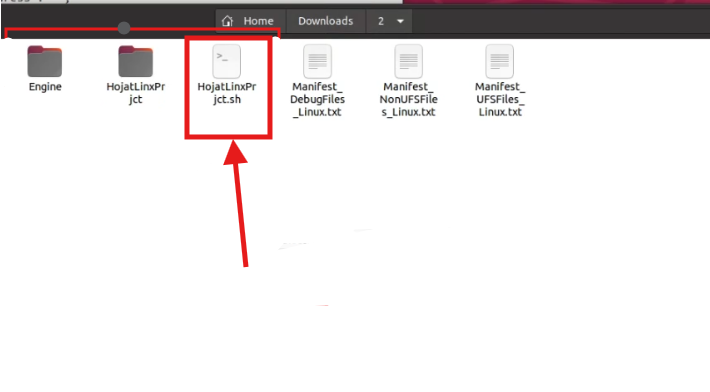

If the application does not launch as a standard desktop app, the packaged build is invalid. In that case, it will not work with Pixel Streaming.
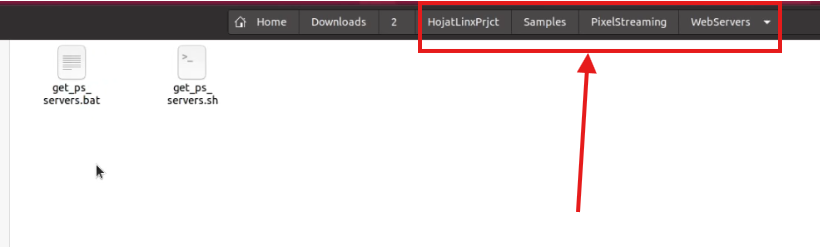
Step 2. Navigate to the WebServers Folder
Navigate To: [Your App Folder] → Samples → PixelStreaming → WebServers
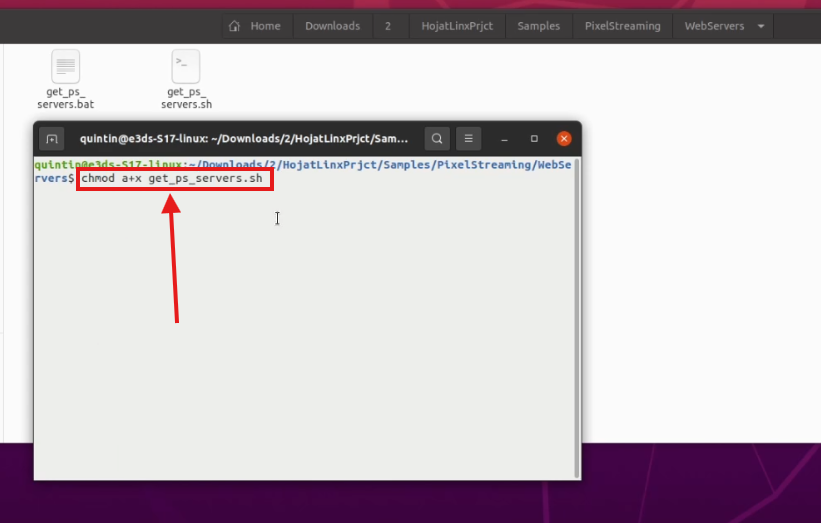
Step 3. Open Terminal in the WebServers Directory
Step 4. Make the Script Executable
Run the following command:
chmod a+x get_ps_servers.sh
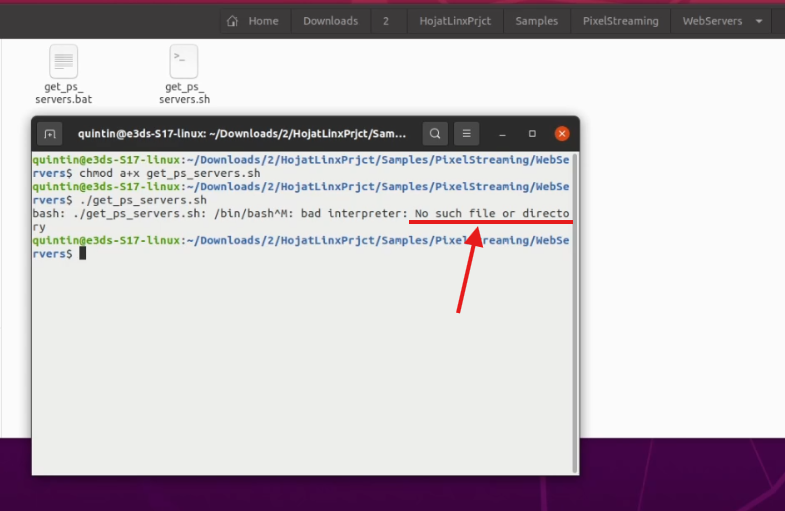
Step 5. Run the shell command :
./get_ps_servers.sh
If you see an error like “No such file or directory,” proceed to Step 5. Else go to Step 10.
Step 6. Check if curl is Installed
Run:
which curl
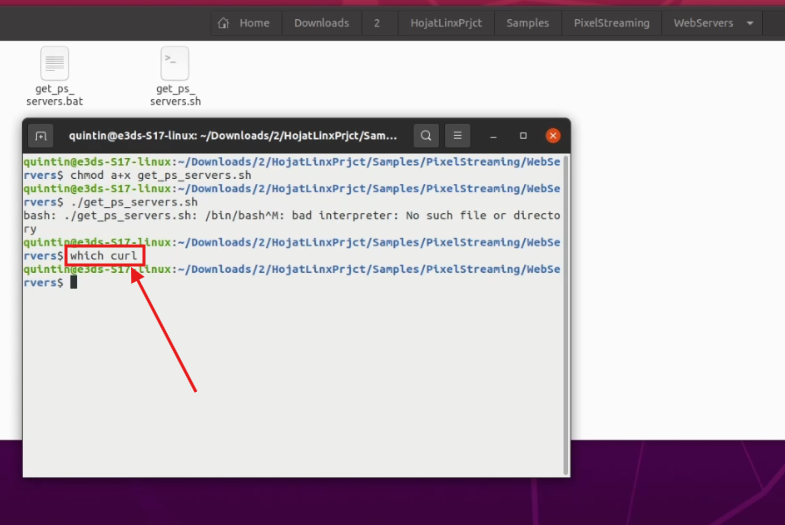
If there’s no output, install curl in the next step.
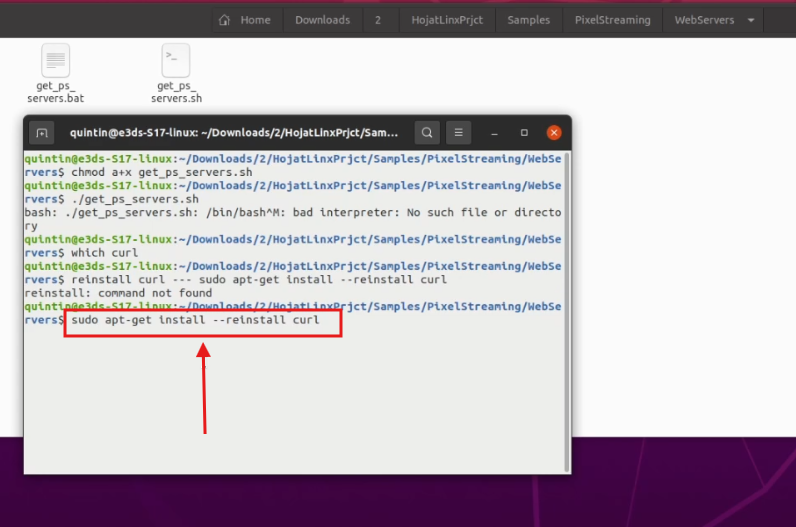
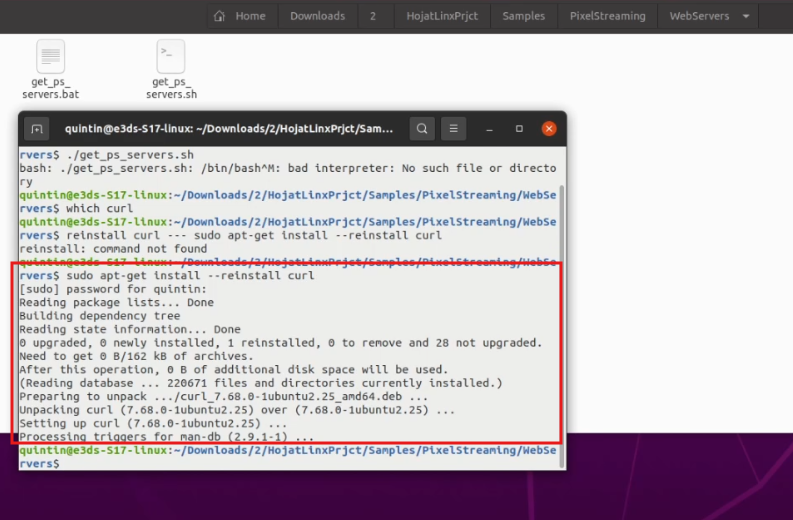
Step 7. Install curl
Run:
sudo apt-get install --reinstall curl
You may be prompted for your password.
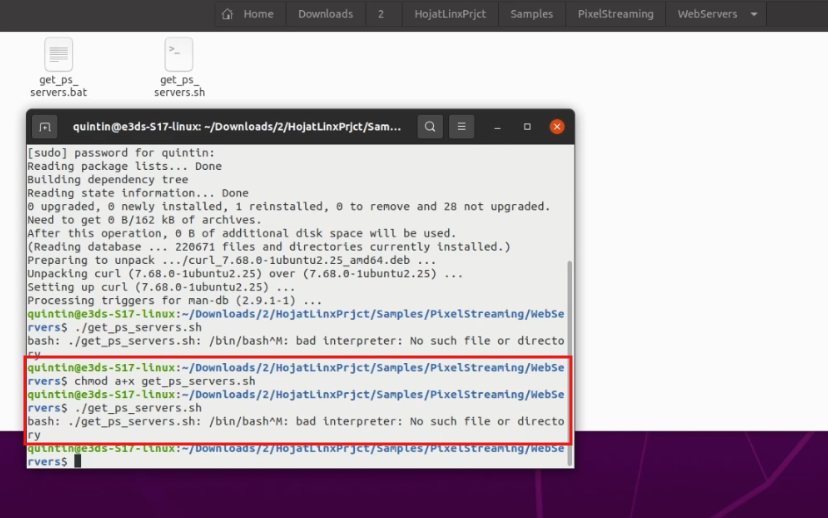
Step 8. Retry the command
Re-run the following:
chmod a+x get_ps_servers.sh
./get_ps_servers.sh
If it still fails, proceed to Step 8.
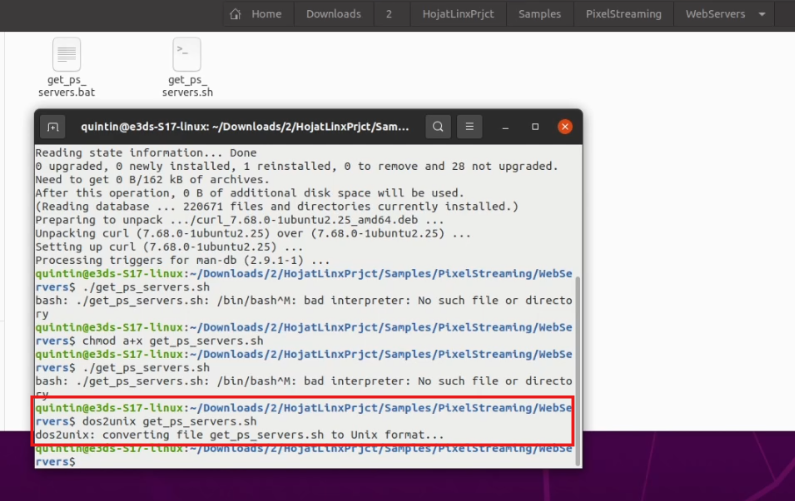
Step 9. Convert command to UNIX Format
Run:
dos2unix get_ps_servers.sh
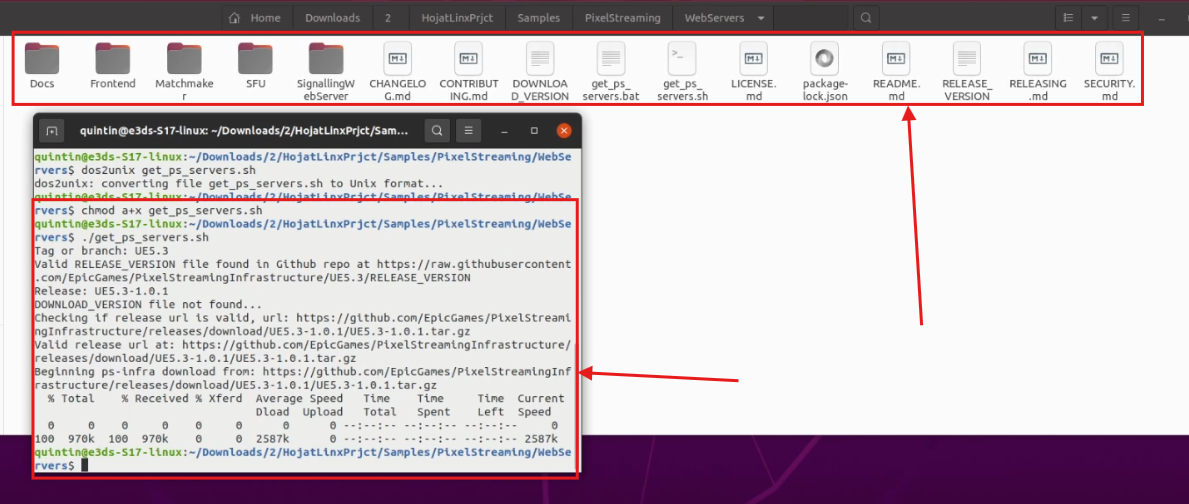
Step 10. Run the command Again
chmod a+x get_ps_servers.sh
./get_ps_servers.sh
You should now see folders like SignalingWebServer, SFU, etc.
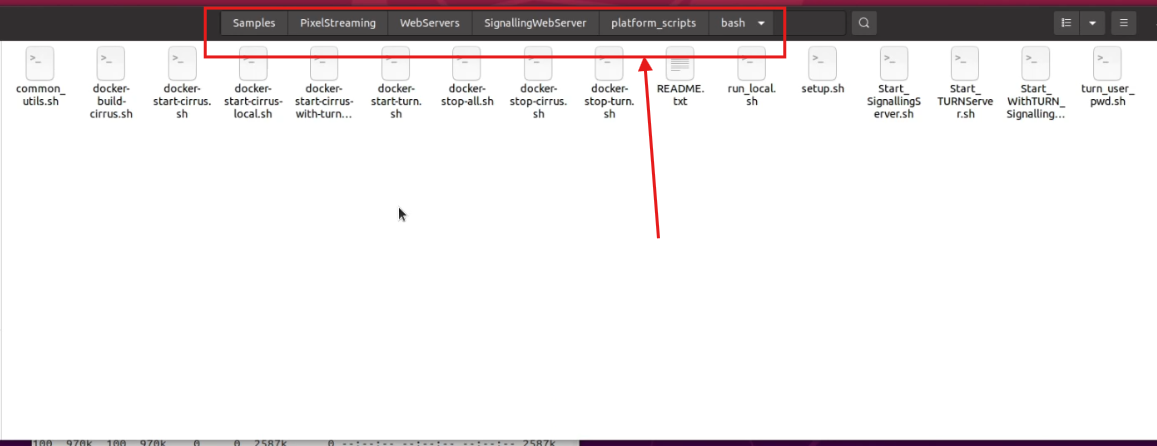
Step 11. Navigate to bash folder
Go to:
SignalingWebServer → platform_scripts → bash
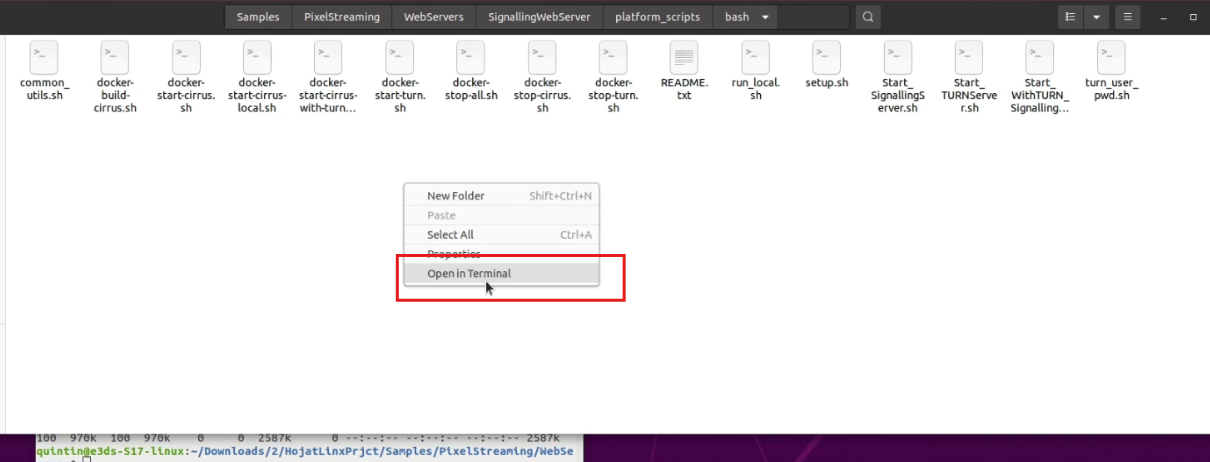
Start 12. Open Terminal in Bash Folder
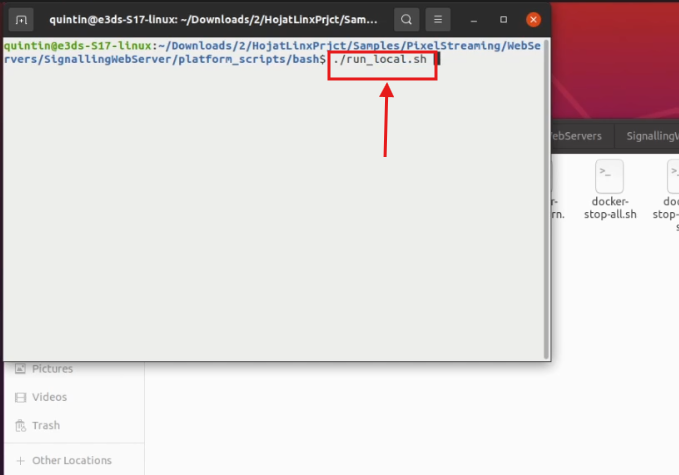
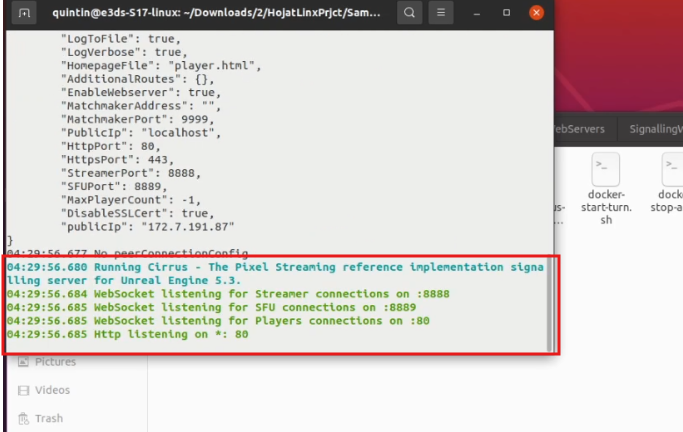
Step 13. Start the Signaling Server
In the terminal, run:
./run_local.sh
You may be prompted for your password again.
Leave this terminal window open. Do not close it while testing your app.
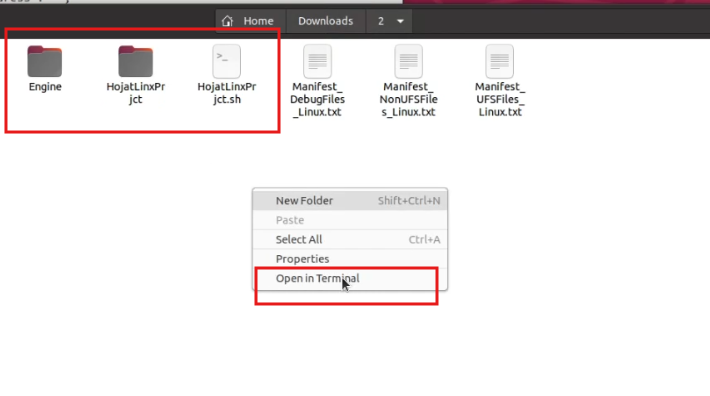
Step 14. Open App Root Folder in Terminal
Root folder is the folder containing your Engine folder and .sh app script.
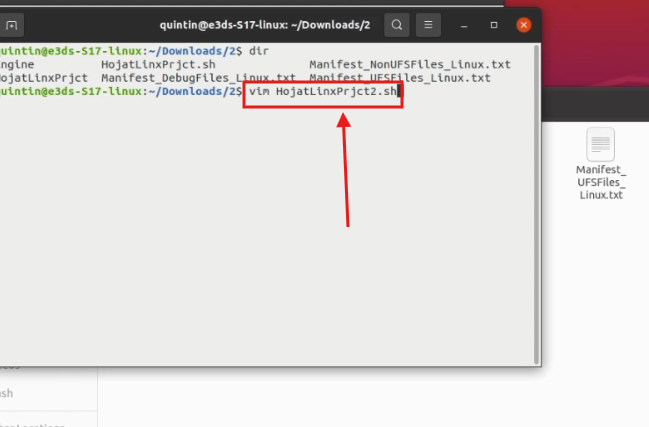
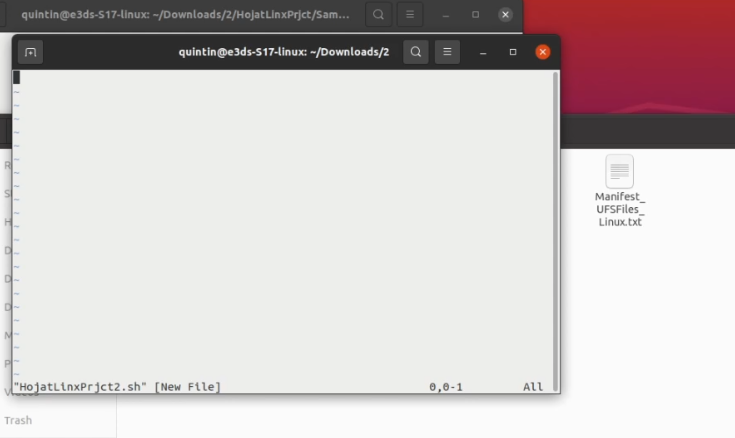
Step 15. Create a new .sh file
Create a new file using the command below. (Use any name you want. Here we used HojatLinxPrjct2.sh)
Run:
vim GiveNewFileName.sh
A new blank file will open in the terminal where you can paste the script.
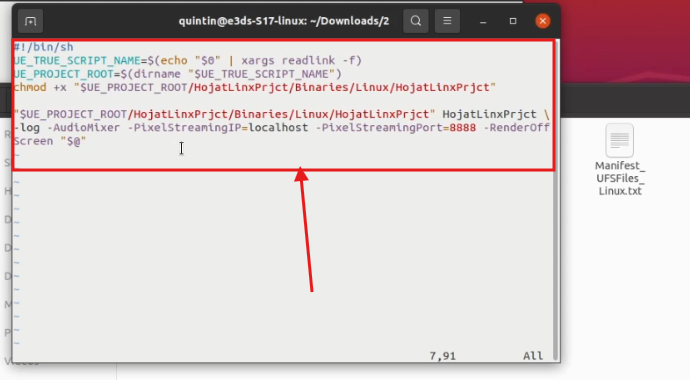
Step 16. Build the script
Below is the script. You’ll need to modify the red-highlighted paths to match your actual app folder structure:
#!/bin/sh
UE_TRUE_SCRIPT_NAME=$(echo "$0" | xargs readlink -f)
UE_PROJECT_ROOT=$(dirname "$UE_TRUE_SCRIPT_NAME")
chmod +x "$UE_PROJECT_ROOT/HojatLinxPrjct/Binaries/Linux/HojatLinxPrjct"

"$UE_PROJECT_ROOT/HojatLinxPrjct/Binaries/Linux/HojatLinxPrjct" HojatLinxPrjct \
-log -AudioMixer -PixelStreamingIP=localhost -PixelStreamingPort=8888 -RenderOffScreen "$@"
In our case the file location is showing here

We’ve included the script again below so you can copy it easily.
#!/bin/sh
UE_TRUE_SCRIPT_NAME=$(echo "$0" | xargs readlink -f)
UE_PROJECT_ROOT=$(dirname "$UE_TRUE_SCRIPT_NAME")
chmod +x "$UE_PROJECT_ROOT/HojatLinxPrjct/Binaries/Linux/HojatLinxPrjct"
"$UE_PROJECT_ROOT/HojatLinxPrjct/Binaries/Linux/HojatLinxPrjct" HojatLinxPrjct \
-log -AudioMixer -PixelStreamingIP=localhost -PixelStreamingPort=8888 -RenderOffScreen "$@"
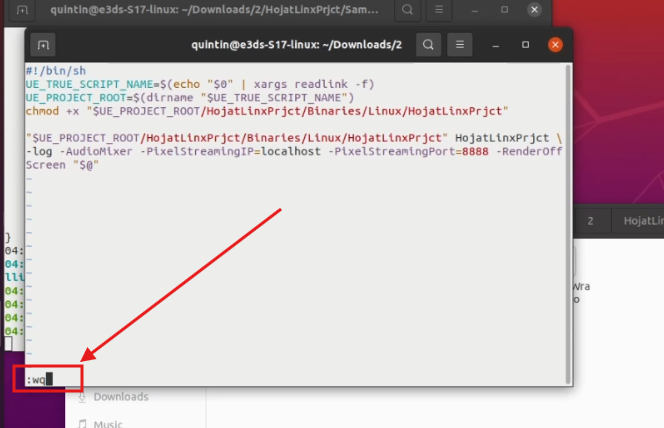
Step 17. Pass the script in the terminal of new file that you have created on step 14
Add a warning not to press enter
Step 18. After pasting the script, press : then type wq and press Enter.
:wq
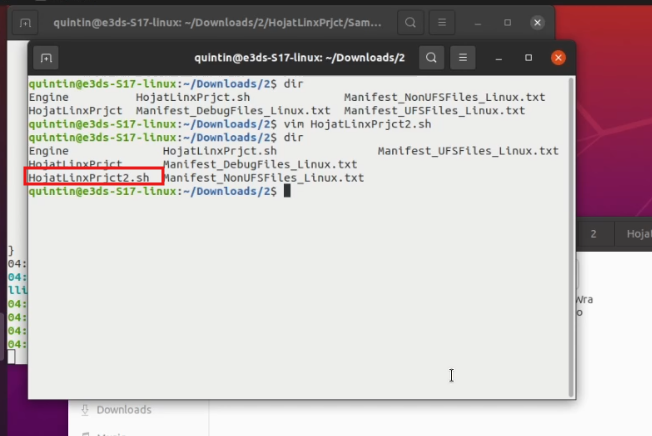
Step 19. Check newly created file
Run:
dir
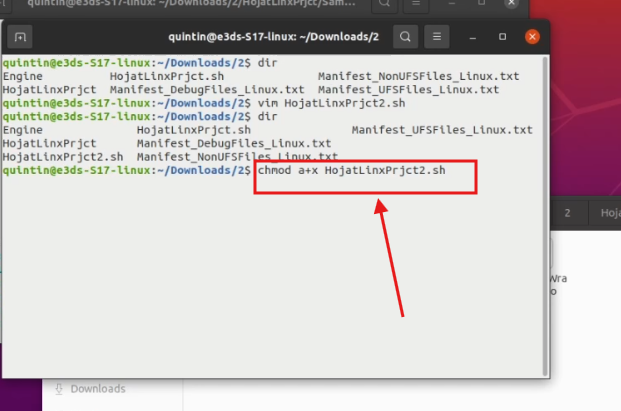
Step 20. Make the Script Executable
Run:
chmod a+x YourNewlyCreatedFile.sh
You should use your newly created file name instead of YourNewlyCreatedFile.sh.
In our case the newly created file name is HojatLinxPrjc2.sh. So we used this name
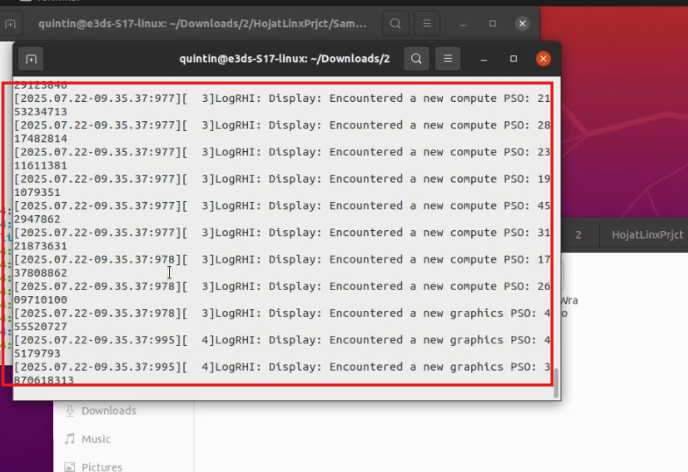
Step 21. Start the App
Run:
./YourNewlyCreatedFile.sh.
You should use your newly created file name instead of YourNewlyCreatedFile.sh.
In our case the newly created file name is HojatLinxPrjc2.sh. So we used this name.
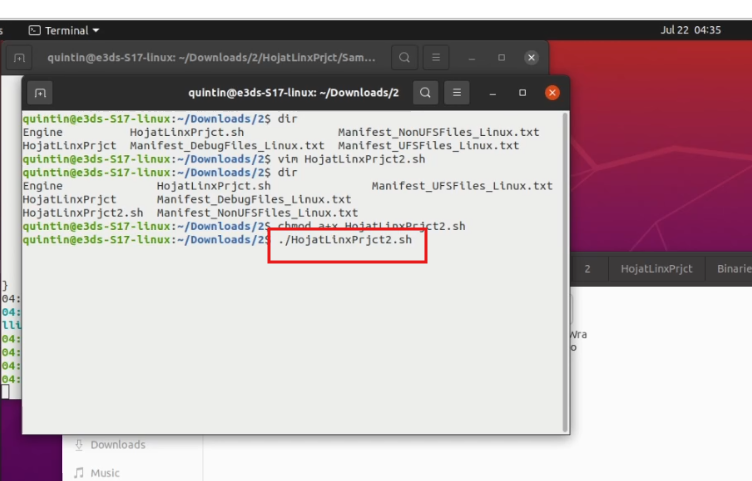
You may need to give password. Give it.
Step 22. Launch the App in Browser
-
On the same Linux computer, go to your browser and visit:
localhost
-
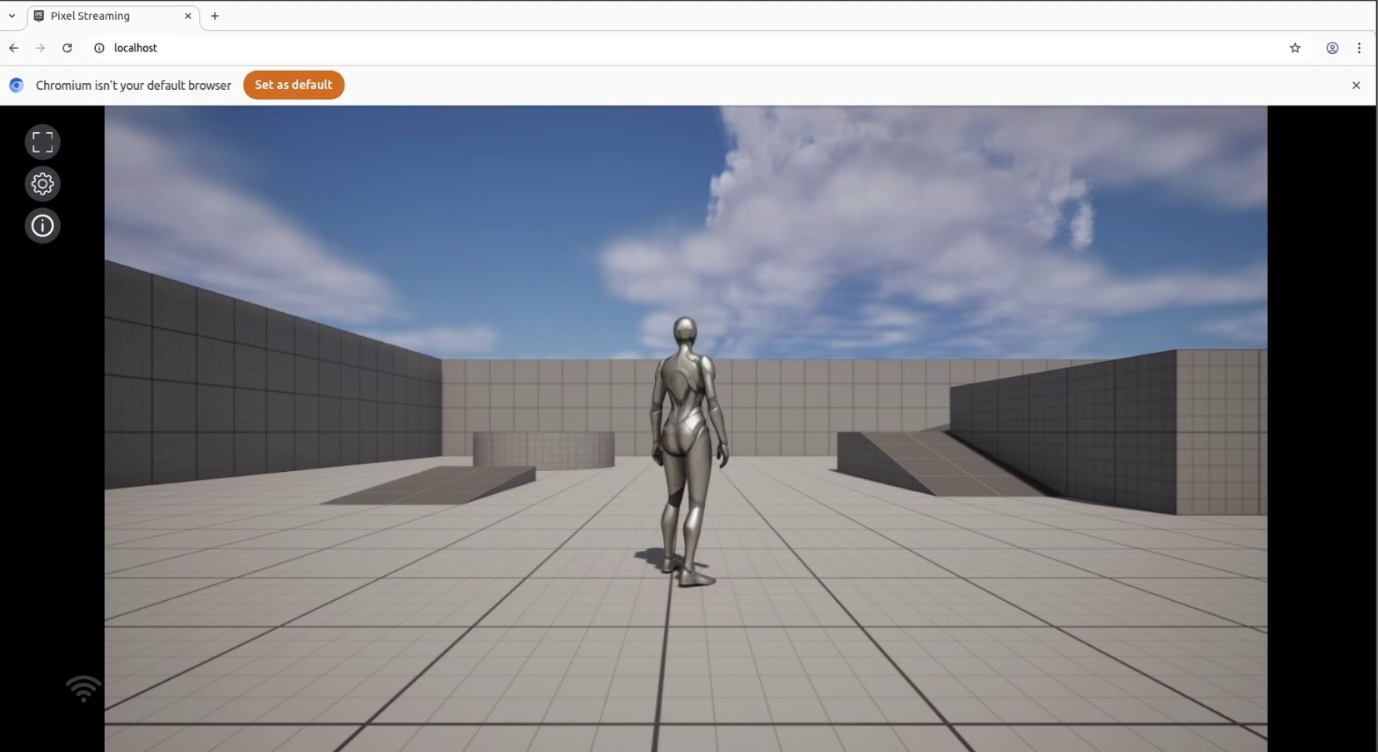
Click on “CLICK TO START” to launch the app.
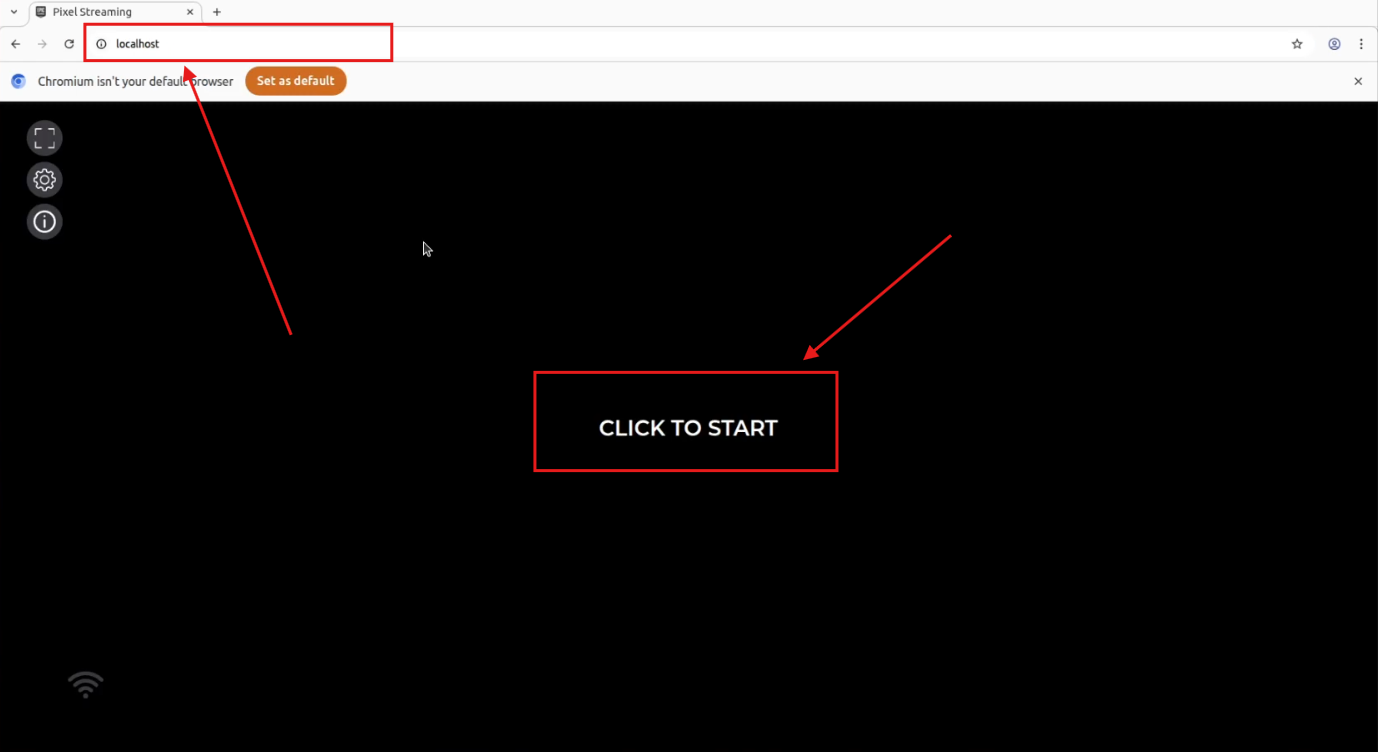
You should see your app streaming locally.
🌐 Remote Testing Option
You can also test remotely under the same network by:
-
Getting the PC’s IP Address:
hostname -I
-
Enter that IP in a browser from another device:
http://<your-ip-address>
Note: For testing outside the network (different Wi-Fi), a static IP is required.
(A full remote setup guide is coming soon.)
Need help?
If you need any assistance, feel free to reach out through any of the following channels:
🛠️ Support Portal: Contact Our Support Team
💬 Discord Community (Faster Support): Join Our Discord Community
📧 Email Support: support@eagle3dstreaming.com
Follow us on: