
Follow the steps below to upload necessary assets:
We have provided sample images that you can use. Download these images from this URL.
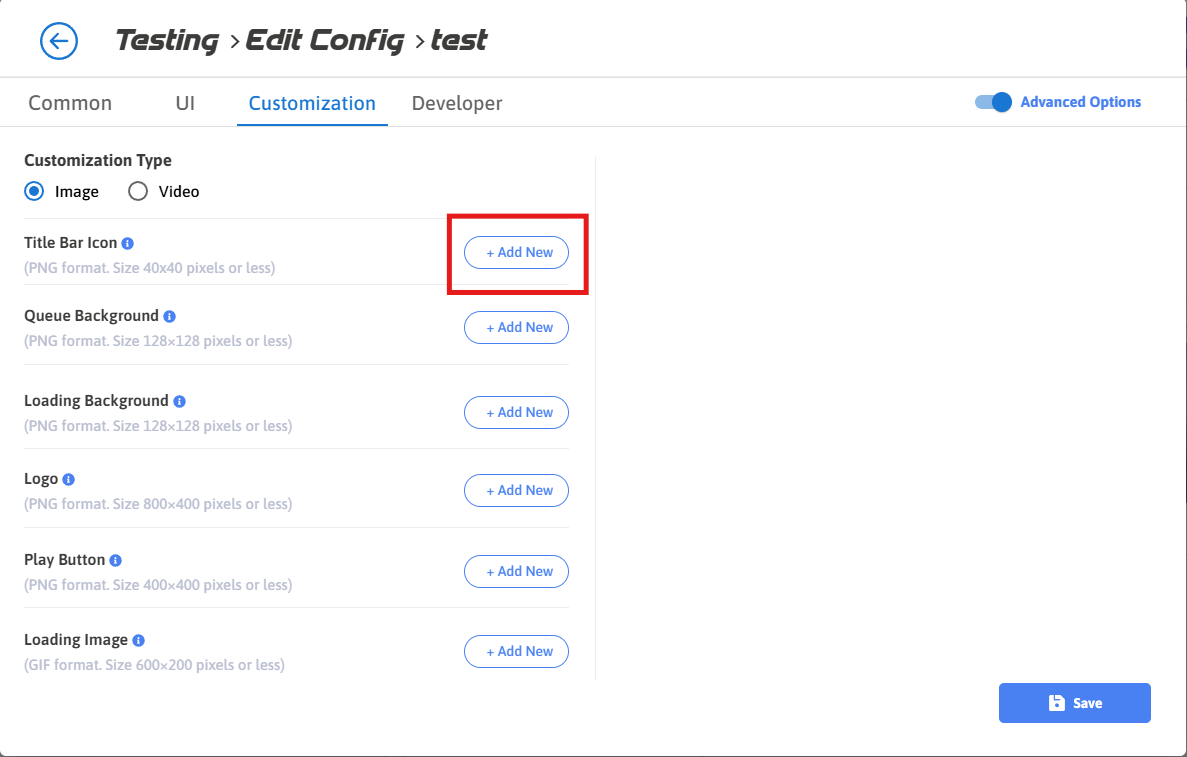
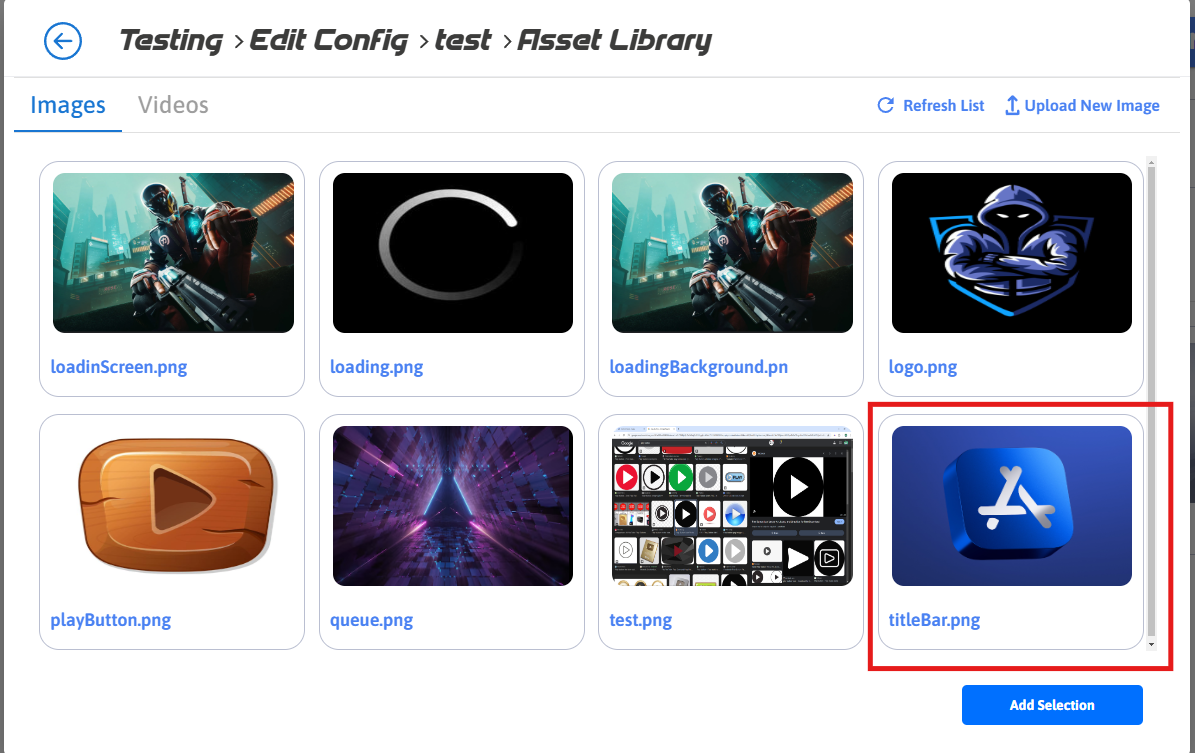
Step 1. Select Add New
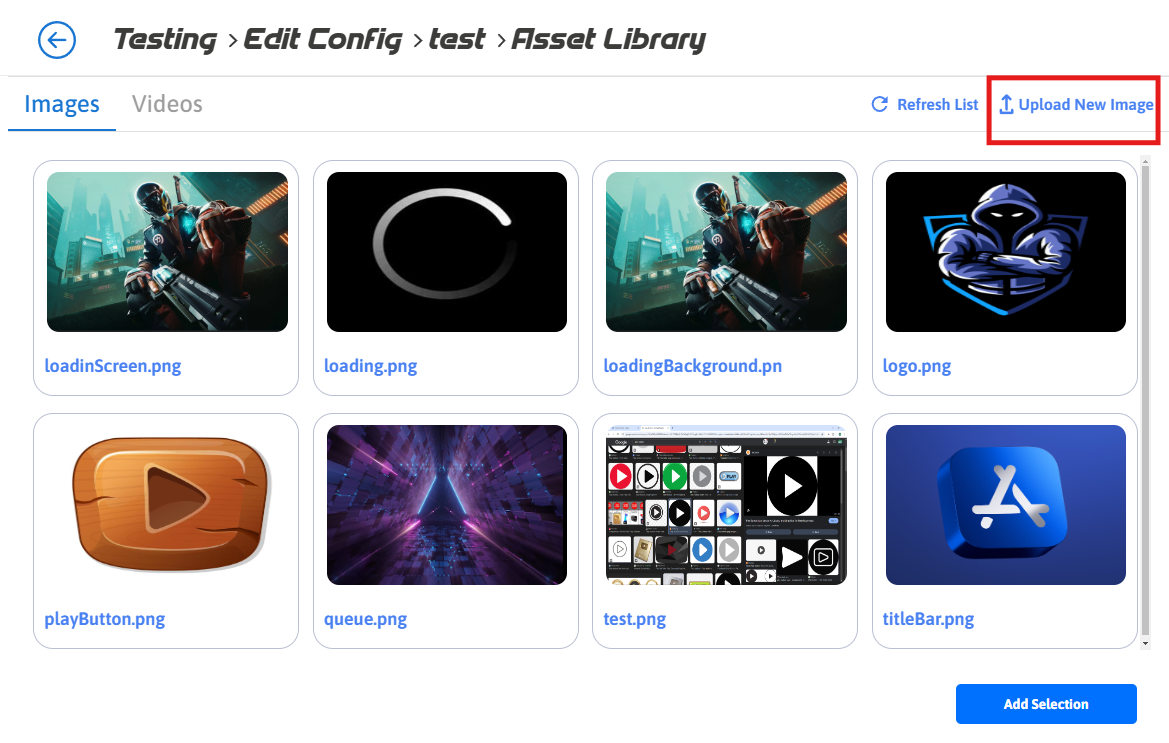
Step 2. Upload New Image
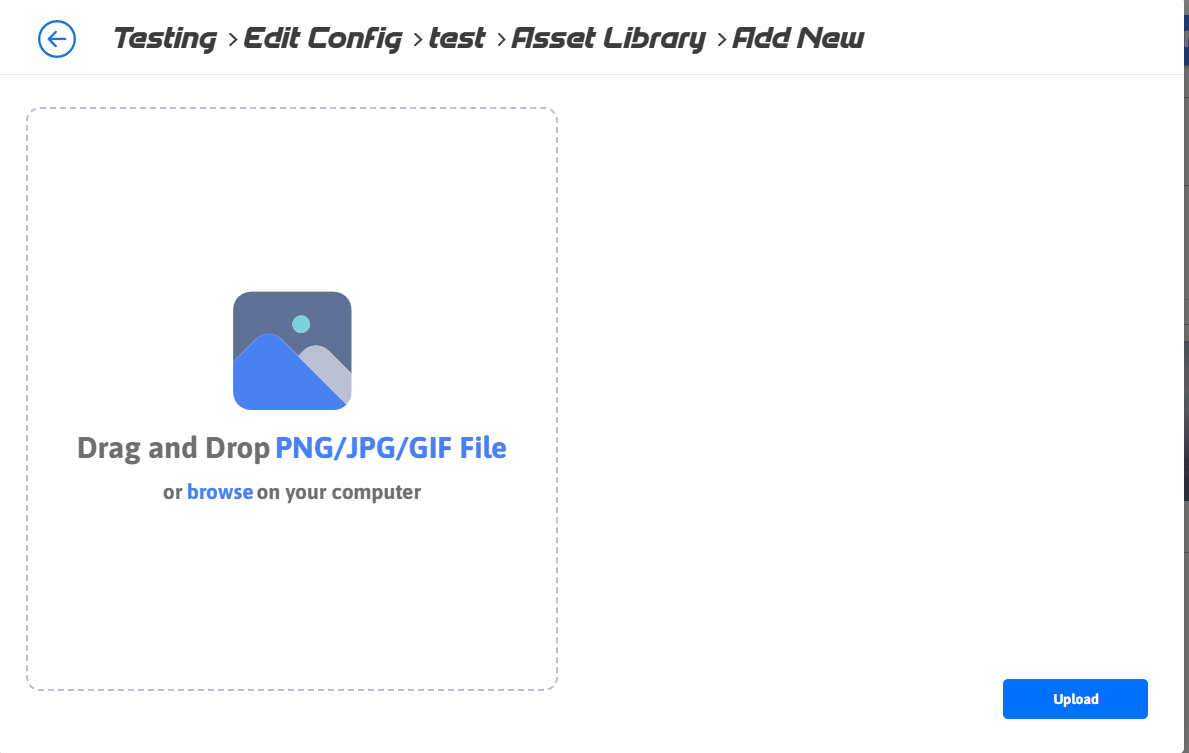
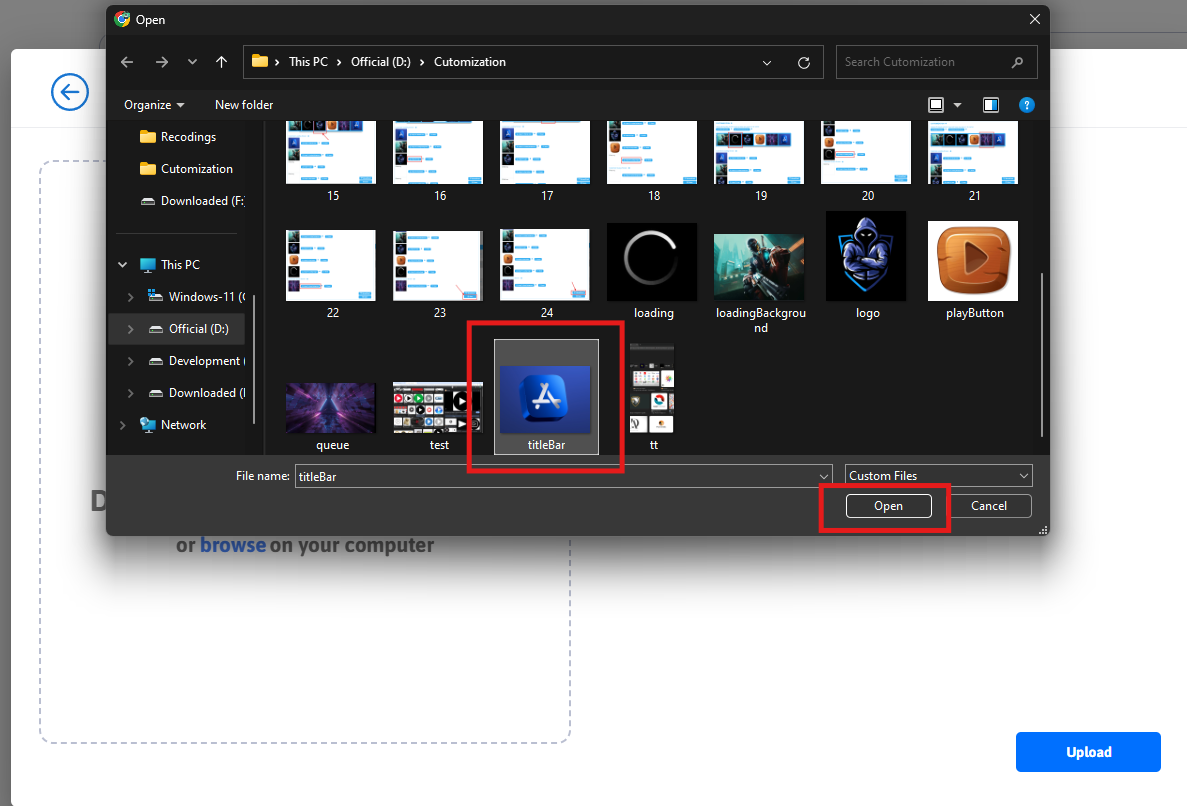
Step 3. Browse file to upload
You can also use Drag and Drop method
Please ensure that you do not use assets with spaces in their names. If your asset file contains spaces, kindly rename it first before selecting and uploading it.
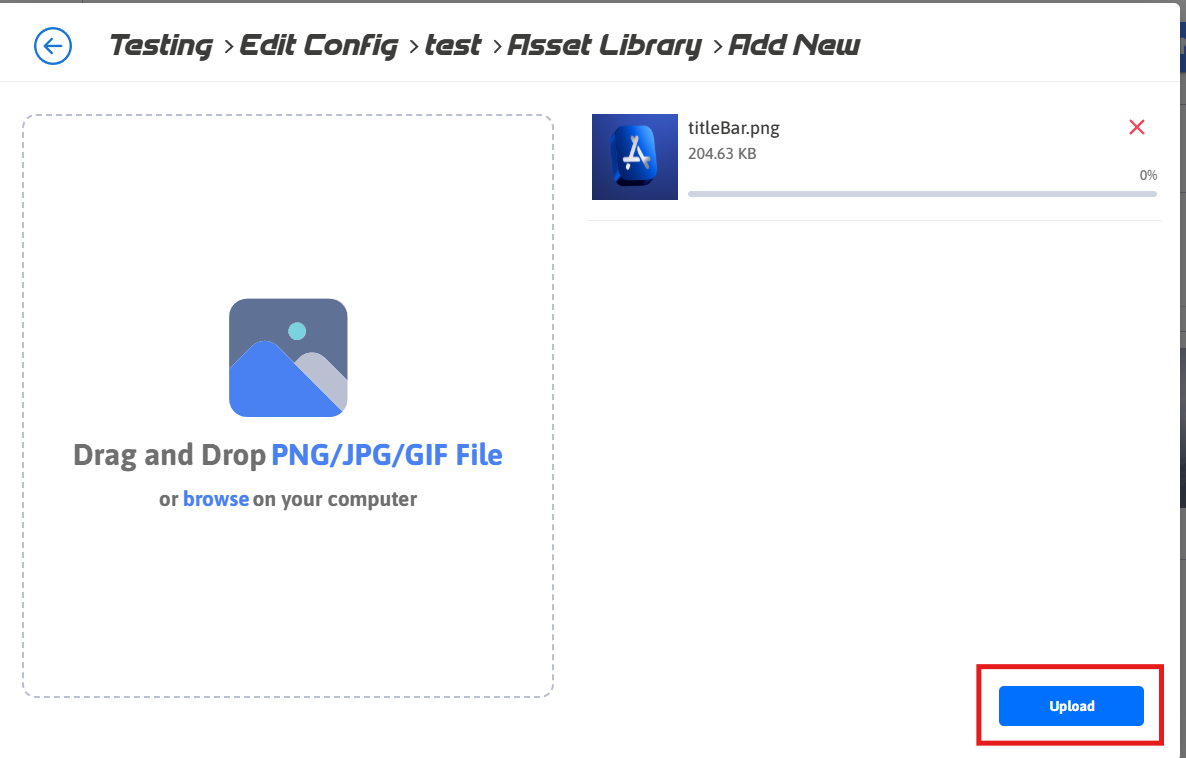
Step 4. Click Upload
Need help?
If you need any assistance, feel free to reach out through any of the following channels:
🛠️ Support Portal: Contact Our Support Team
💬 Discord Community (Faster Support): Join Our Discord Community
📧 Email Support: support@eagle3dstreaming.com
Follow us on:
Facebook | GitHub | LinkedIn | YouTube