
Follow the Steps below to configure E3DS Multiplayer class:
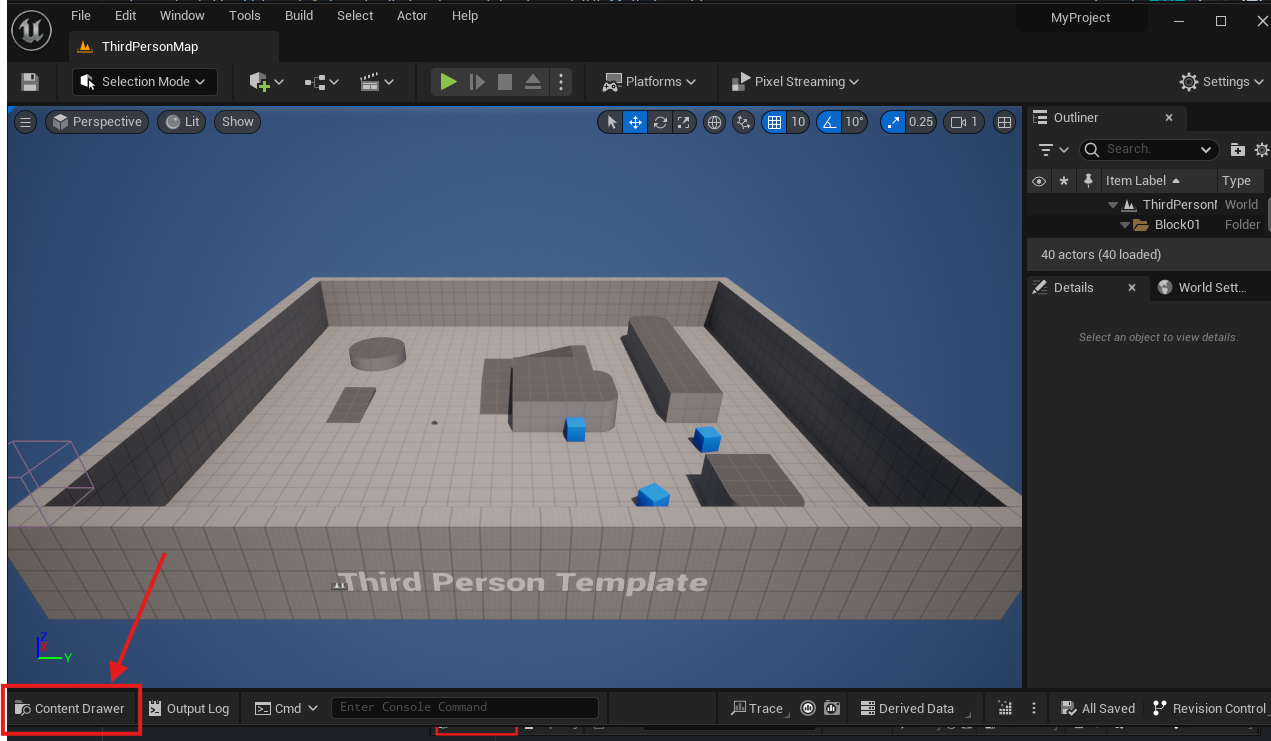
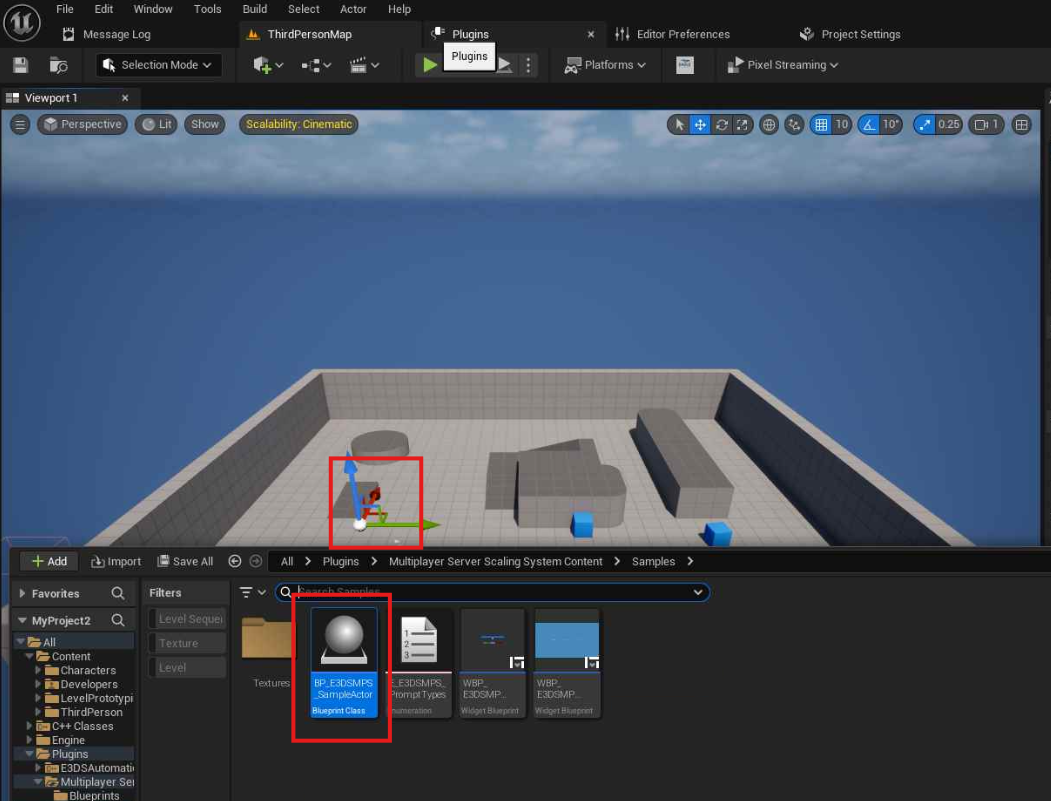
Step 1. Select Content Drawer from the bottom left corner of the Unreal Editor
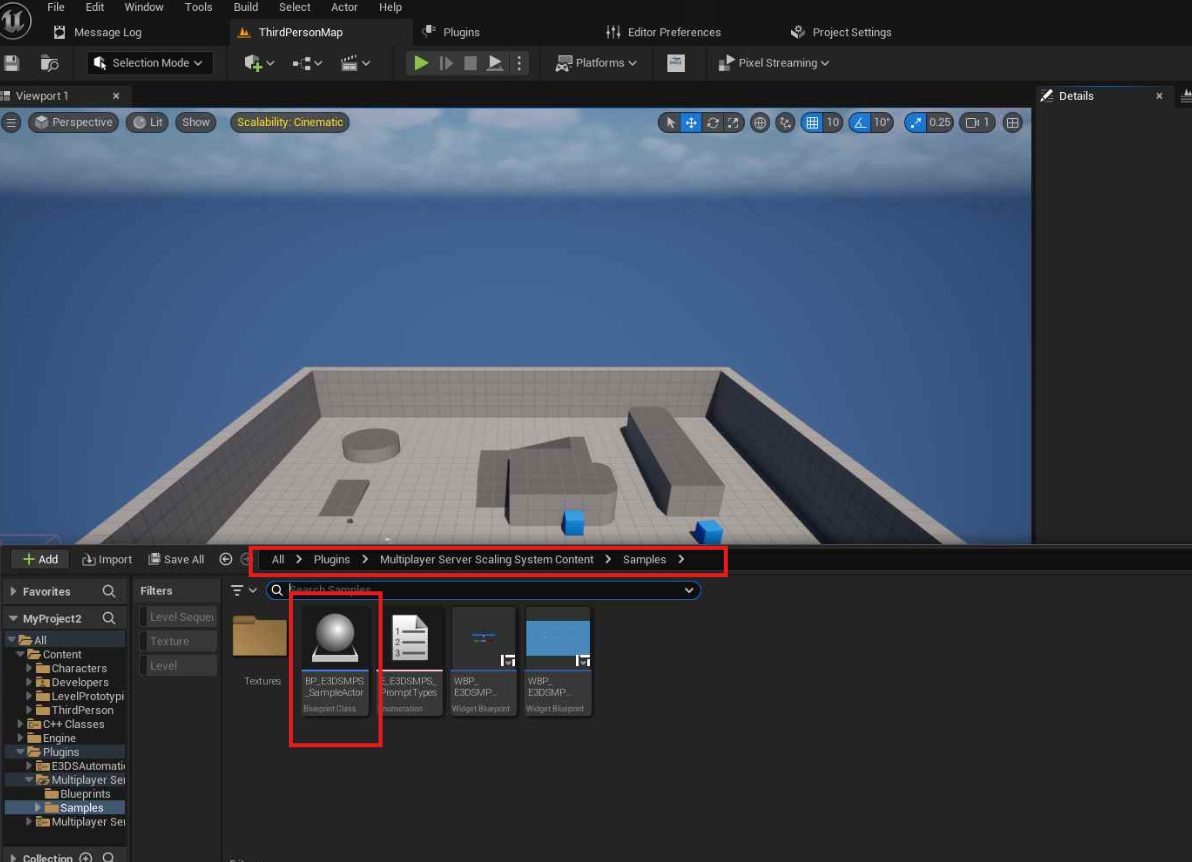
Step 2. Navigate to Plugins > Multiplayer Server Scaling System Content > Samples

Step 3. Double click on BP_E3DSMPS_SampleActor

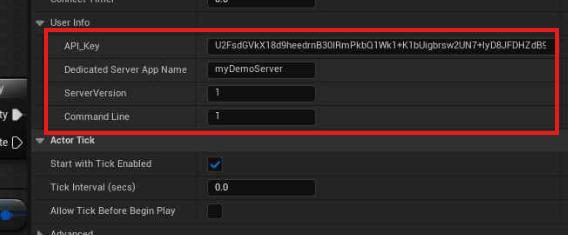
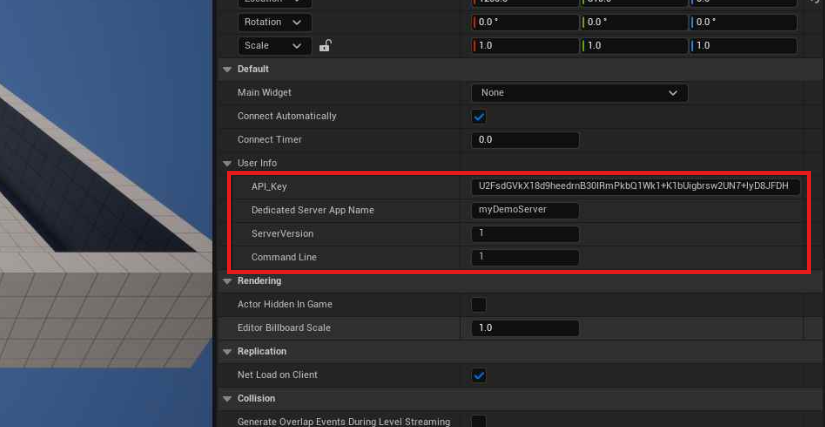
Step 4. Go to Details Section
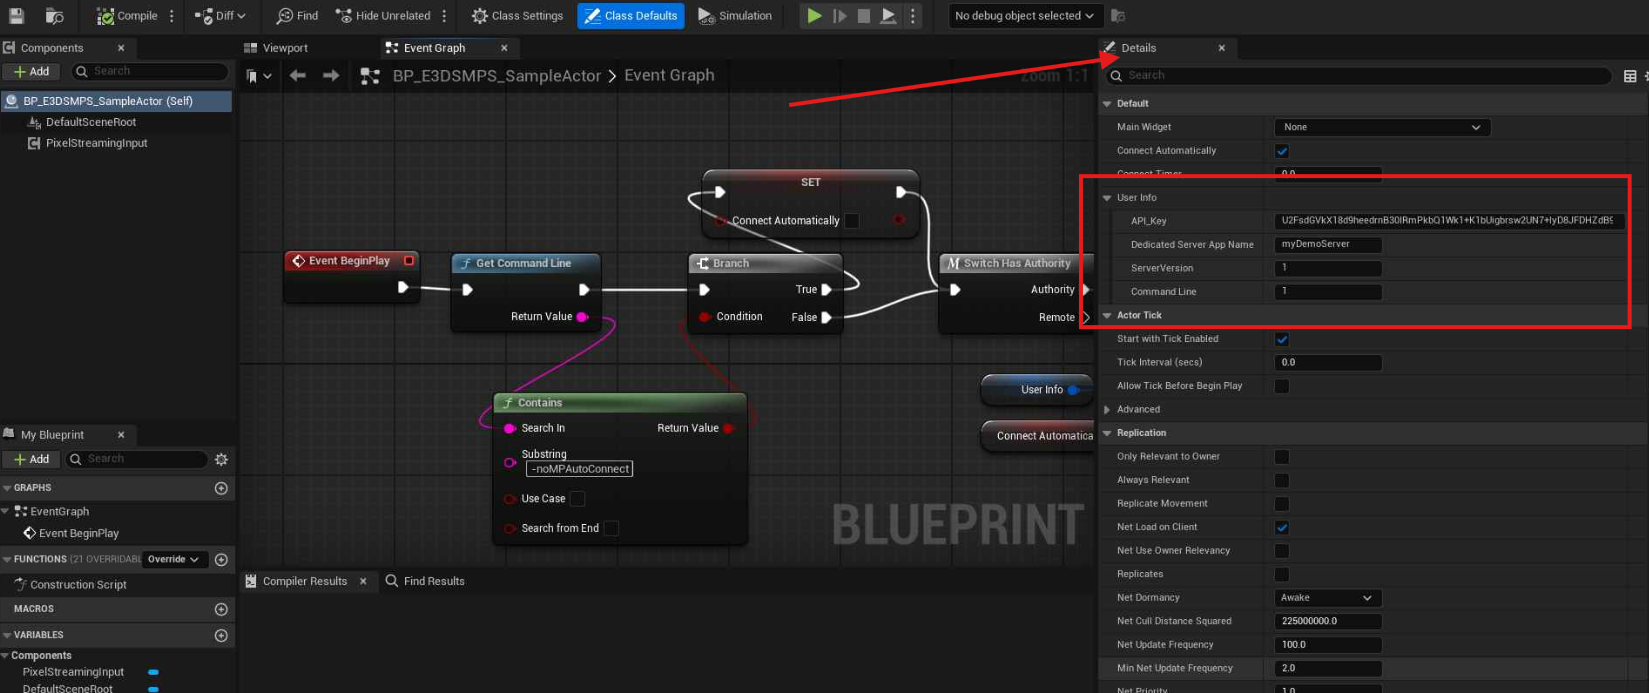
Step 5. Select User Info
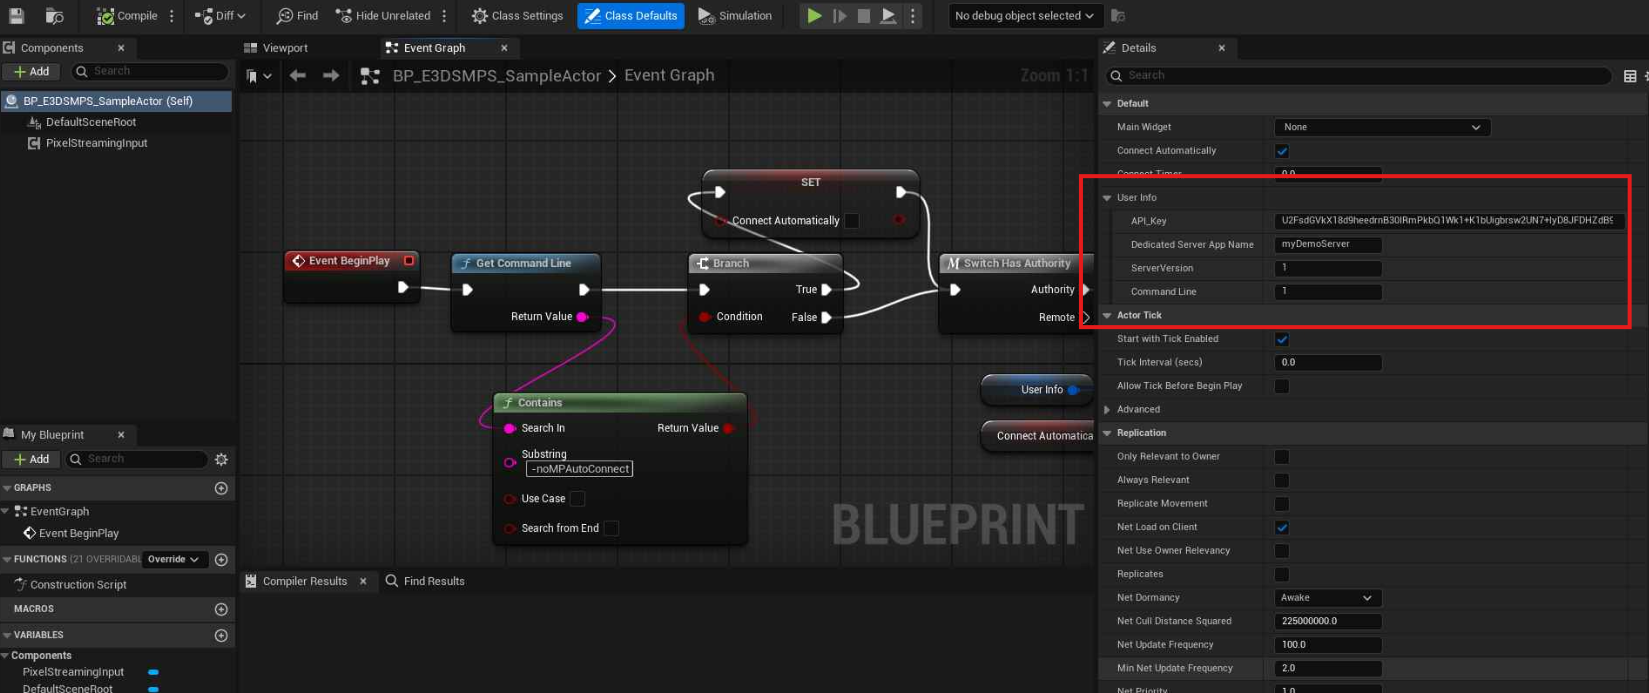
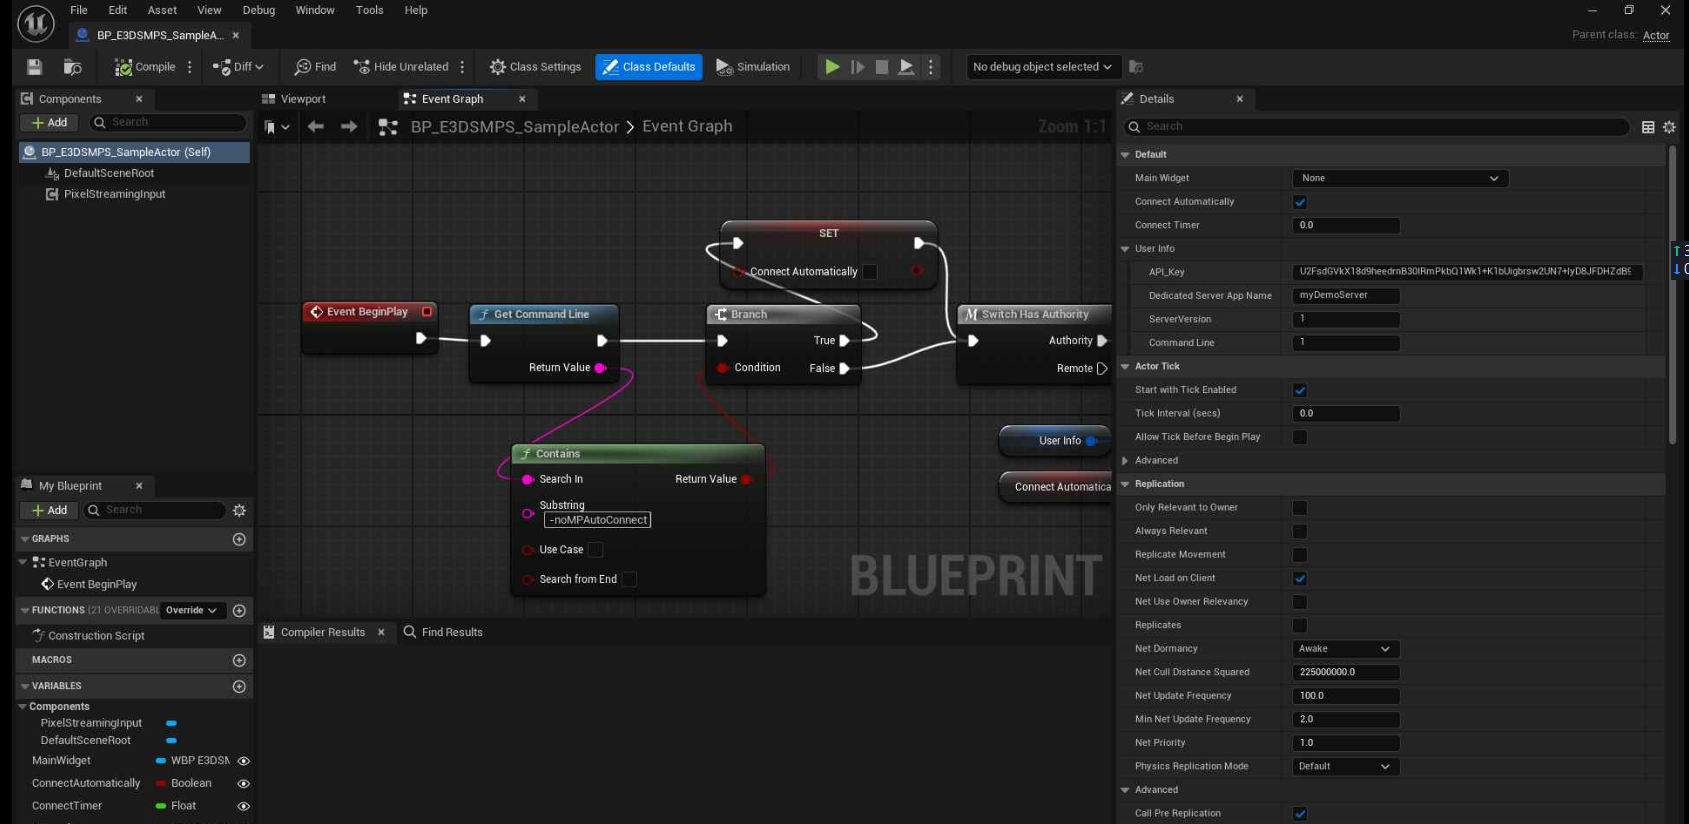
Step 6. Configure the following fields
-
API Key: Retrieve it from Eagle3D Streaming API Management.
-
Dedicated Server App Name: Set the name of the server app (e.g., MyProjectServer).
-
Server Version: Give the Version (e.g. 1)
-
Commad Line: 1
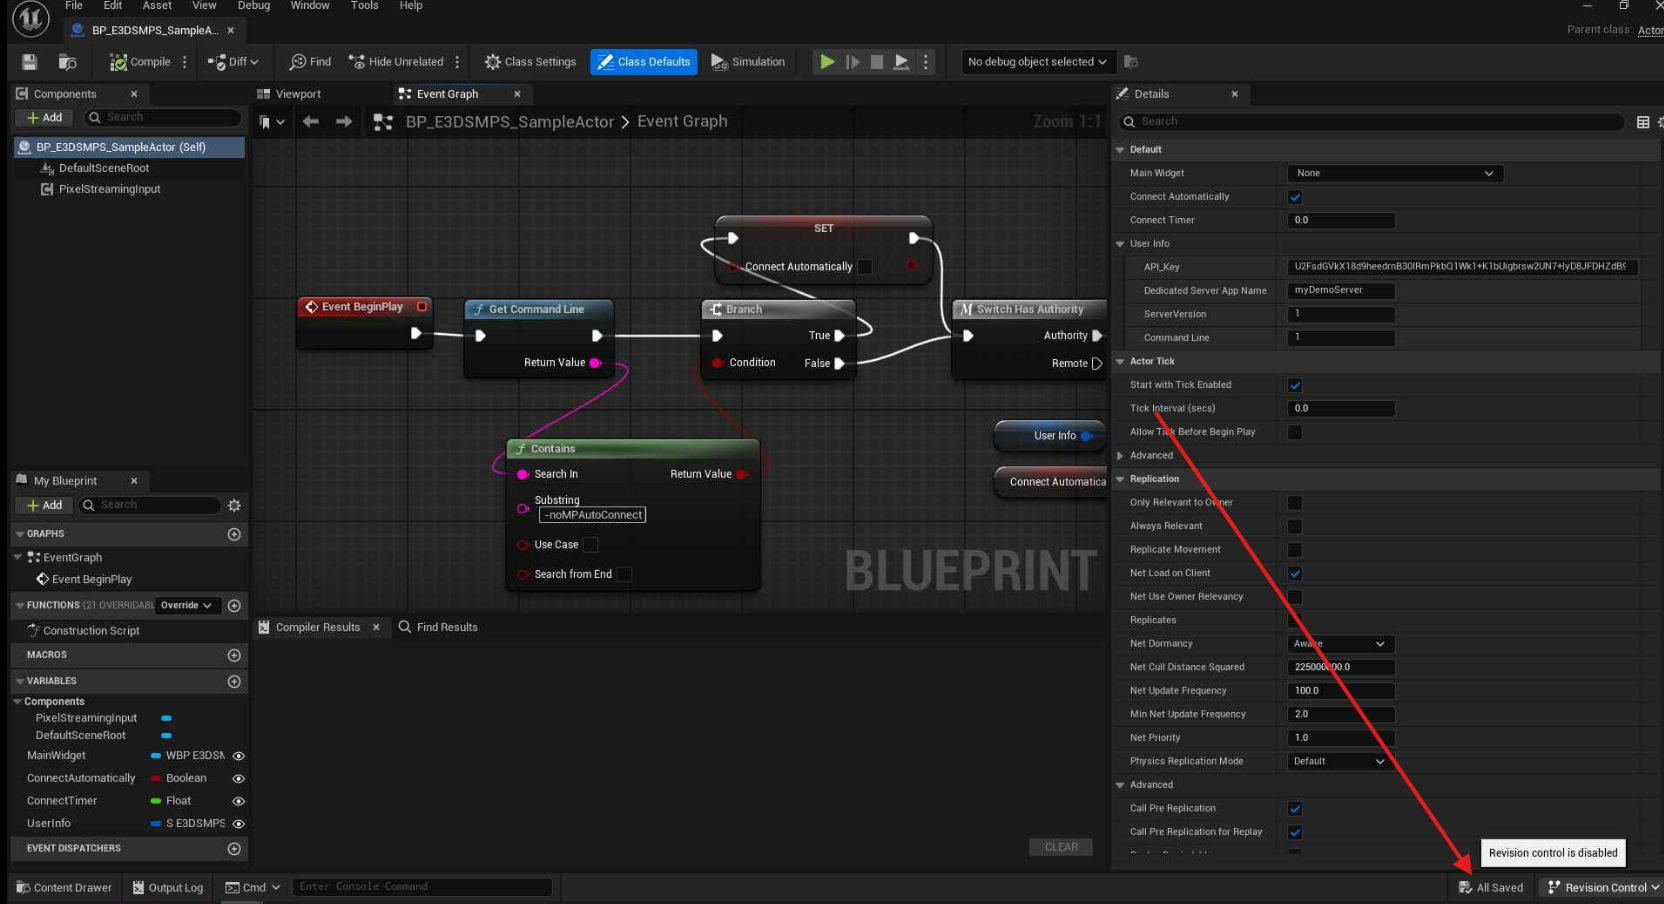
Step 7. Save all Changes
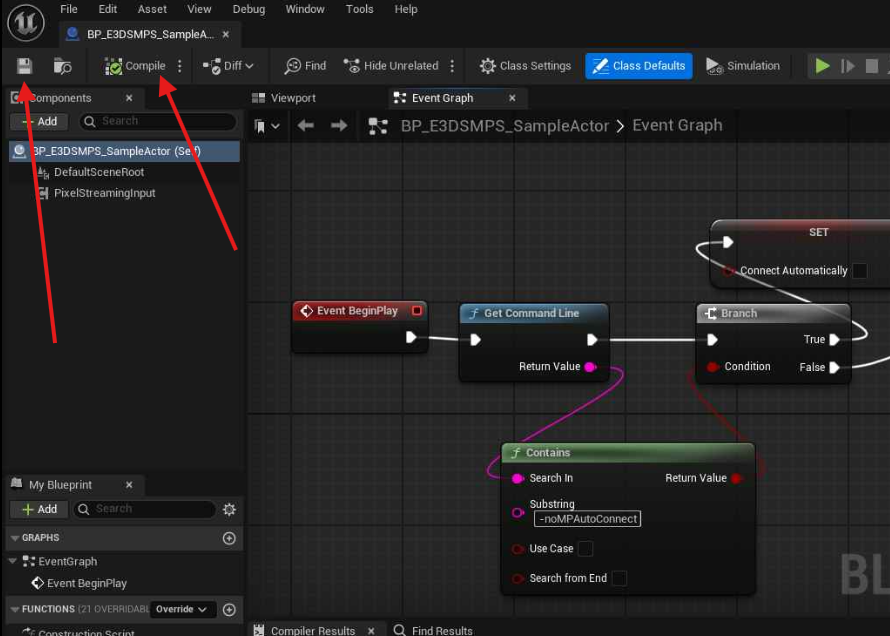
Step 8. Compile and Save
Step 9. Drag and drop the BP_E3DSMPS_SampleActor into the map
Step 10. Select BP_E3DSMPS_SampleActor from the Details Panel

Step 11. Ensure that the configurations are the same as in Step 6
Need help?
If you need any assistance, feel free to reach out through any of the following channels:
🛠️ Support Portal: Contact Our Support Team
💬 Discord Community (Faster Support): Join Our Discord Community
📧 Email Support: support@eagle3dstreaming.com
Follow us on:
Facebook | GitHub | LinkedIn | YouTube