Follow the steps below to create a VR project and set it up for uploading:
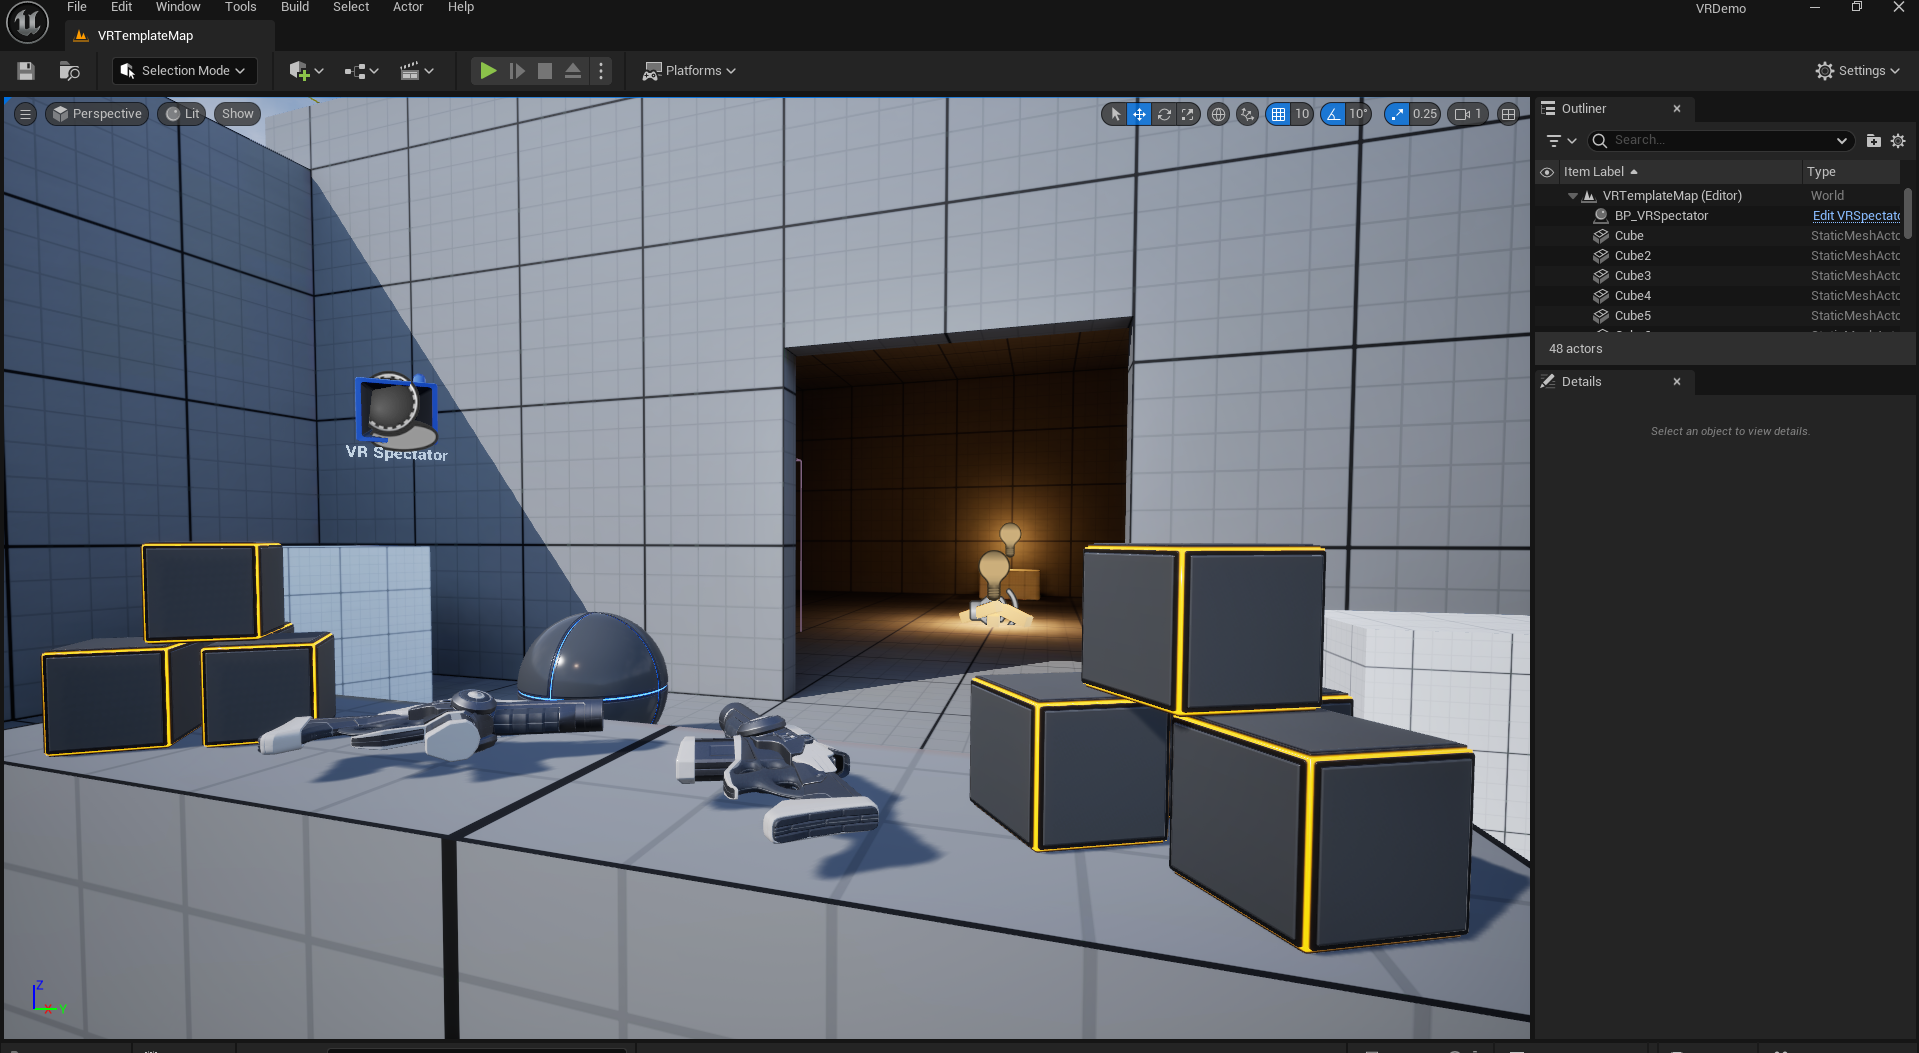
Step 1. Open Unreal Editor.
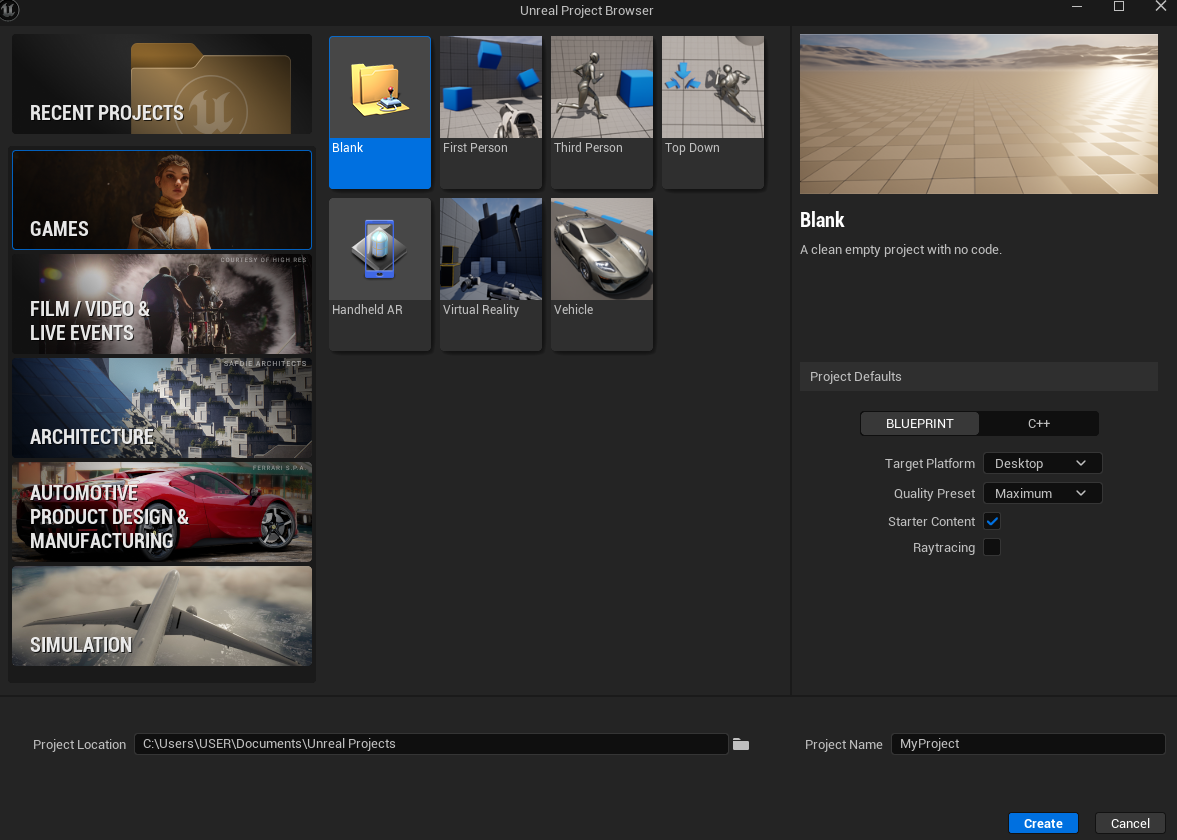
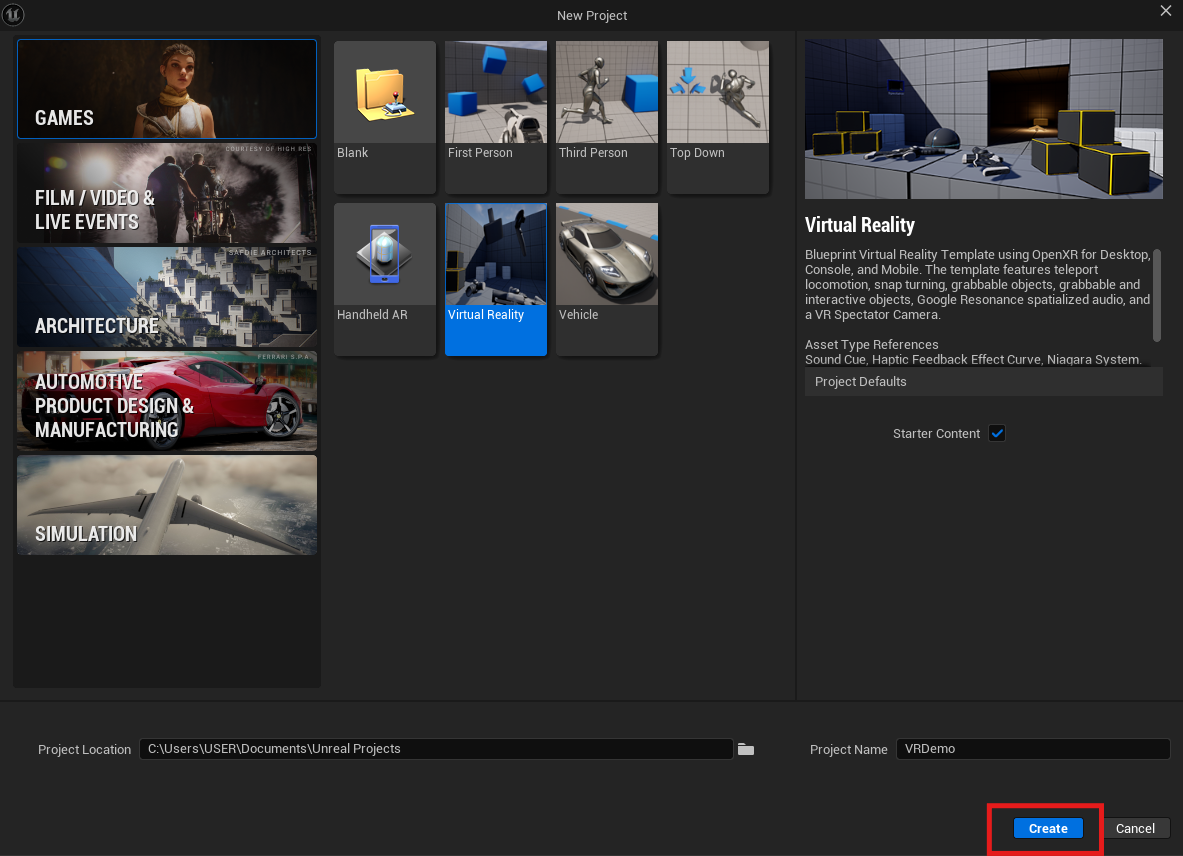
Step 2. Select Virtual Reality from GAMES option.
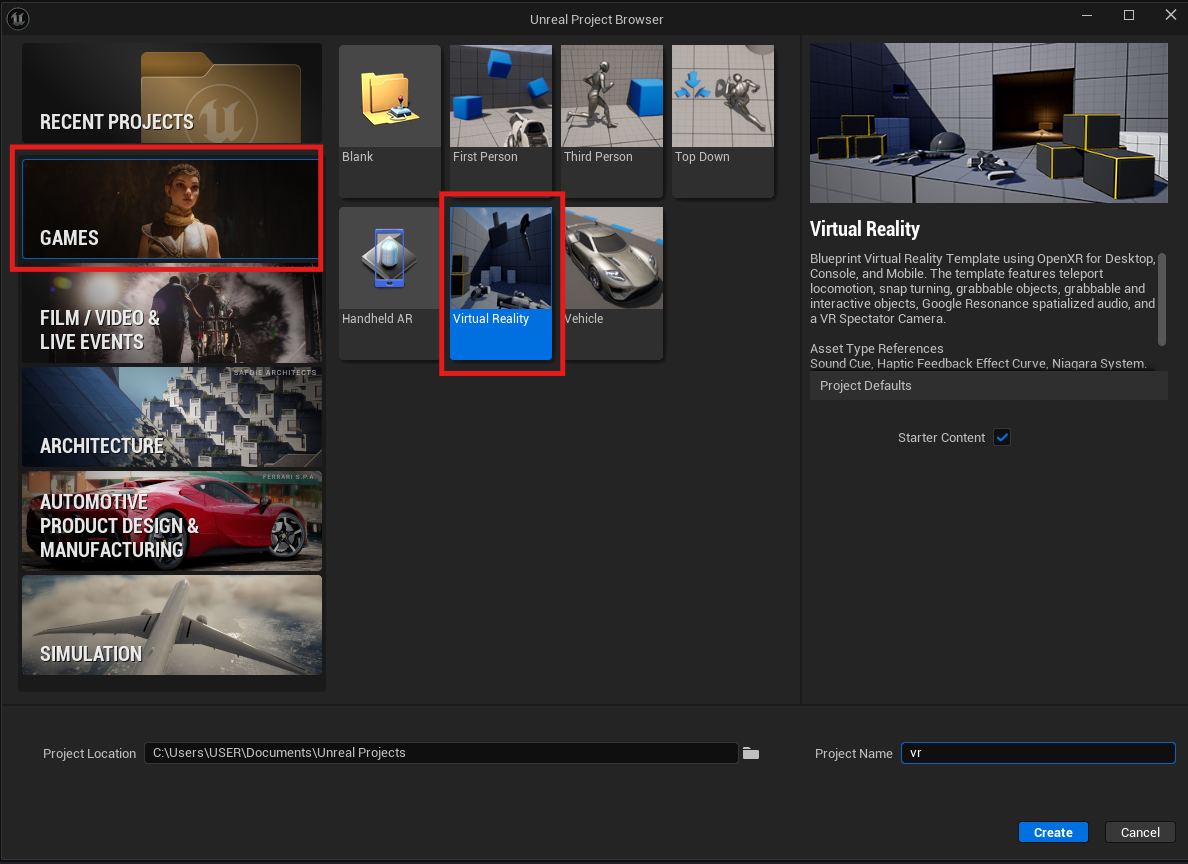
Step 3. Enter Project Name.
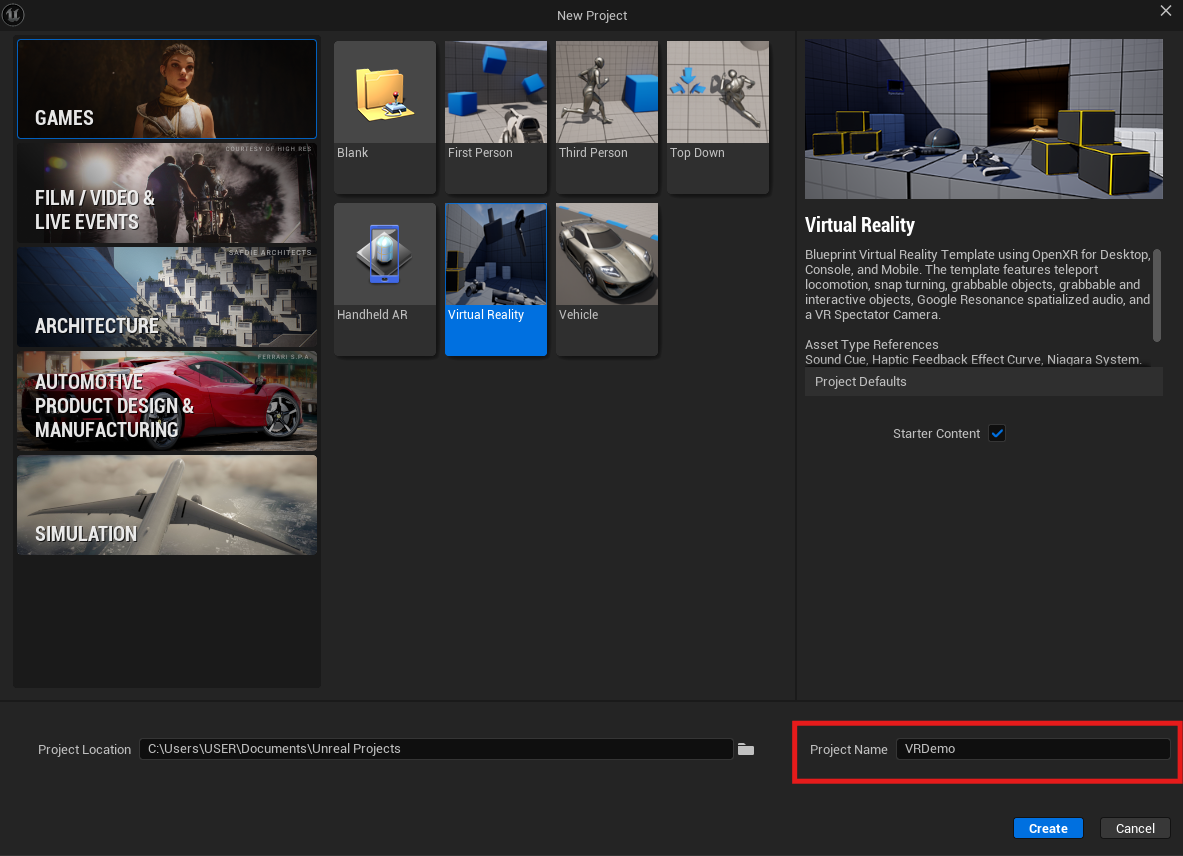
Step 4. Press the Create button.
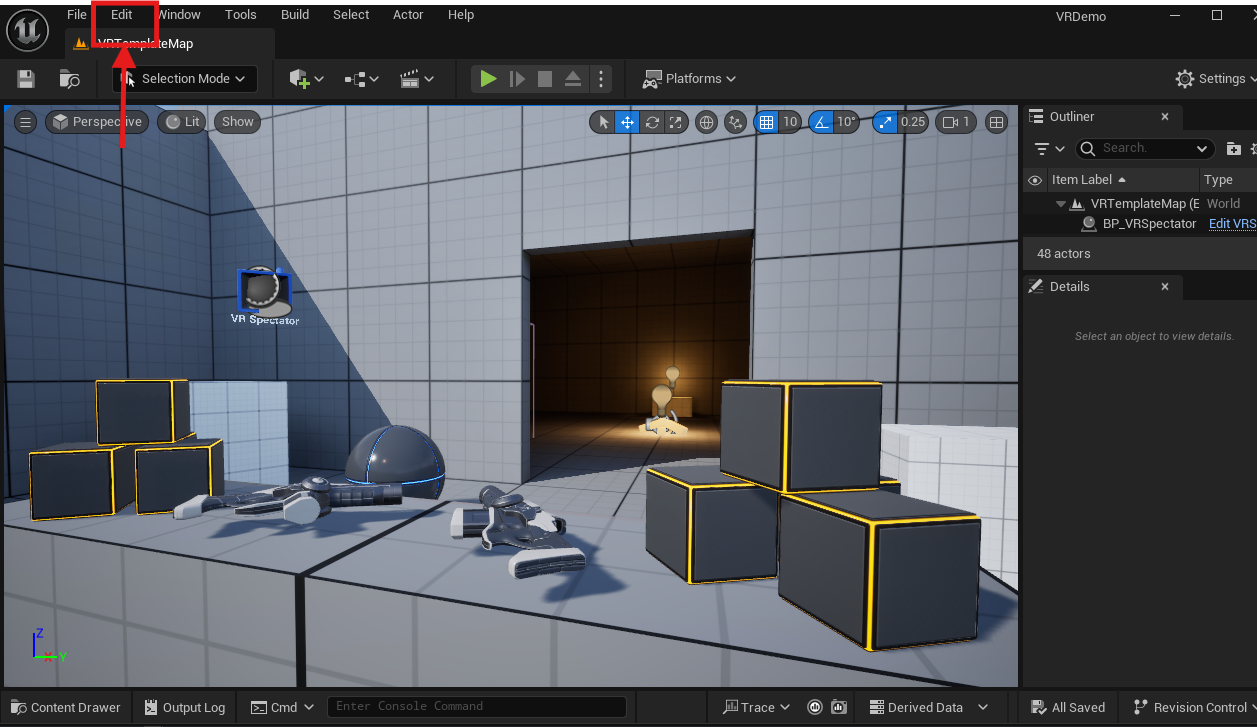
Step 5. Navigate to : Edit > Plugins.
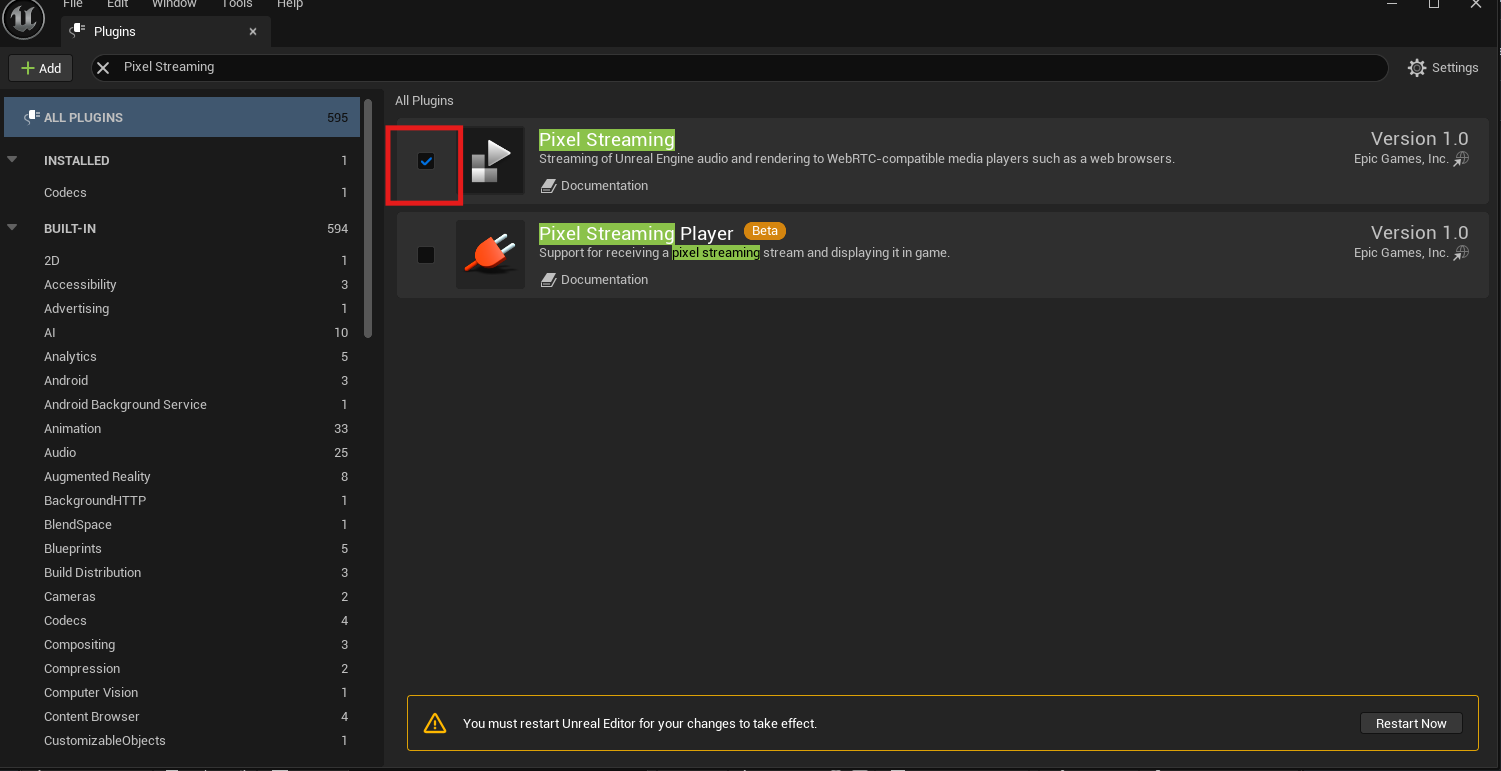
Step 6. Search “Pixel Streaming”
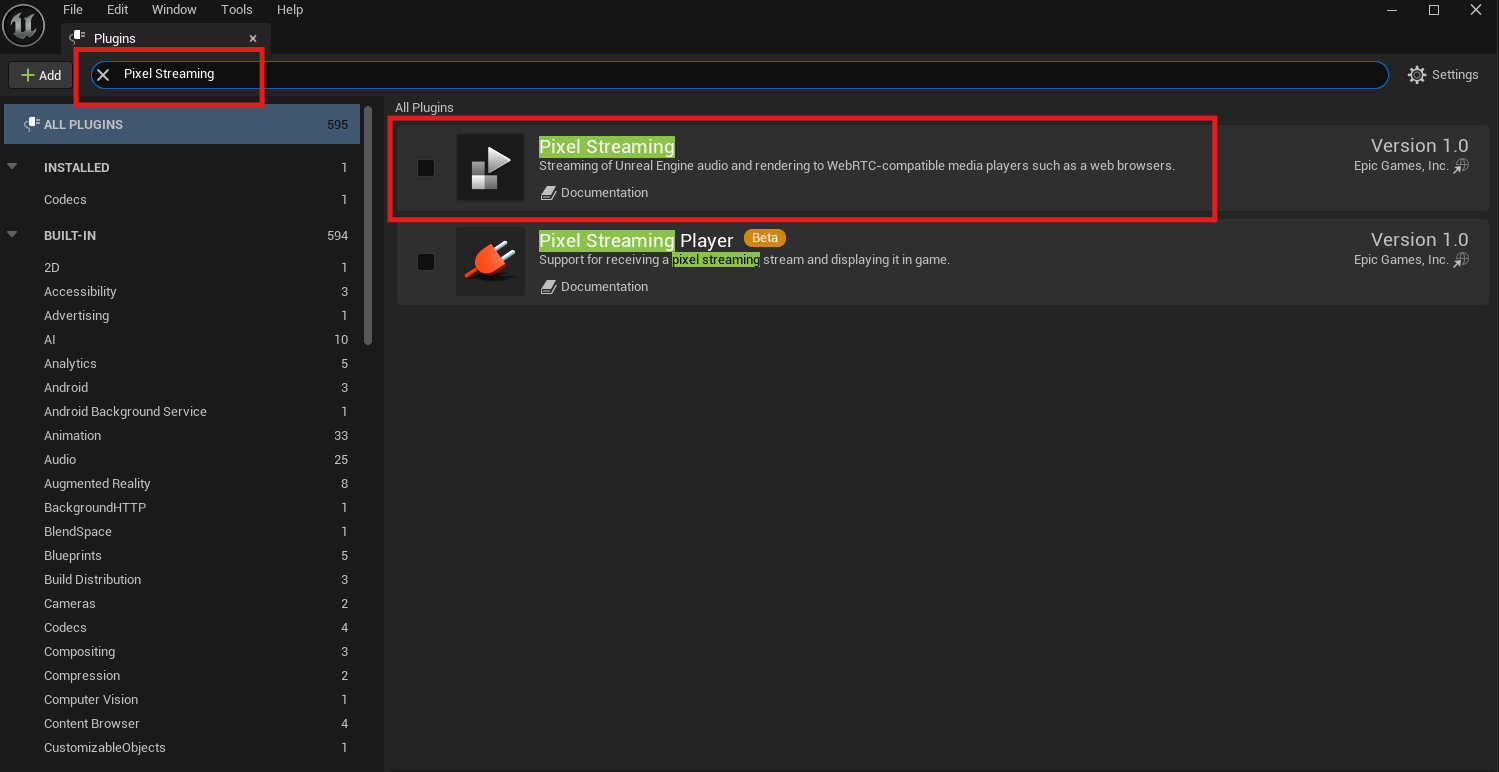
Step 7. Enable Pixel Streaming Plugin.
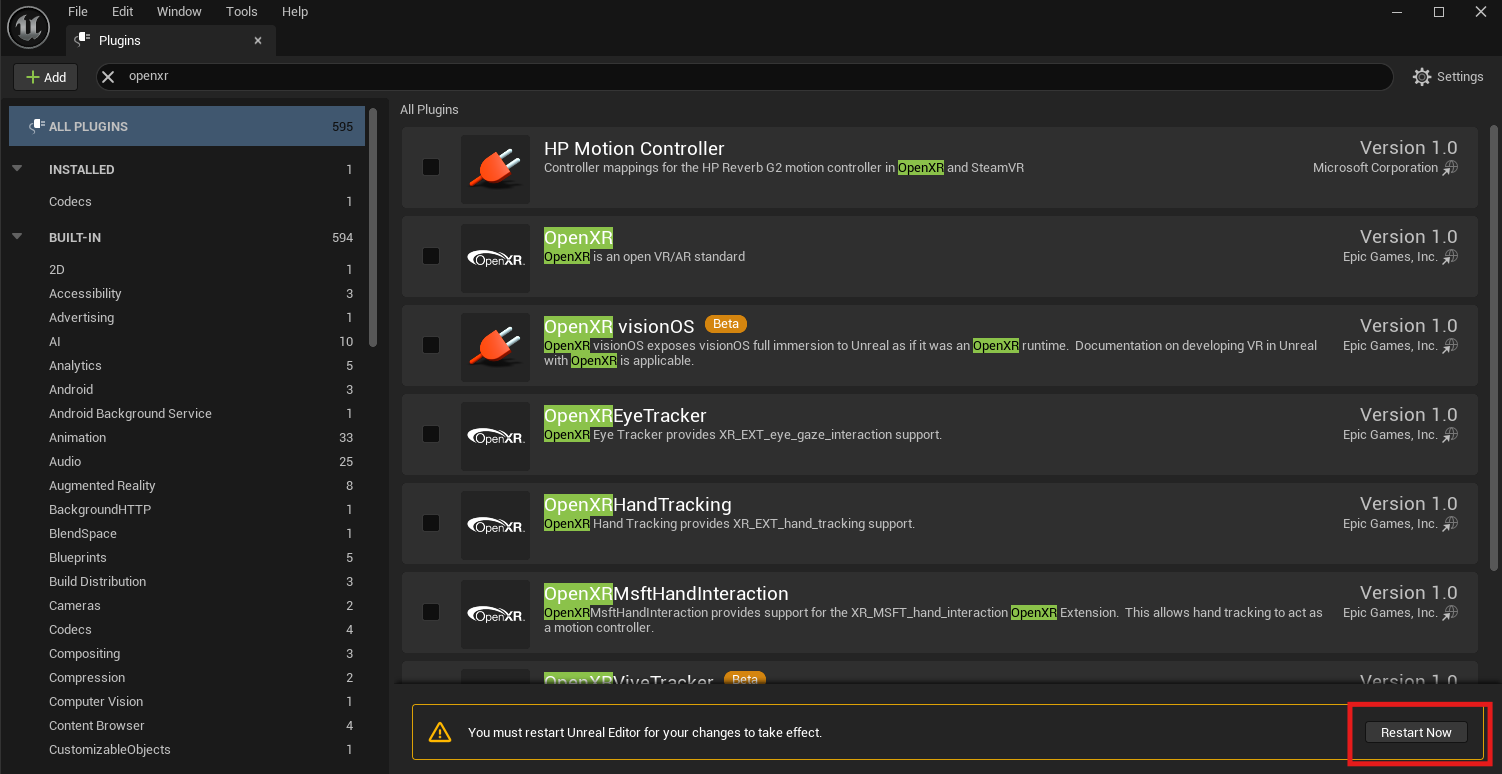
Step 8. Search “OpenXR”
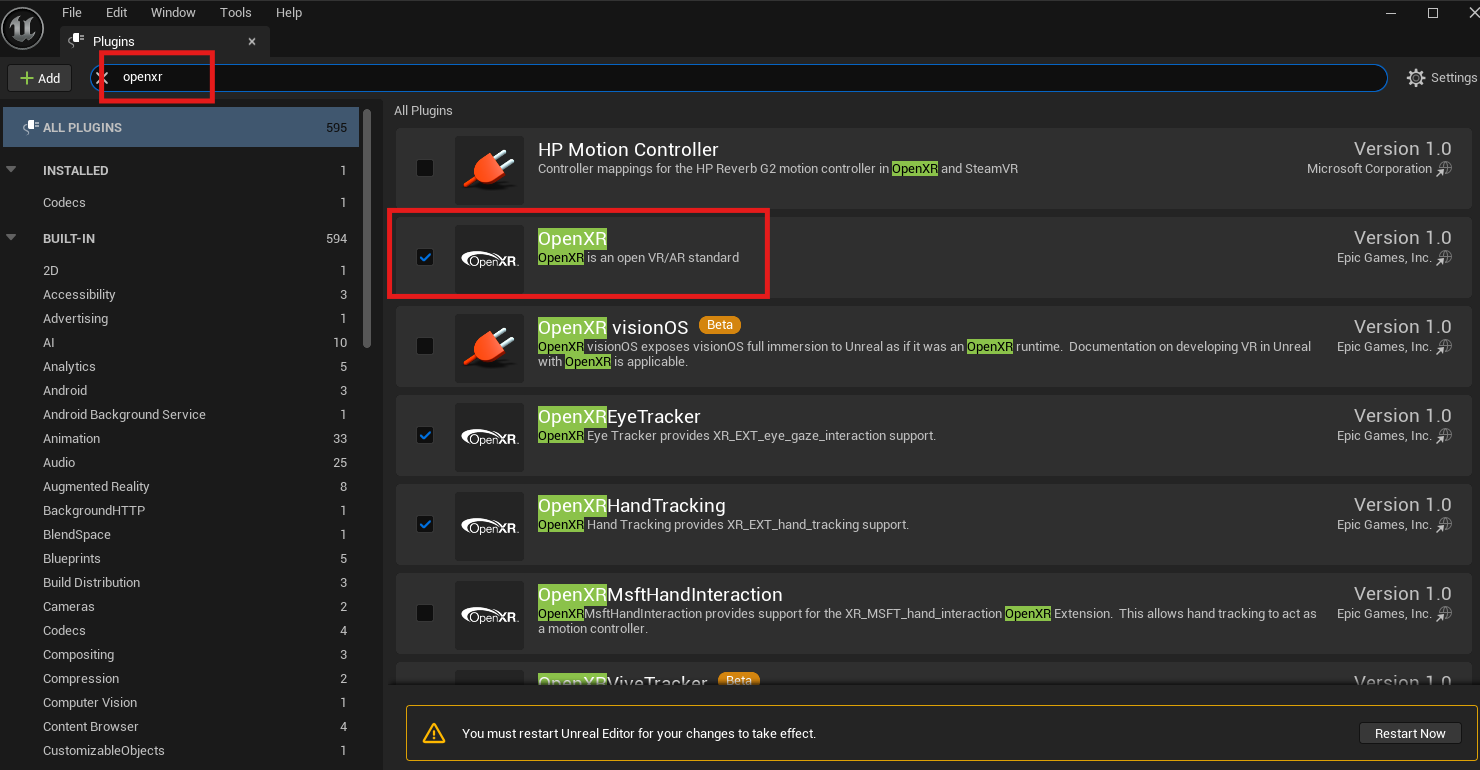
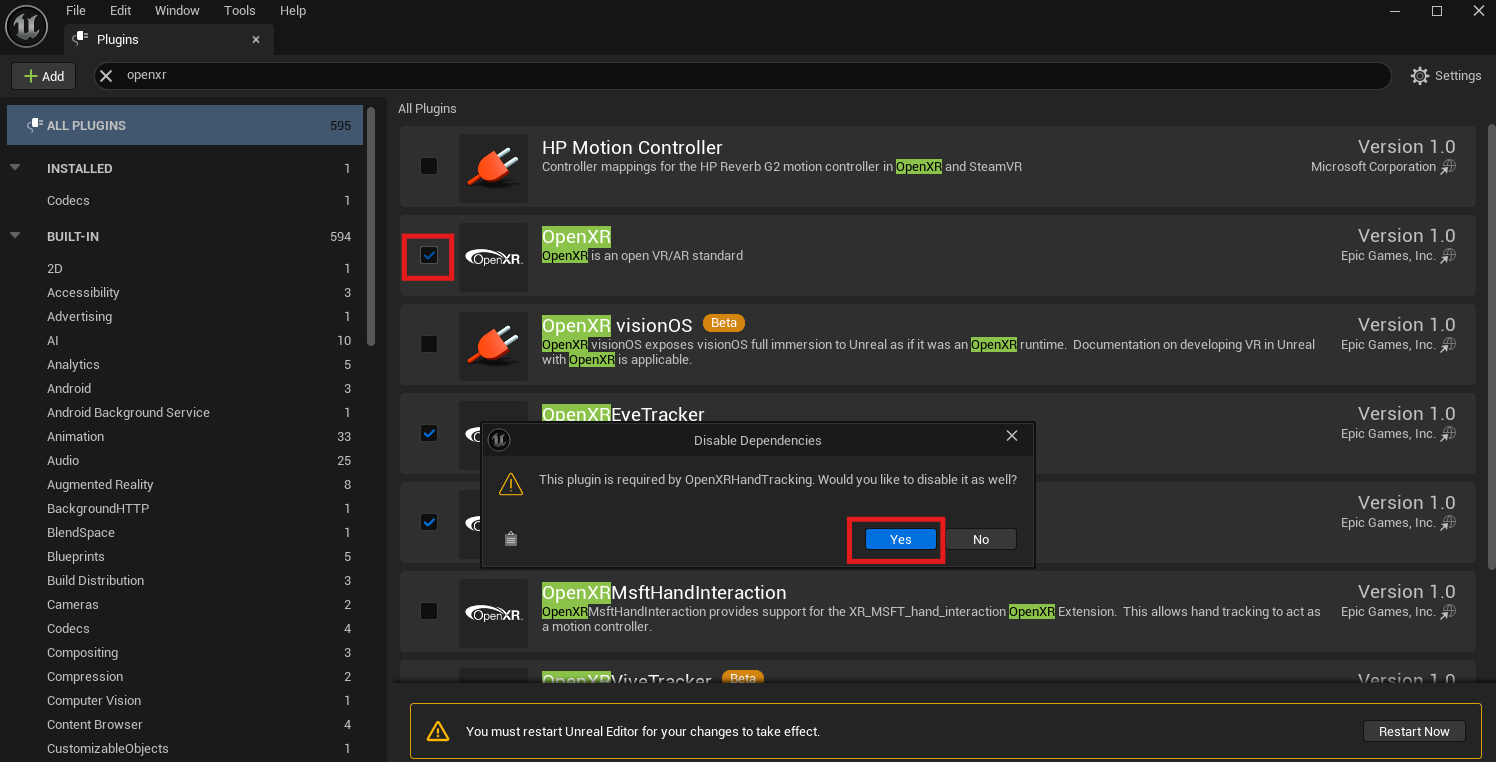
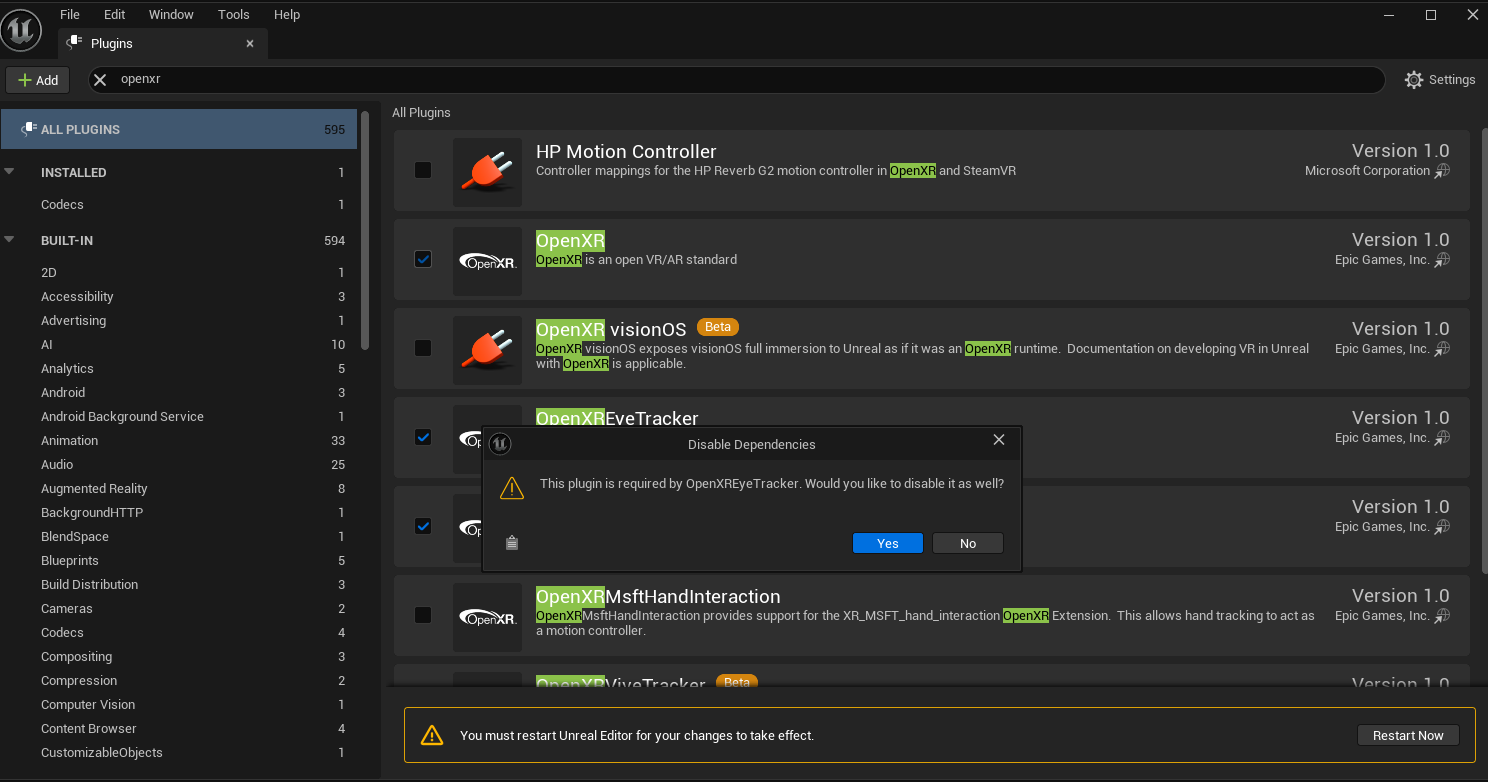
Step 9. Disable OpenXR Plugin.
Step 10. To apply the changes click Restart Now.
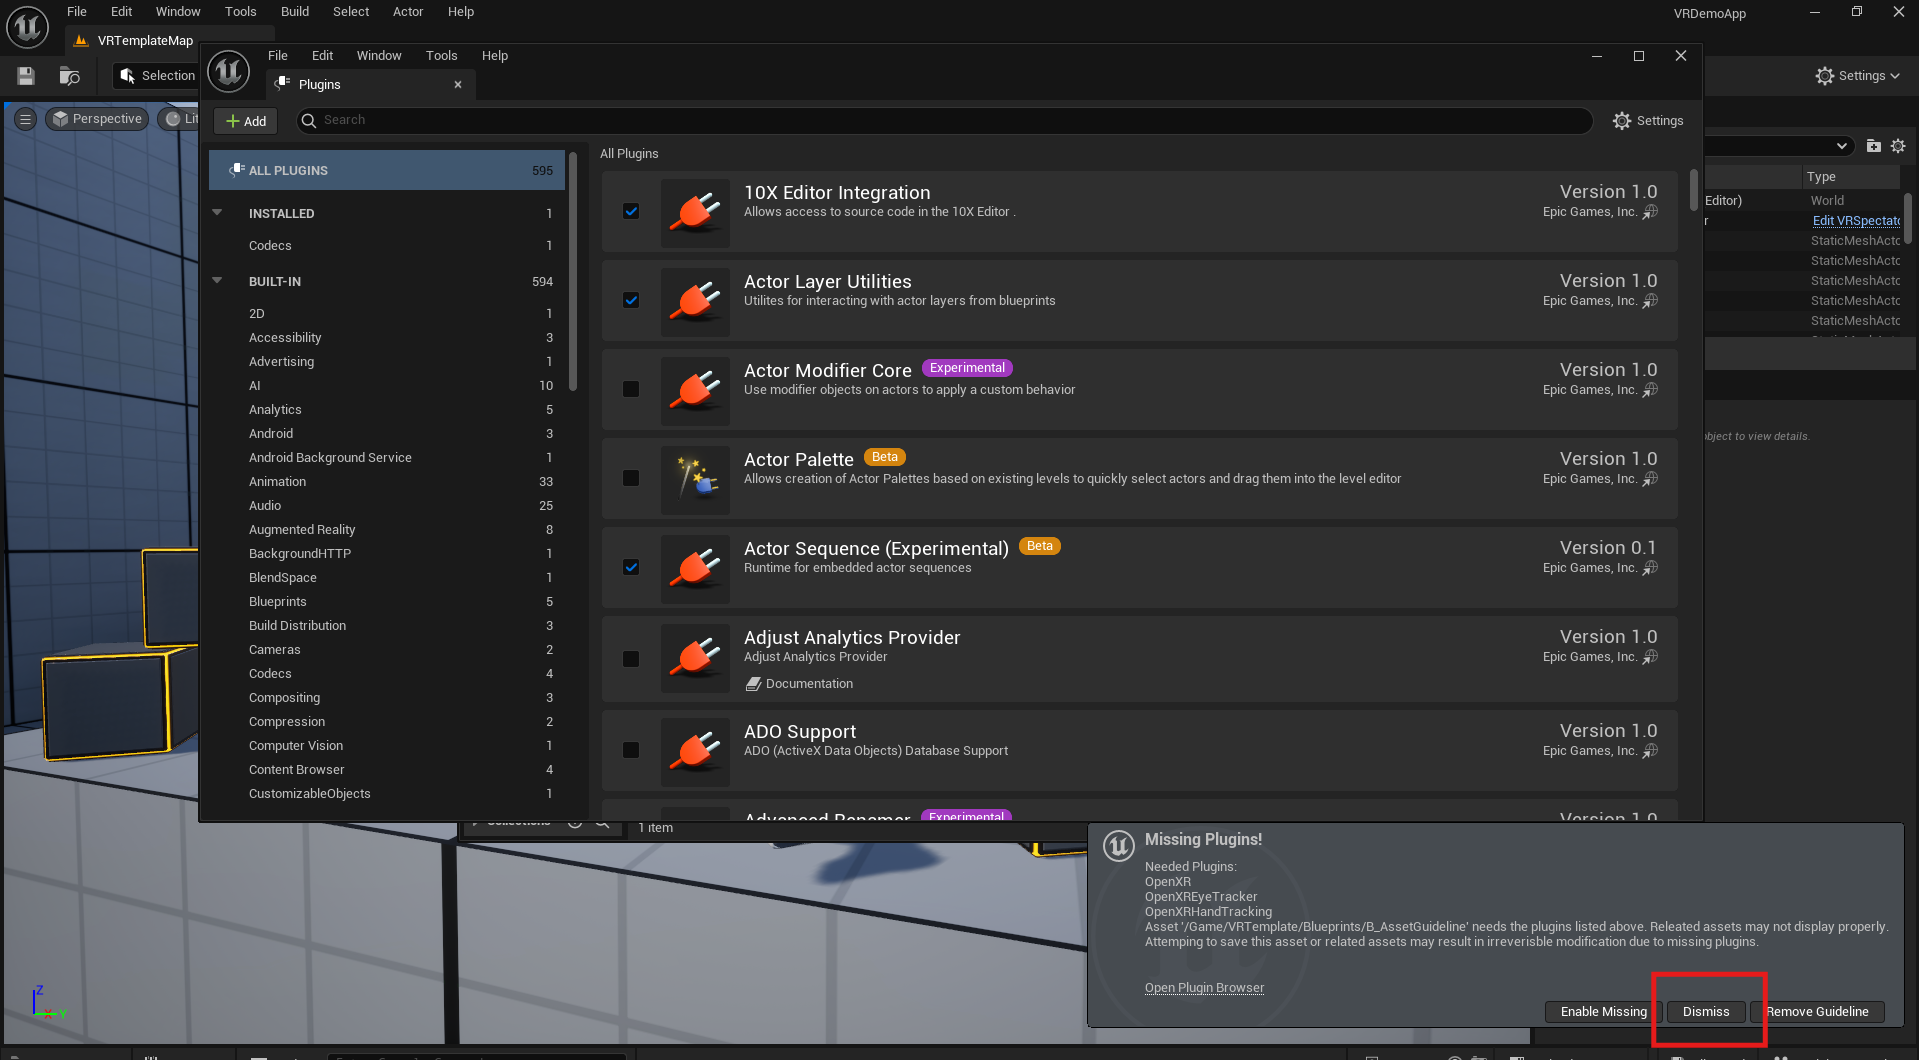
Step 11. Select Dismiss from the popup.
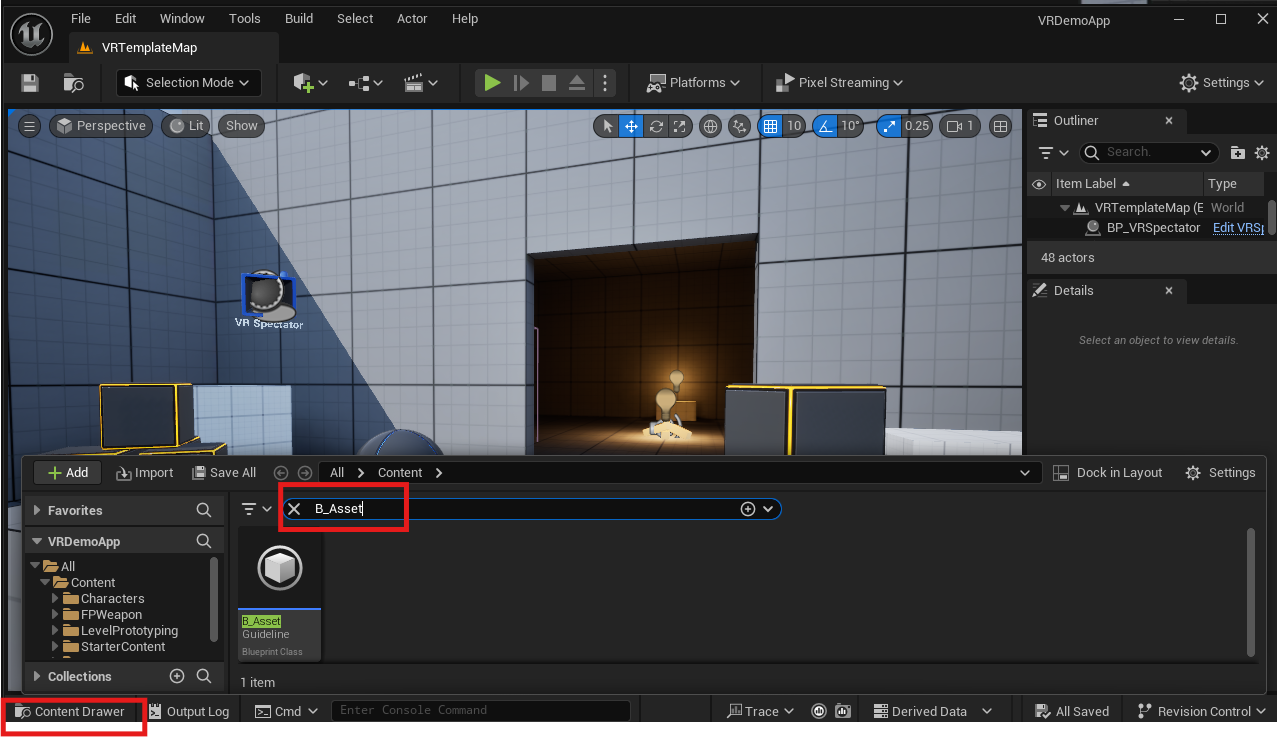
Step 12. Delete B_Asset Guideline from the Content Drawer.

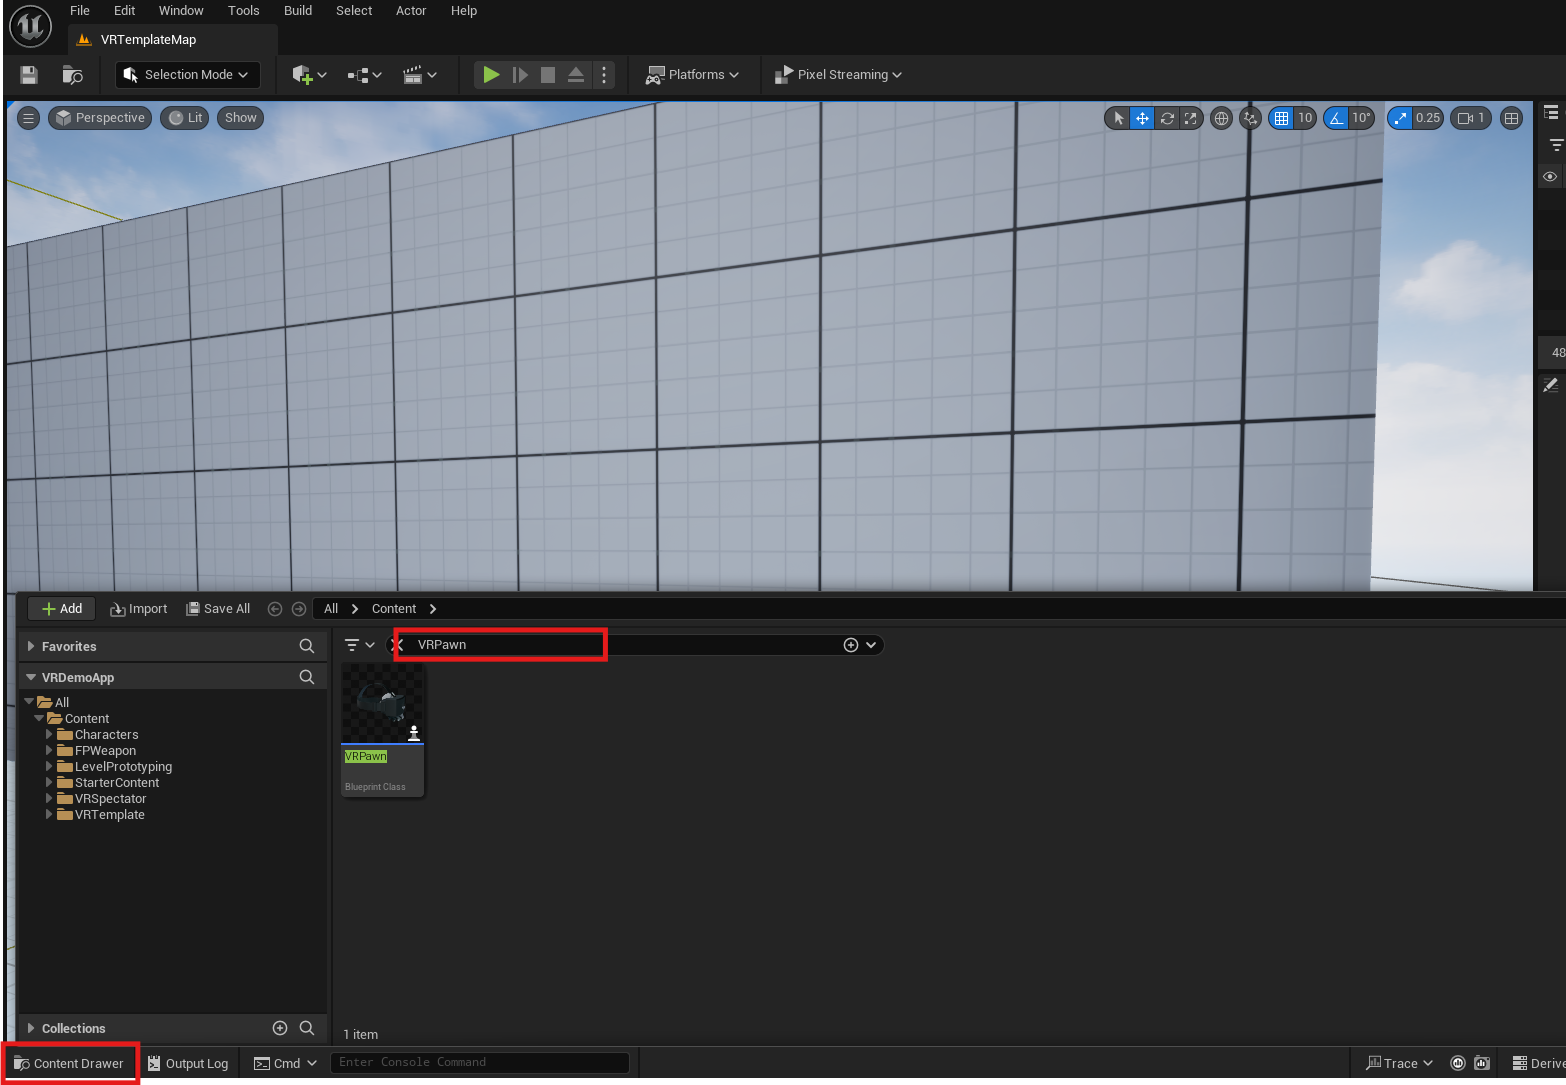
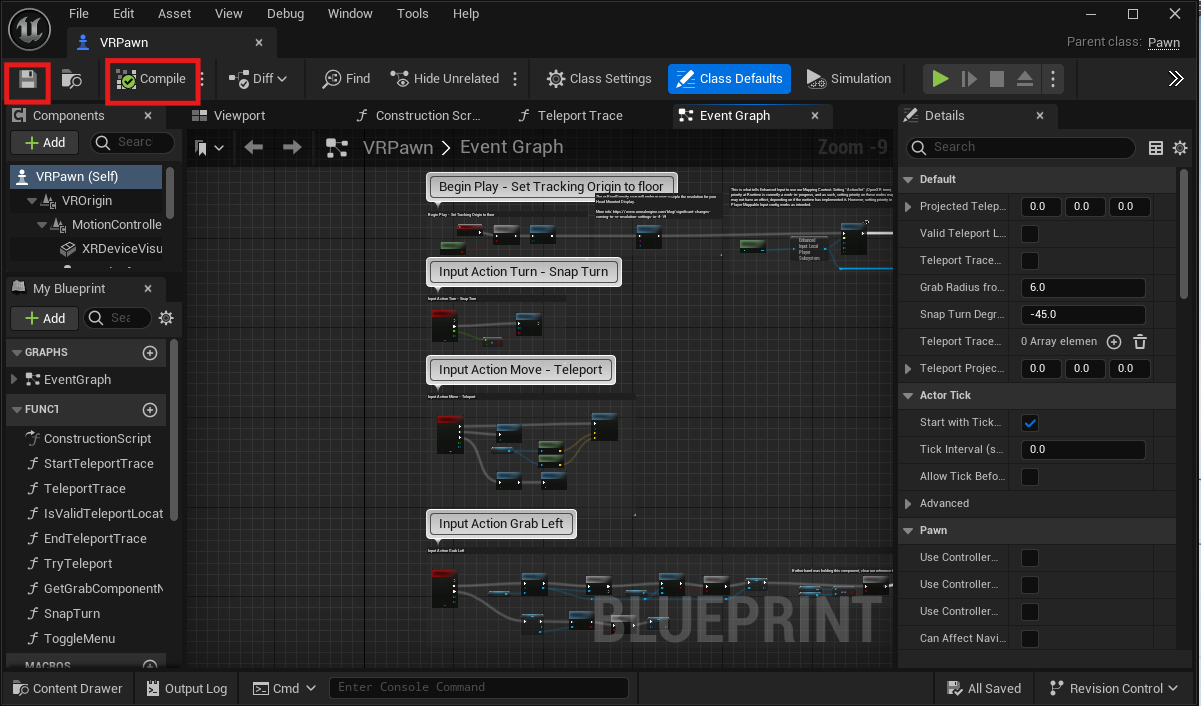
Step 13. Search “VRPawn” within Content Drawer and click on it.

Step 14. Compile and Save
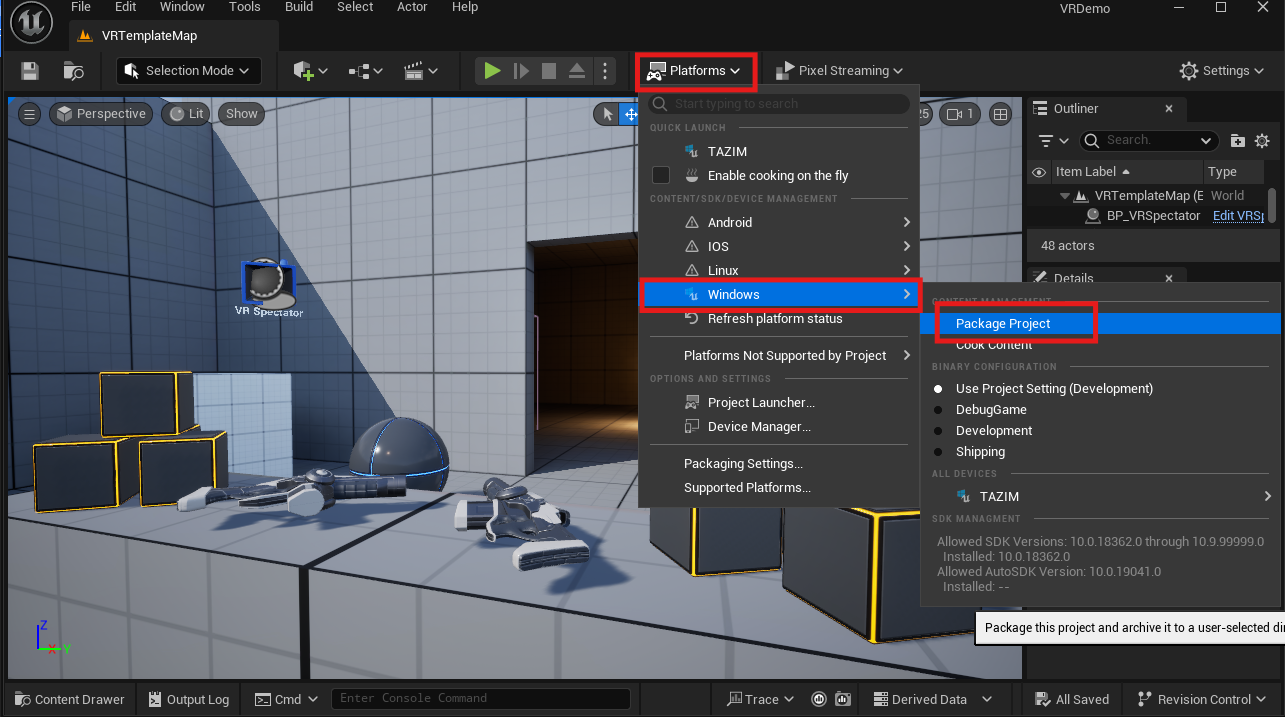
Step 15. Navigate to : Platforms > Windows > Package Project.
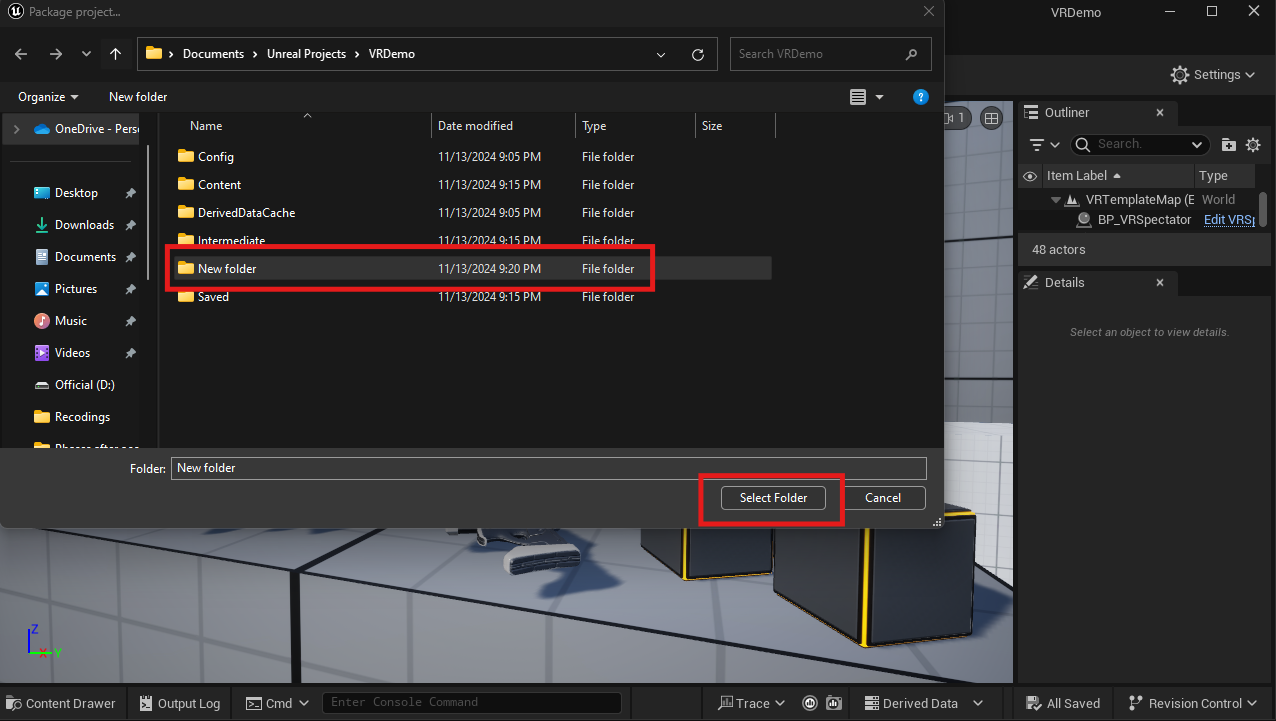
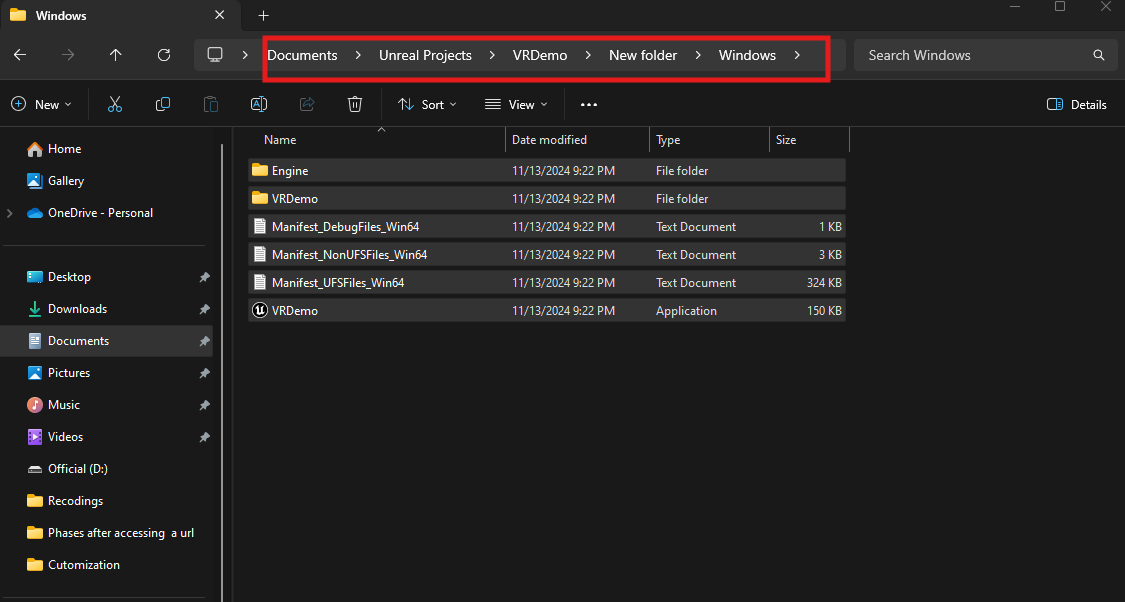
Step 16. Select or create a folder on your local computer to store Packaged Project.
The folder must be empty
Step 17. You will see Packaging started. You can see output logs by clicking Show Output Logs.
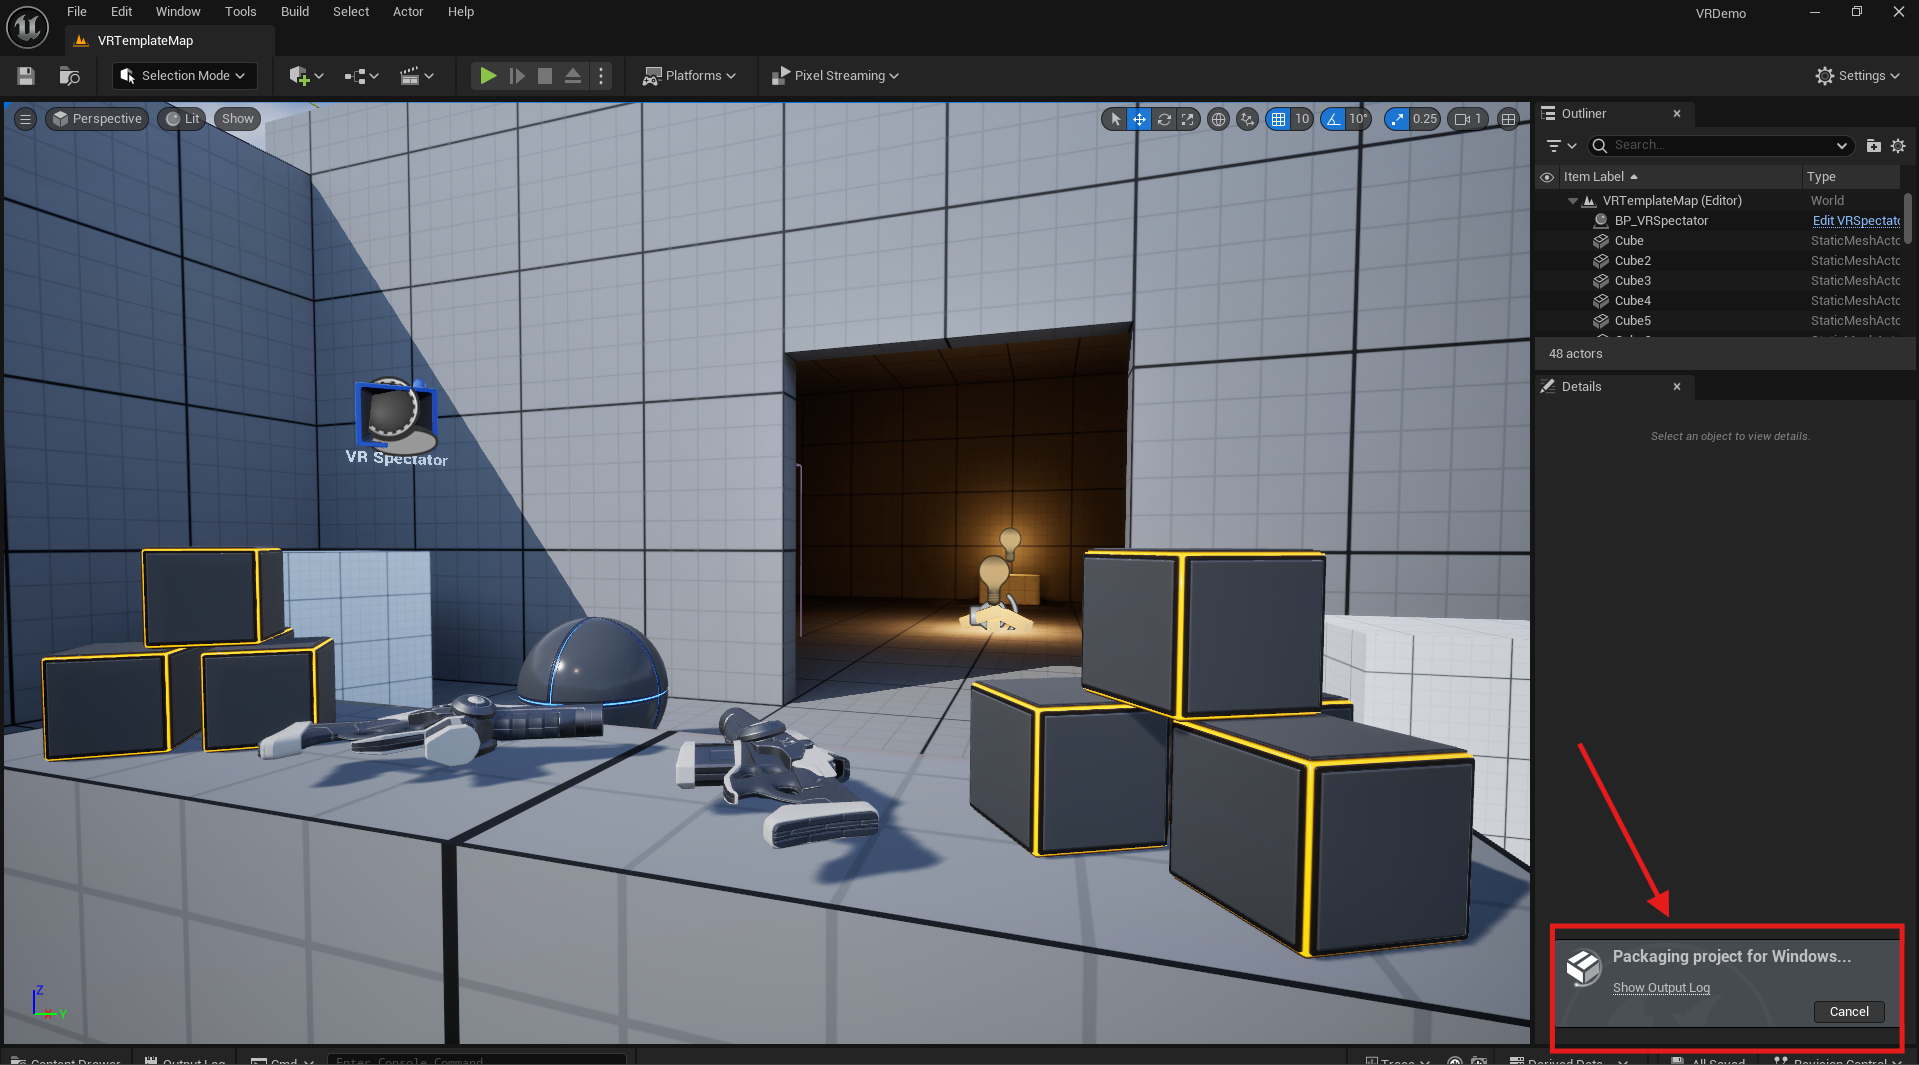
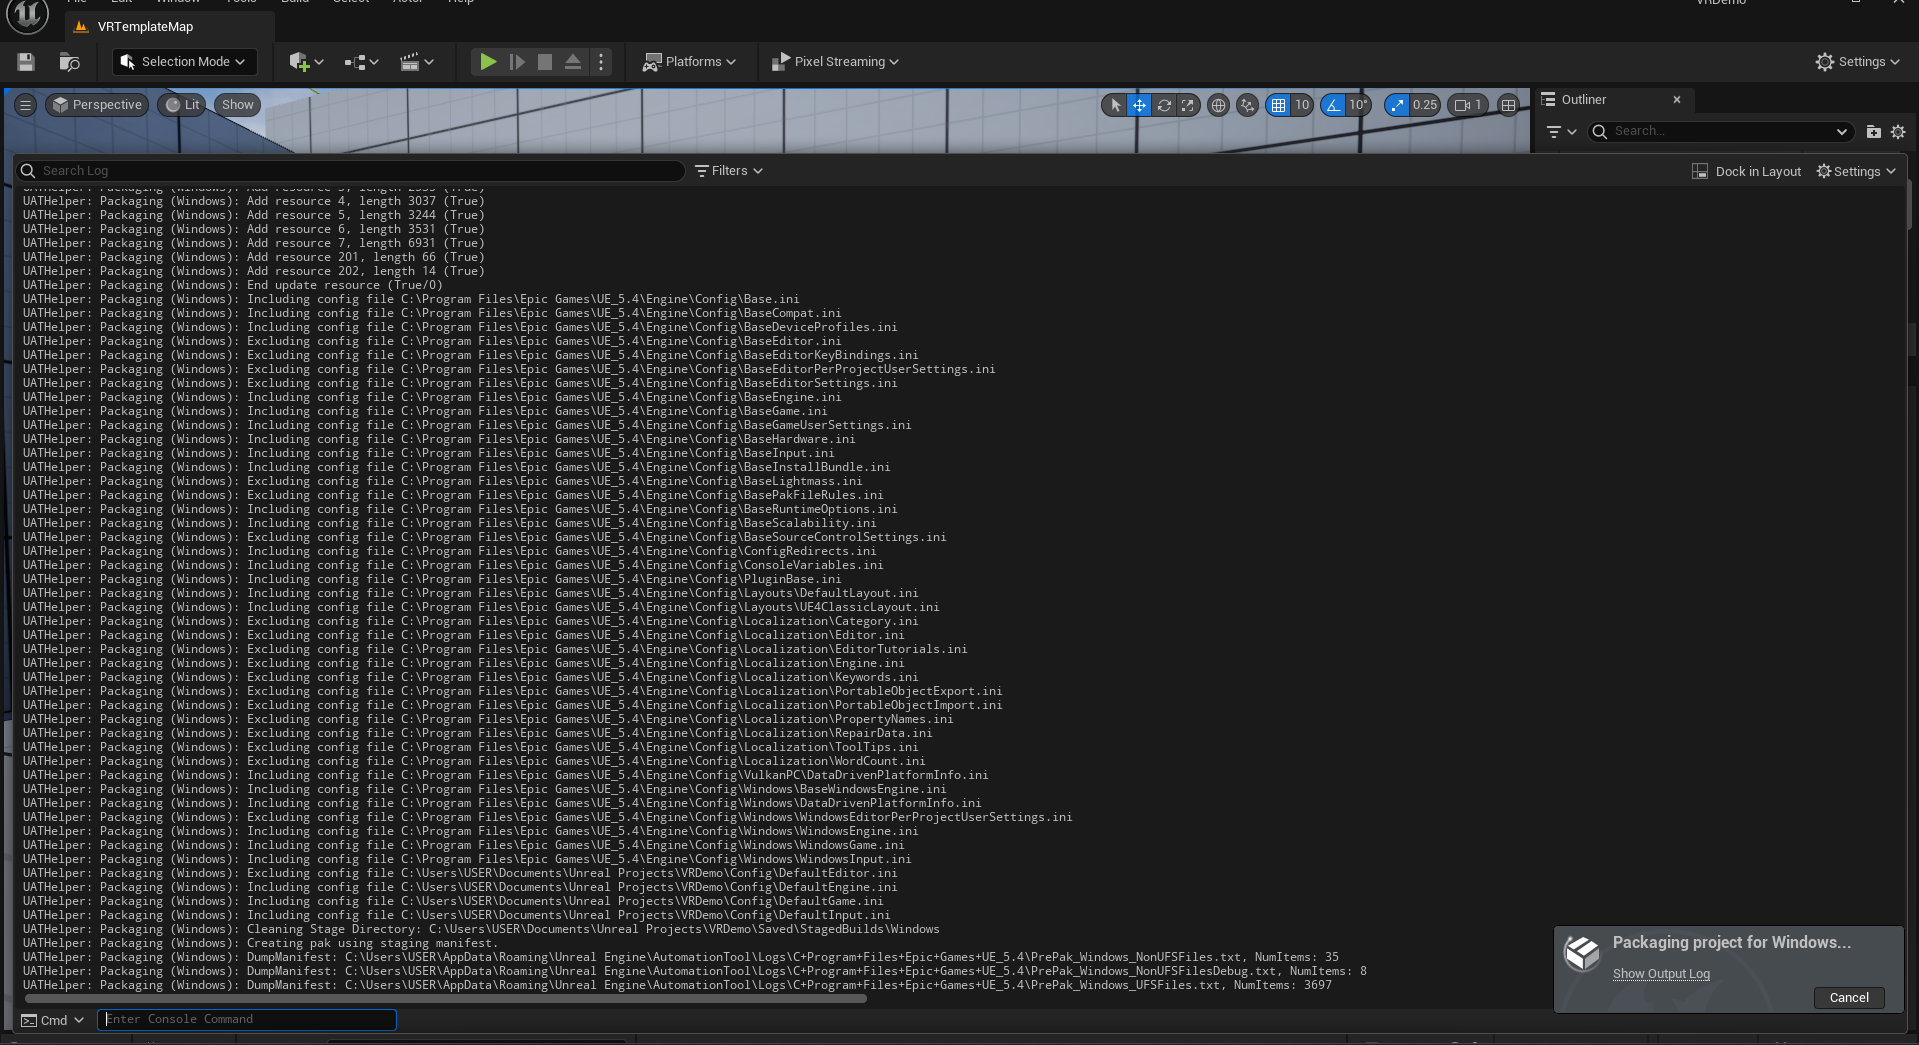
If packaging fails, it might be because Visual Studio is not properly configured with Unreal Engine. You can check this URL to configure Visual Studio.
Step 18. Select all the files and folders from the Windows Folder and compressed them into a ZIP file.
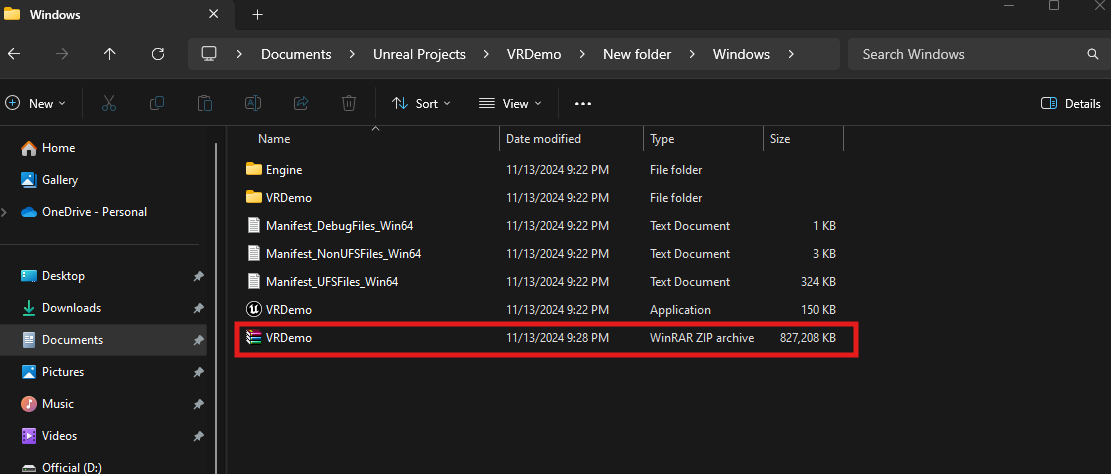
Your project is ready to be uploaded and streamed.
Need help?
If you need any assistance, feel free to reach out through any of the following channels:
🛠️ Support Portal: Contact Our Support Team
💬 Discord Community (Faster Support): Join Our Discord Community
📧 Email Support: support@eagle3dstreaming.com
Follow us on:
Facebook | GitHub | LinkedIn | YouTube