Before uploading your App on the Control Panel, you should test it with Epic’s Signaling Server first, to make sure it is ready for Pixel Streaming.
You can download the following app and test it locally using the Epic signaling server:
This app has successfully passed the upload sequence, indicating that there are no issues with it.
Follow the steps to test your app locally using the Epic Signaling Server:
Step 1. Run the .exe file as Desktop App
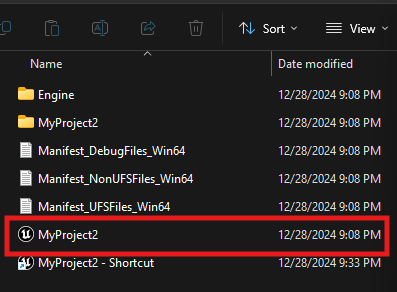

If the application does not launch as a standard desktop app, the packaged build is invalid. In that case, it will not work with Pixel Streaming.
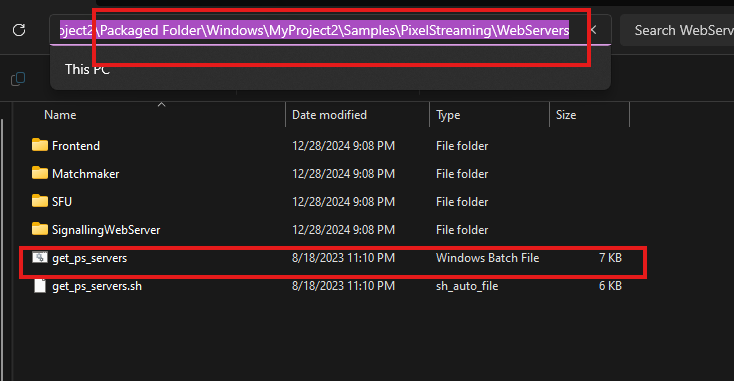
Step 2. Follow the path below and run the“get_ps_servers.bat” file
Selected Folder for Packaging > Windows > Your Project Name Folder > Samples > PixelStreaming > WebServers > get_ps_servers.bat
Let’s say your project name is MyProject2 and you have selected the “Packaged Folder” while packaging the project. The path of the get_ps_servers.bat file would be:
Packaged Folder > Windows > MyProject2 > Samples > PixelStreaming > WebServers
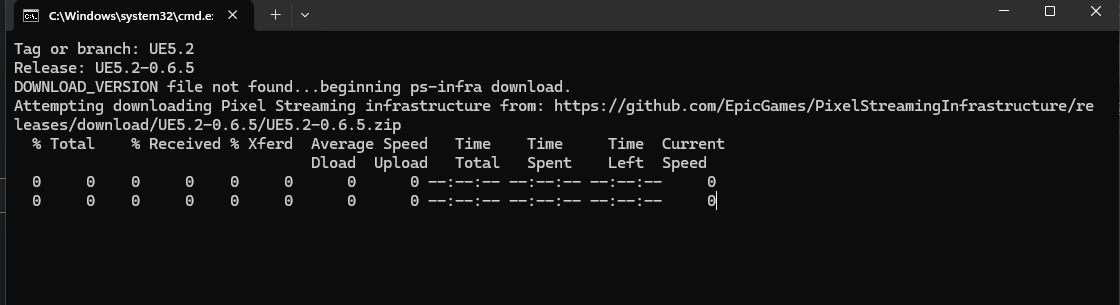
Step 3. Once you click on “get_ps_servers.bat” some file will start downloading and a terminal will be displayed like below:
After downloading all required files the terminal will be automatically closed.
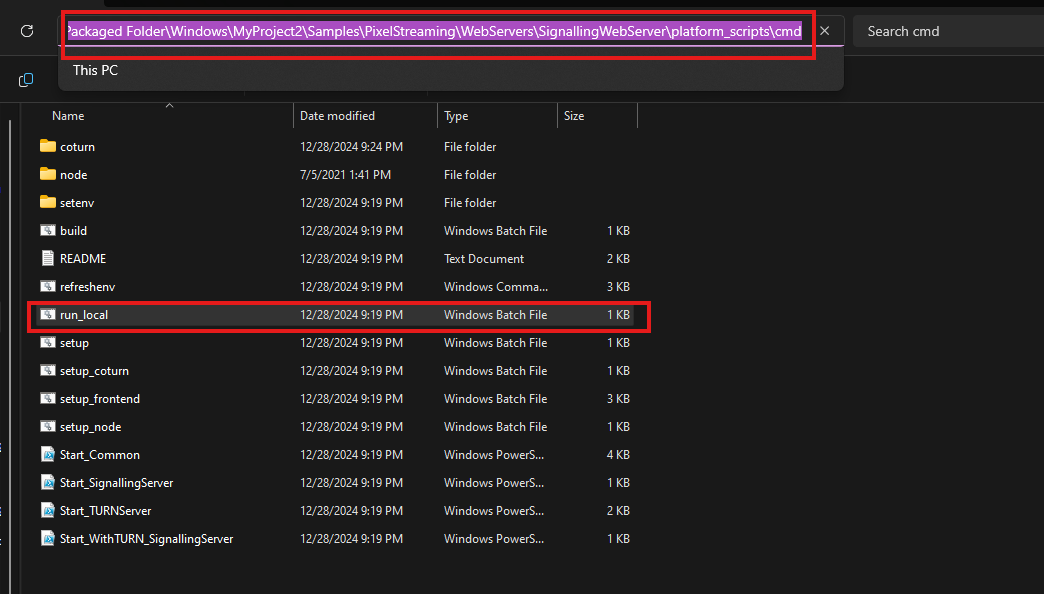
Step 4. Run the “run_local.bat” file
Follow the path below and click on “run_local.bat”:
In newer versions of Unreal Engine, the run_local.bat file has been renamed to Start.bat.
Please follow the same path and click on Start.bat instead.
Selected Folder for Packaging > Windows > Your Project Name Folder > Samples > PixelStreaming > WebServers > SignalingWebServer > platform_scripts > cmd
Let’s say your project name is MyProject2 and you have selected the “Packaged Folder” while packaging the project. The path of the run_local.bat file would be:
Packaged Folder > Windows > MyProject2 > Samples > PixelStreaming > WebServers > SignalingWebServer > platform_scripts > cmd
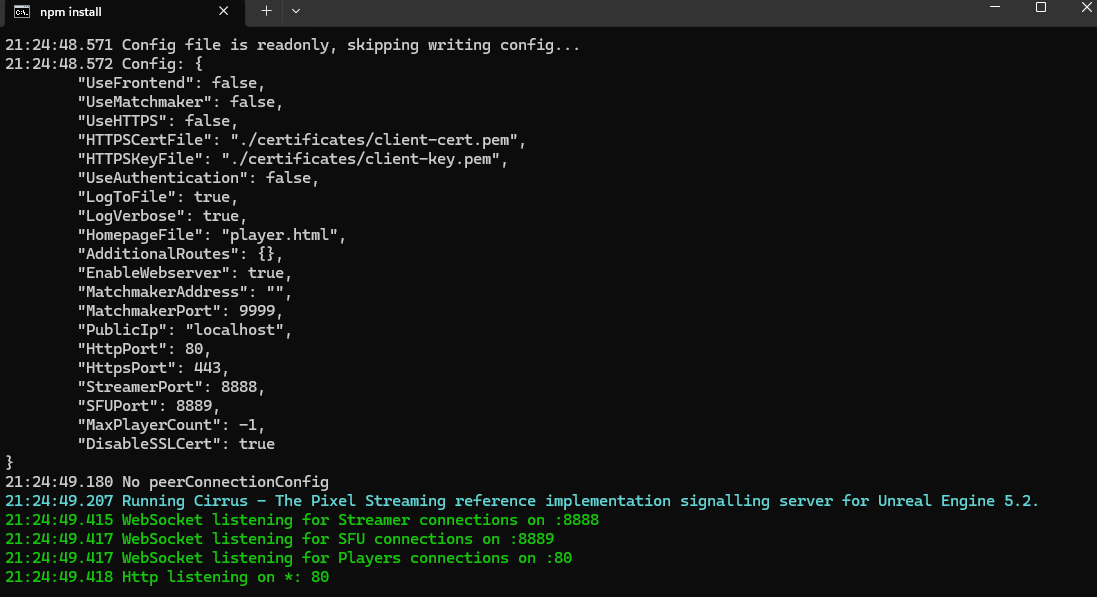
Step 5. All required files will be downloaded.
Once you click on “run_local.bat”, some files will be download and a terminal will be displayed like below:
Don’t close the terminal for rest of the tutorial of this section
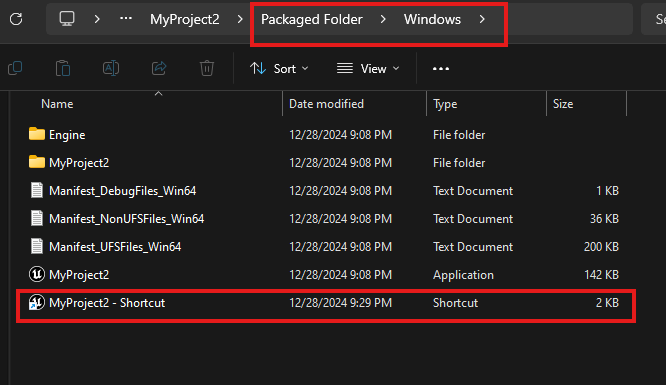
Step 6. Follow the path below and and create a shortcut of the exe file of your app:
Selected Folder for Packaging > Windows
Let’s say your project name is MyProject2 and you have selected the “Packaged Folder” while packaging the project. Then find the exe file in following path and make a shortcut of this file:
Packaged Folder > Windows
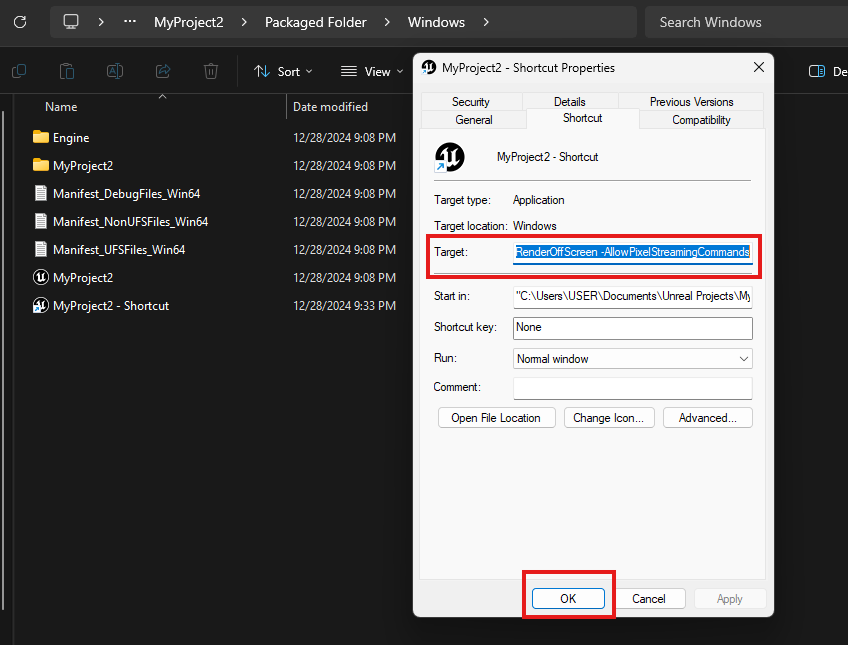
Step 7. Right click on the shortcut app and go to Properties.
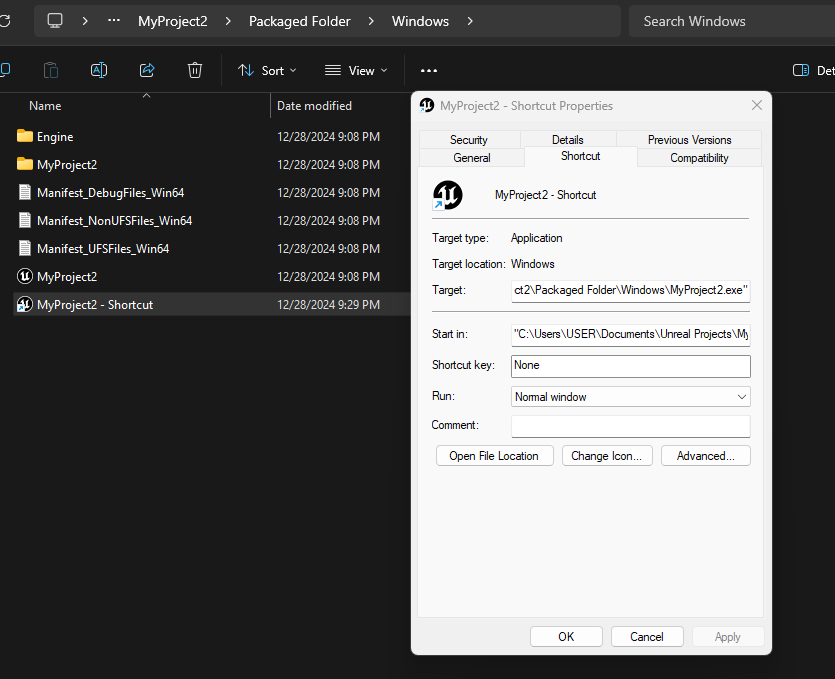
Step 8. In the Target field go to end of existing line and hit a space from your keyboard. Then paste the command line from below and click ok.
-log -AudioMixer -PixelStreamingIP=localhost -PixelStreamingPort=8888 -RenderOffScreen -AllowPixelStreamingCommands
Let’s say in the target field existing location is "C:\Users\USER\Documents\Unreal Projects\MyProject2\Packaged Folder\Windows\MyProject2.exe"
You will go the the end of the line and give a space from your keyboard and paste the above command. After pasting the target field will look like this:
"C:\Users\USER\Documents\Unreal Projects\MyProject2\Packaged Folder\Windows\MyProject2.exe" -log -AudioMixer -PixelStreamingIP=localhost -PixelStreamingPort=8888 -RenderOffScreen -AllowPixelStreamingCommands
Then Click OK button.
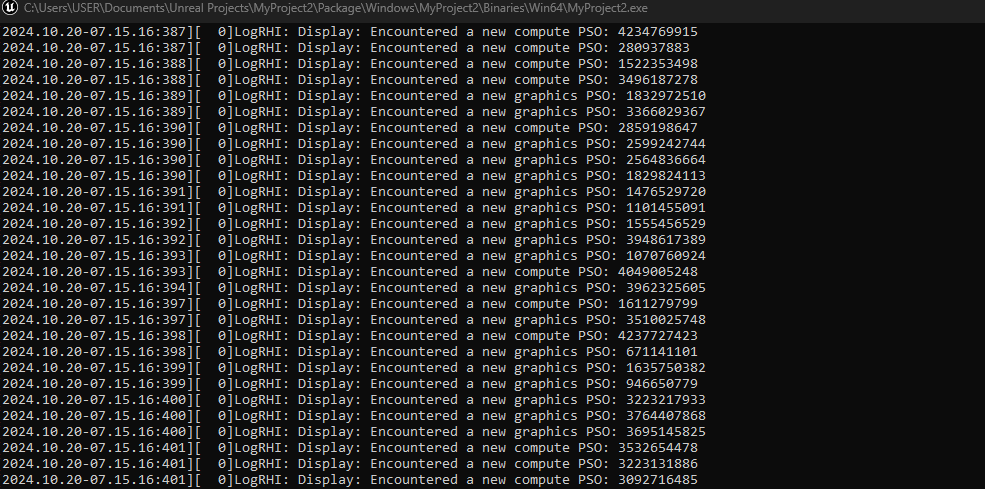
Step 9. Double click on the shortcut of the exe file to open it.
Don’t close the terminal for rest of the tutorial of this section
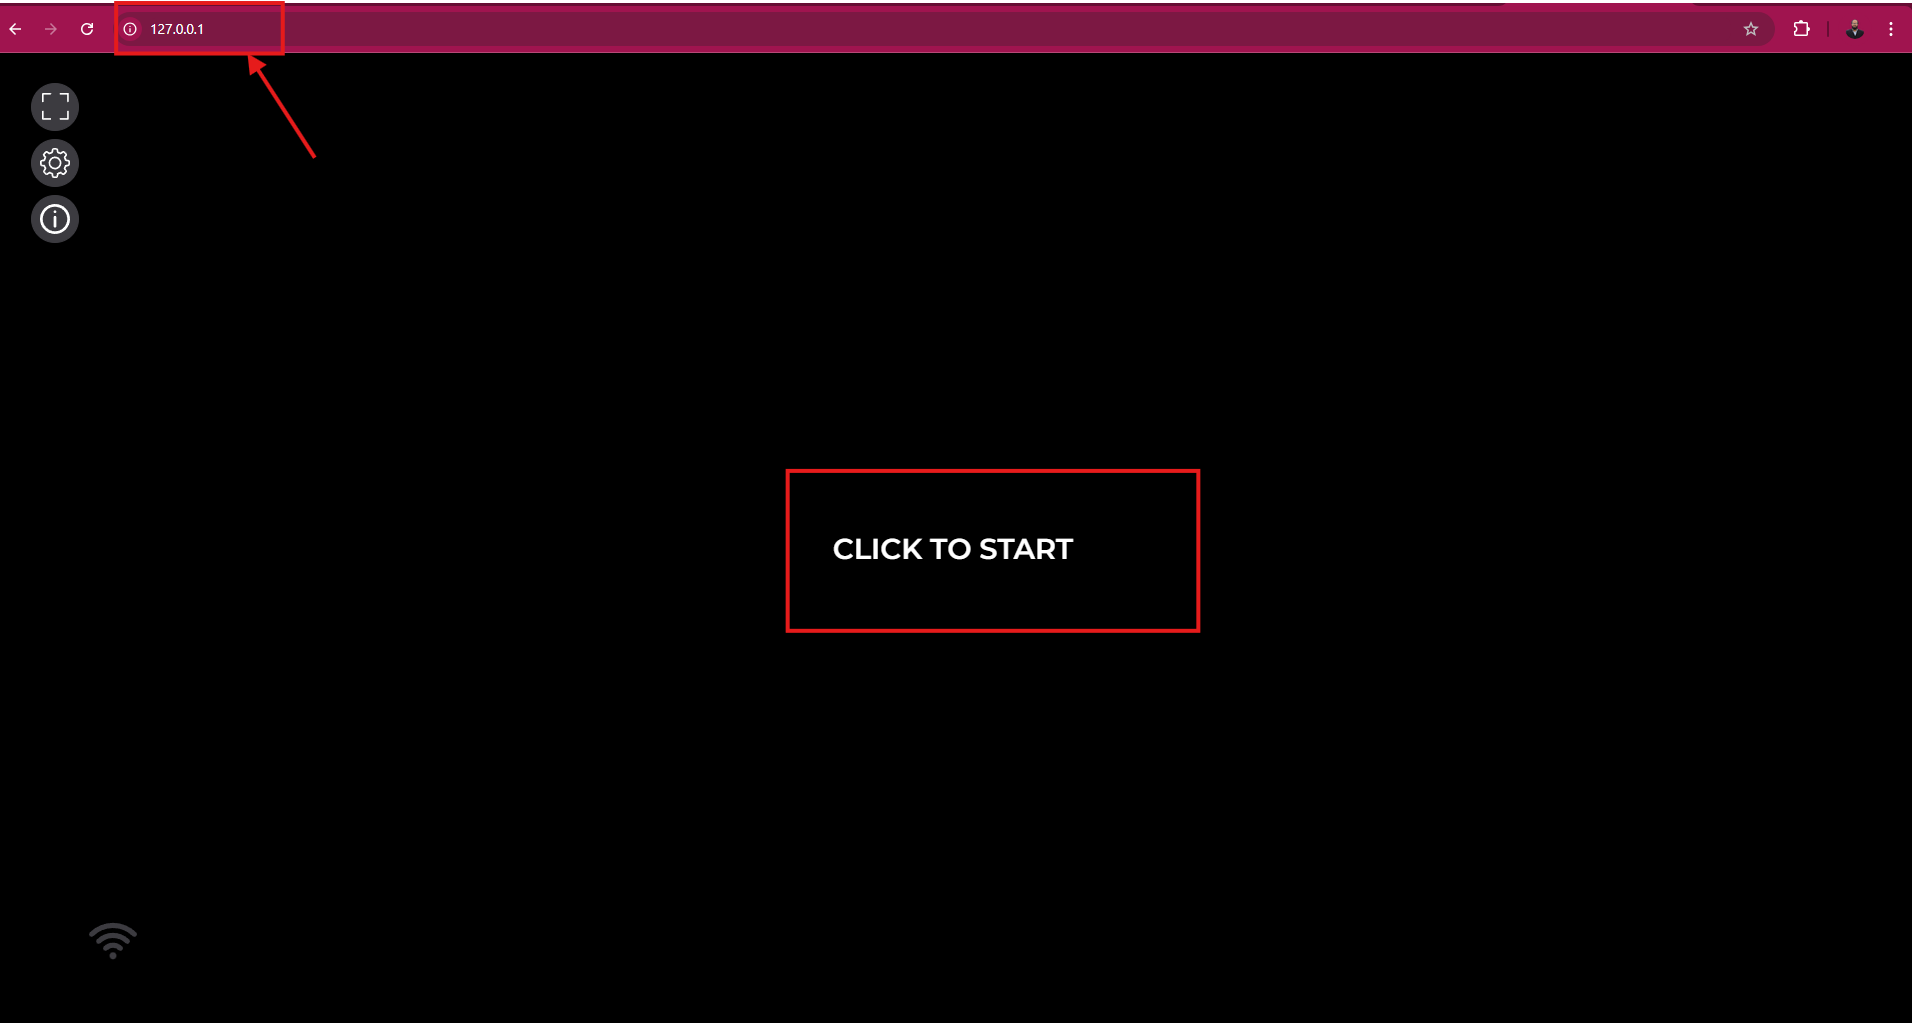
Step 10. CLICK TO START Streaming.
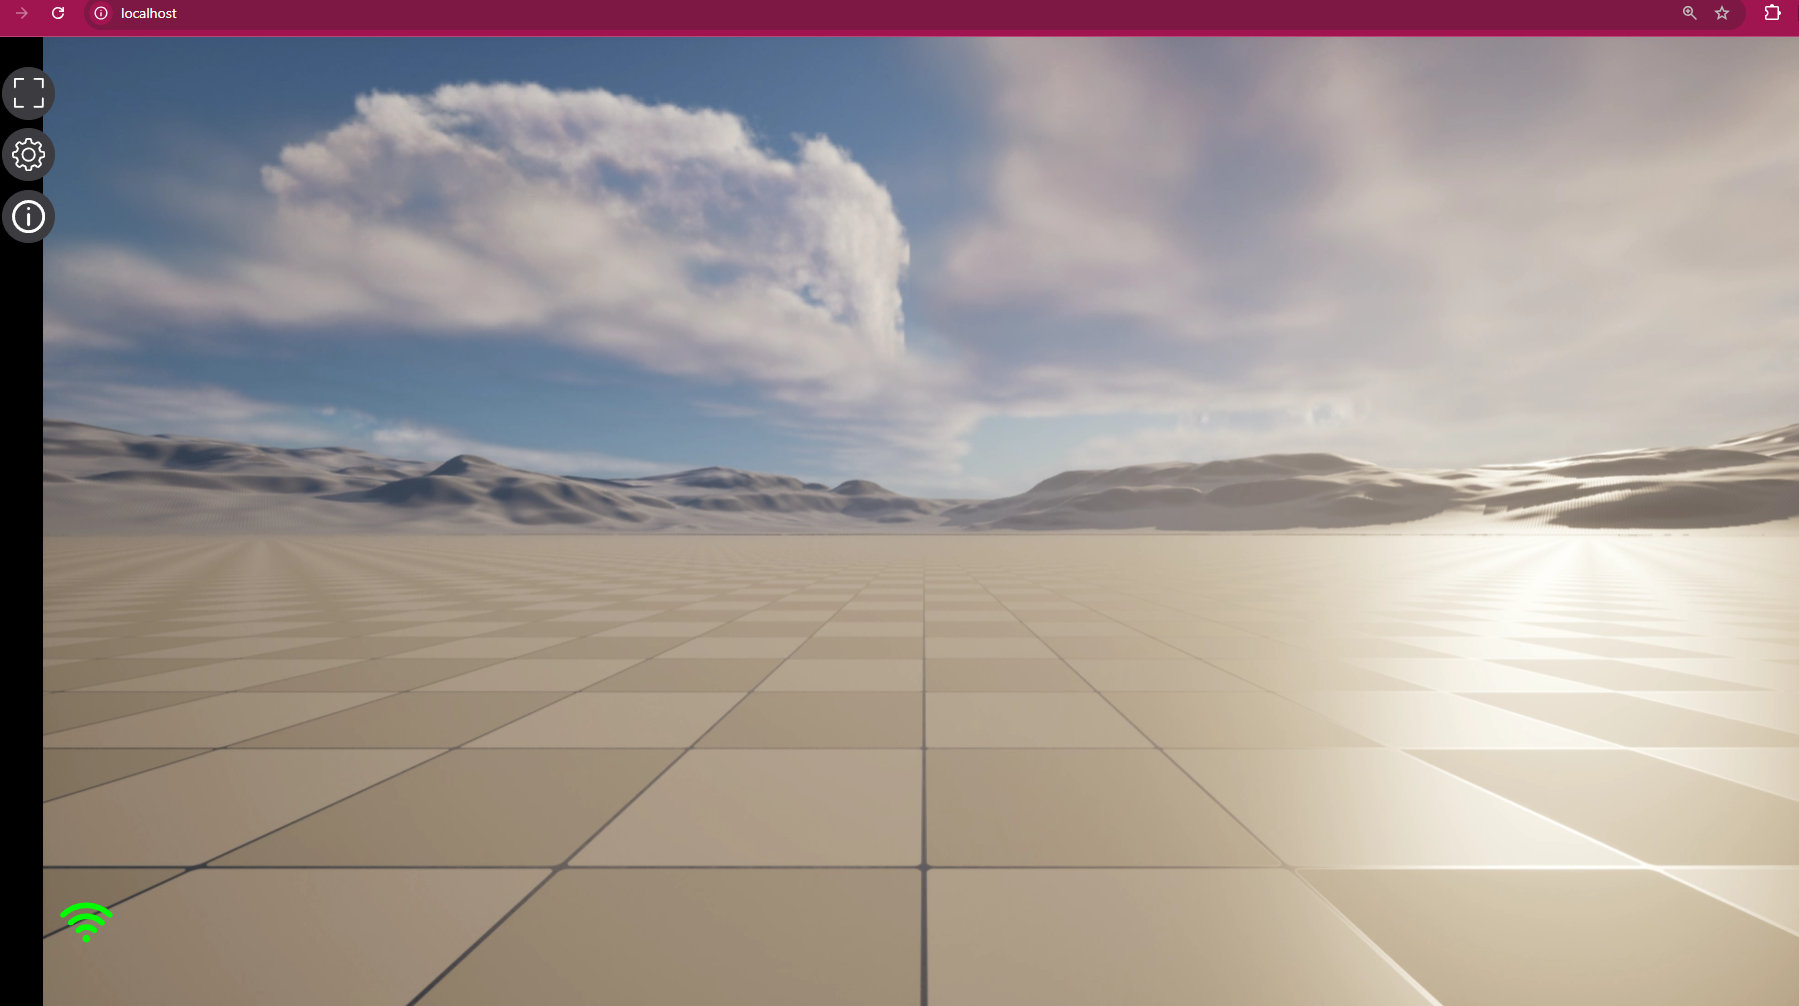
Open your browser and type “localhost” or “127.0.0.1”. Then press CLICK TO START
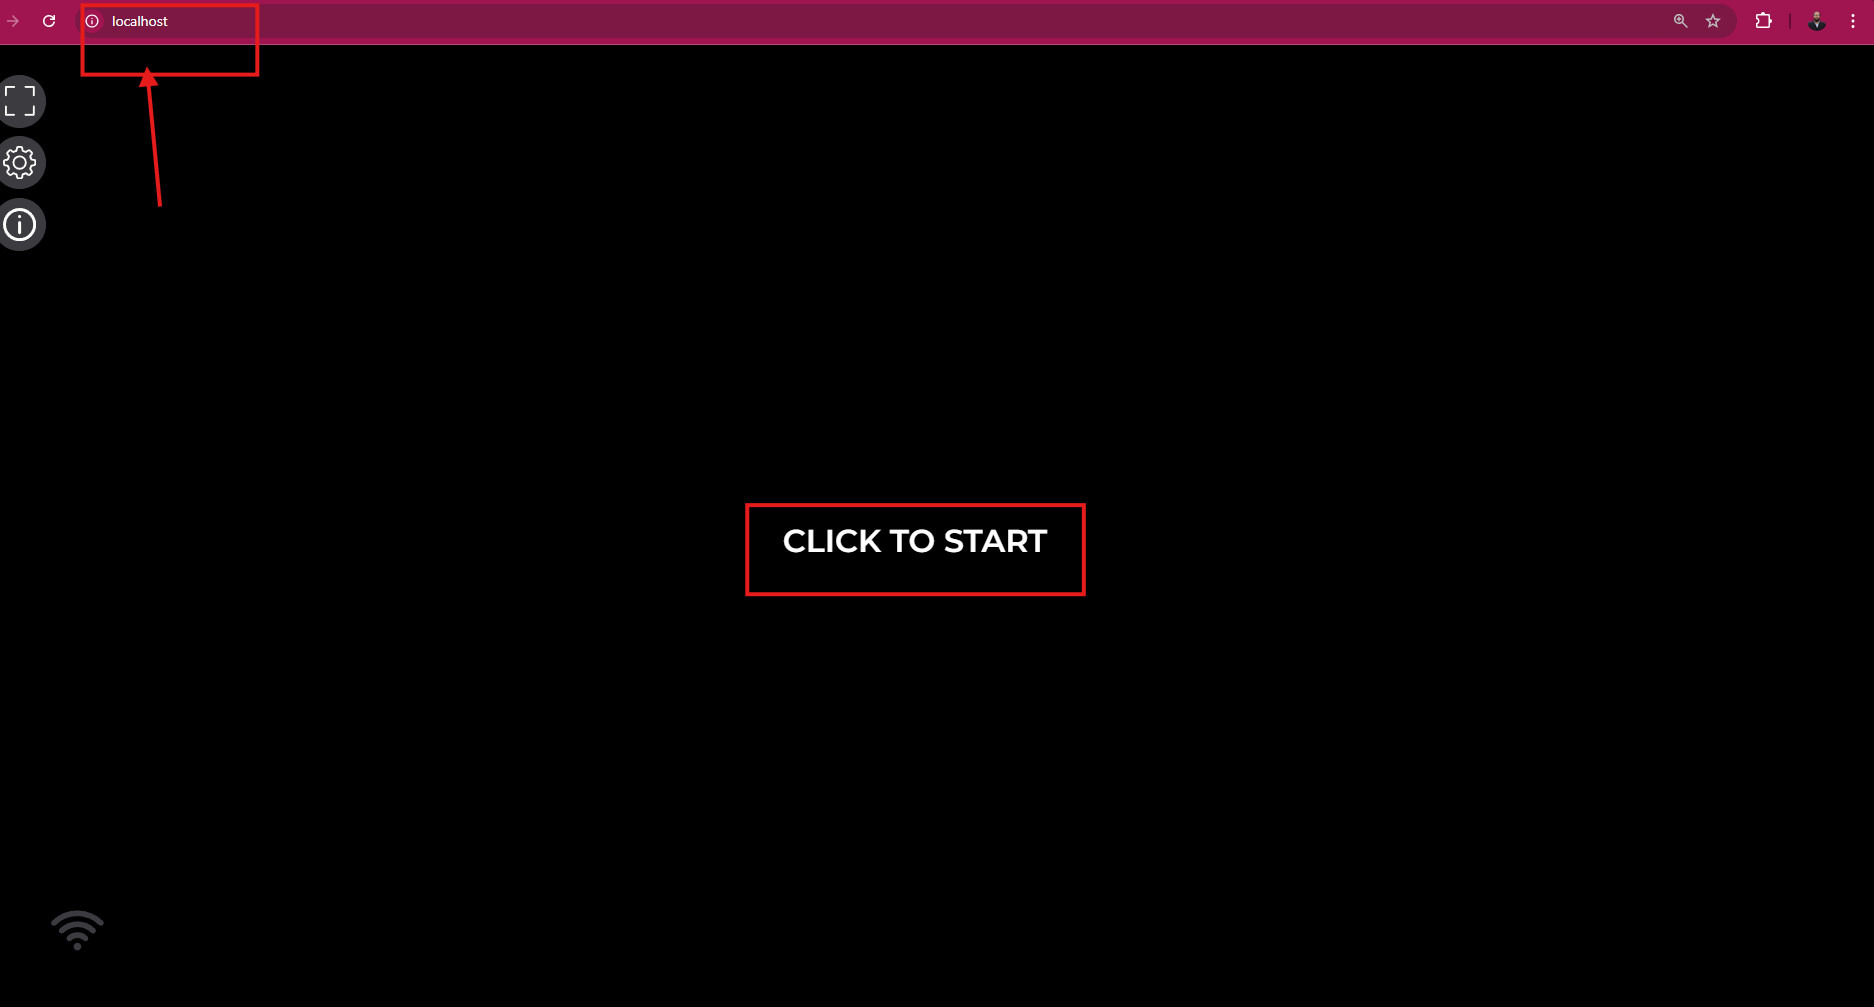
Step 11. Your app will run in local server.
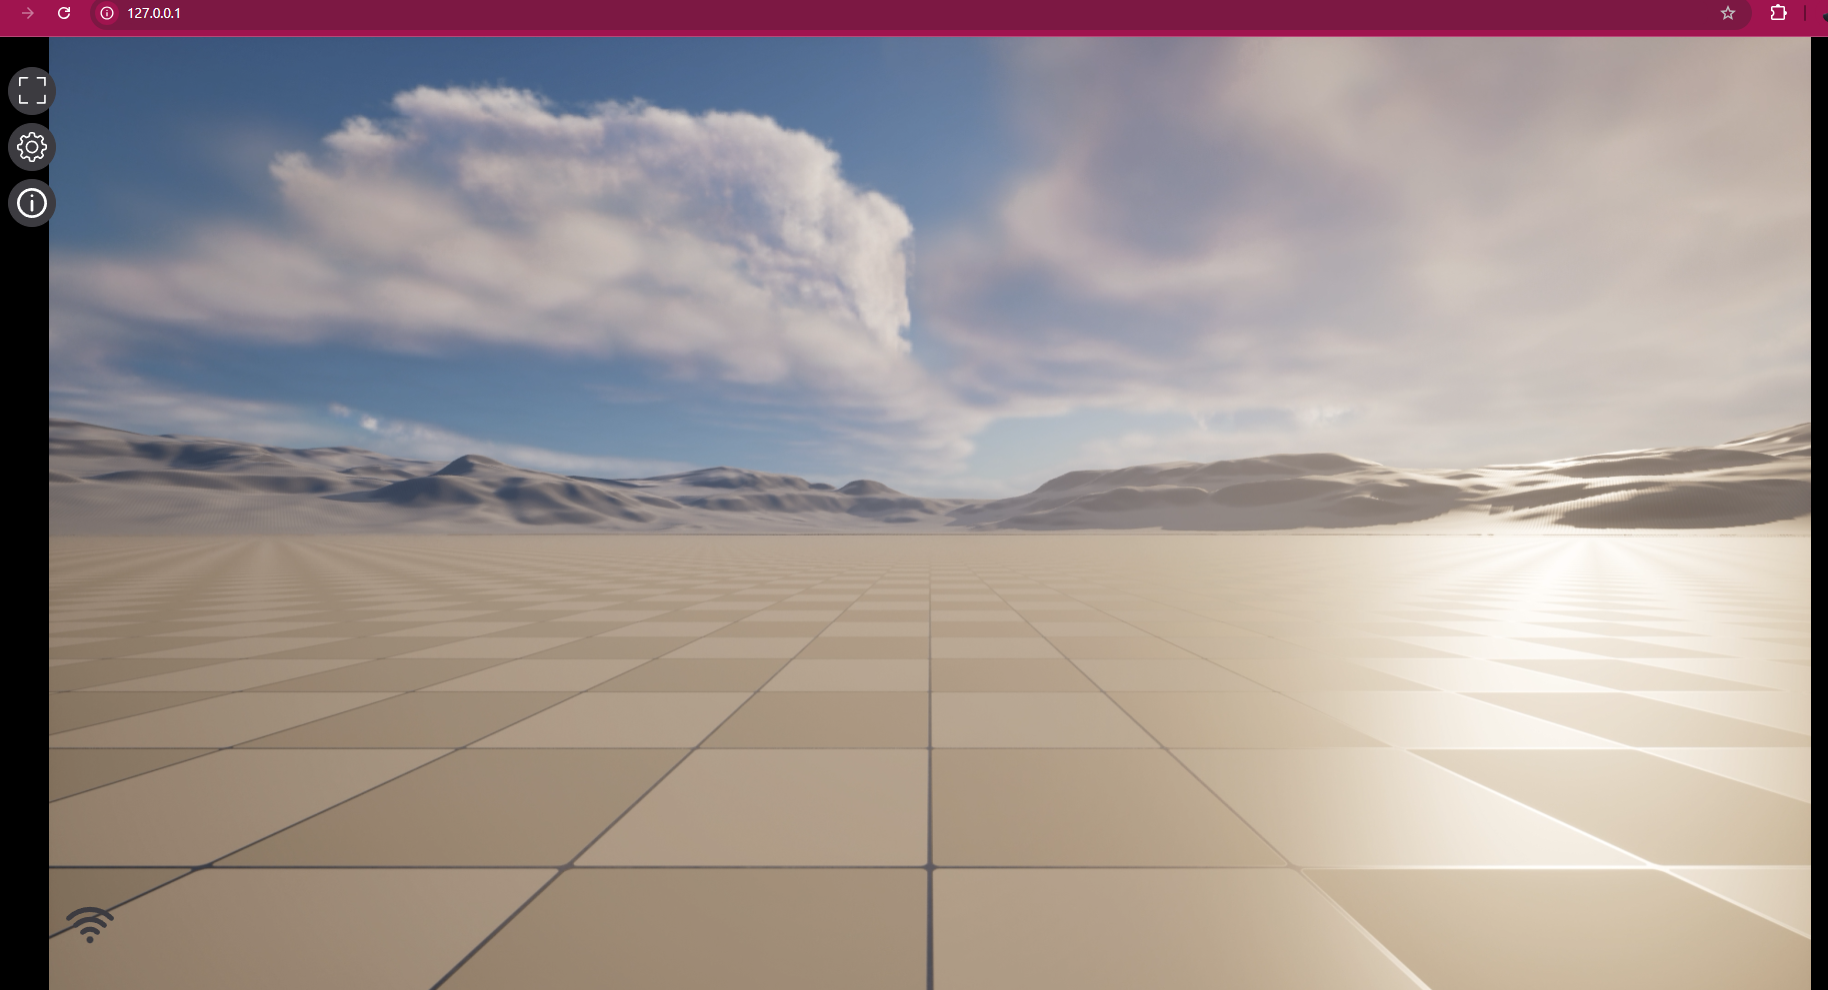
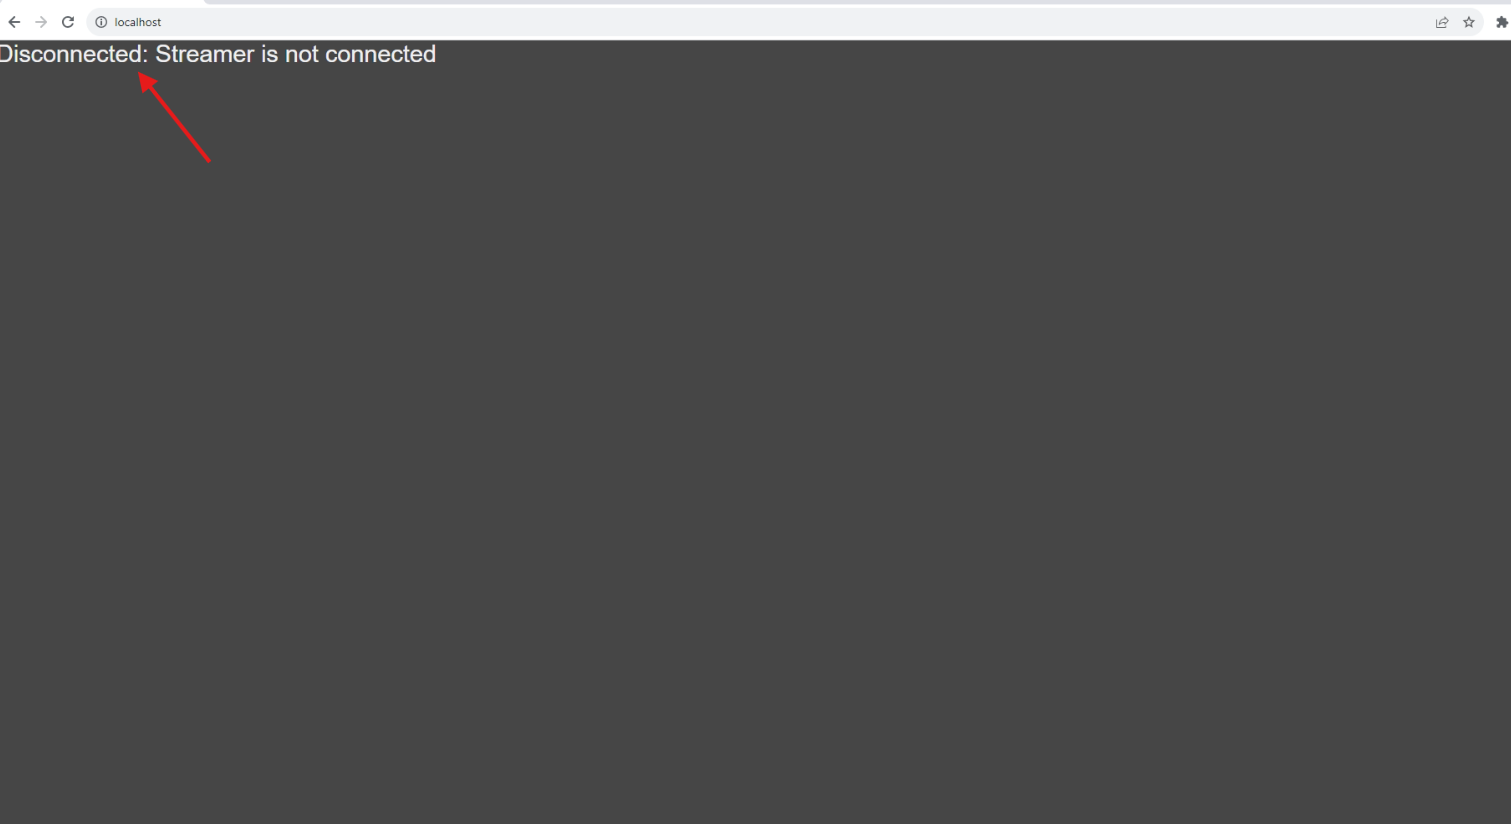
Your App will start only if the Pixel Streaming plugin is enabled.
If the Pixel Streaming plugin was not enabled before Packaging your project, you will see the localhost server like Figure 15. To enable pixel streaming go to Enable Pixel Streaming Section
Need help?
If you need any assistance, feel free to reach out through any of the following channels:
🛠️ Support Portal: Contact Our Support Team
💬 Discord Community (Faster Support): Join Our Discord Community
📧 Email Support: support@eagle3dstreaming.com
Follow us on: