Before uploading your app to the Control Panel, it’s important to verify that it’s fully compatible with Pixel Streaming. To ensure your packaged build runs smoothly in a streaming environment, you should first test the app locally using Epic’s Pixel Streaming Signaling Server.
This test confirms that core Pixel Streaming features (e.g., streaming quality, interaction, and headset support) are working as expected.
Important:
From Step 1 to Step 10, perform everything on your computer. Step 11 should be done inside your VR headset.
Follow the steps to test your app locally using the Epic Signaling Server:
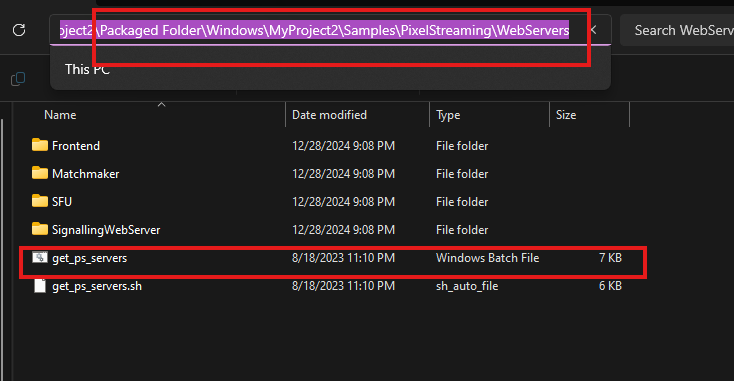
Step 1. Run get_ps_servers.bat
Path:
[Packaged Folder] > Windows > [Your Project Name] > Samples > PixelStreaming > WebServers > get_ps_servers.bat
Example:
If your project name is MyProject2, and you selected a folder named "Packaged Folder" during packaging, the path will be:
Packaged Folder > Windows > MyProject2 > Samples > PixelStreaming > WebServers > get_ps_servers.bat
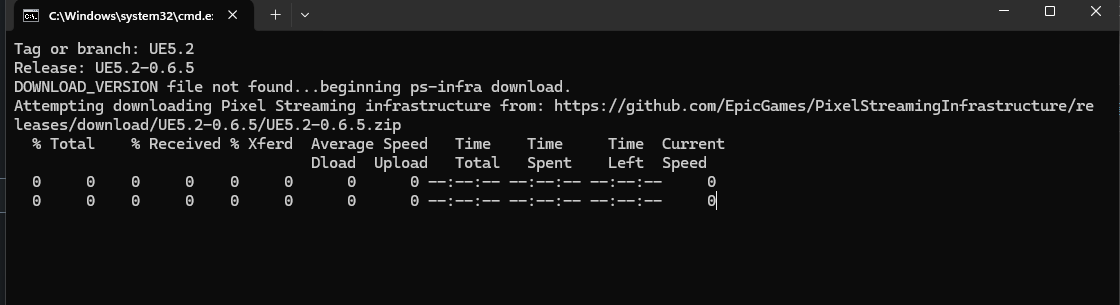
Step 2. Wait for Dependencies to Download
Once you run the .bat file, a terminal will open, download required files, and close automatically.After downloading all required files the terminal will be automatically closed.
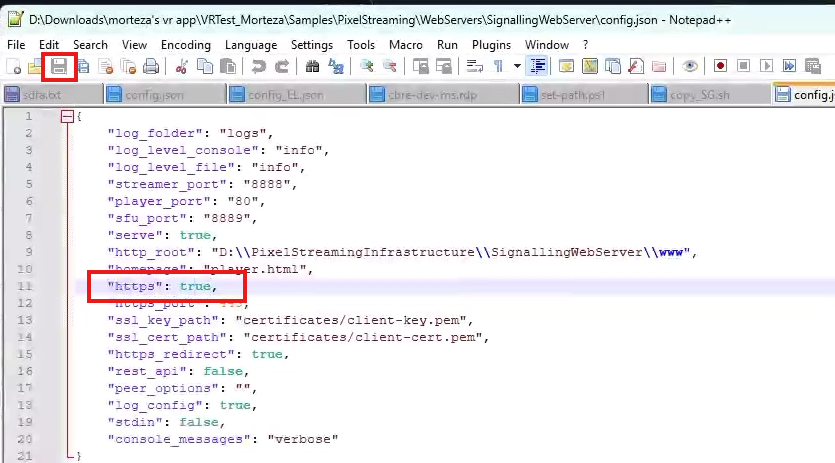
Step 3. Enable HTTPS in config.json
-
Navigate to [Packaged Folder] > Windows > [Your Project Name] > Samples > PixelStreaming > WebServers > SignalingWebServer
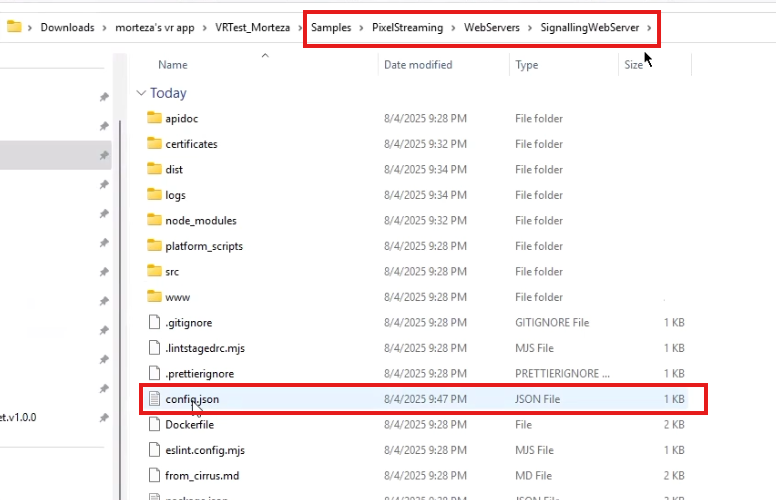
Figure 3. Edit config.json
-
Open the
config.jsonfile and set: "useHttps": true -
Save the file.
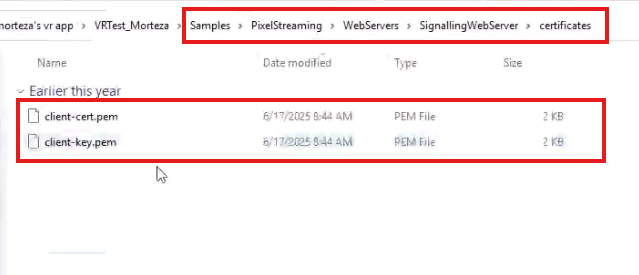
Step 4. Add Certificate Files
Download the following ZIP file and extract its to the SignalingWebServer folder: Download Zip File
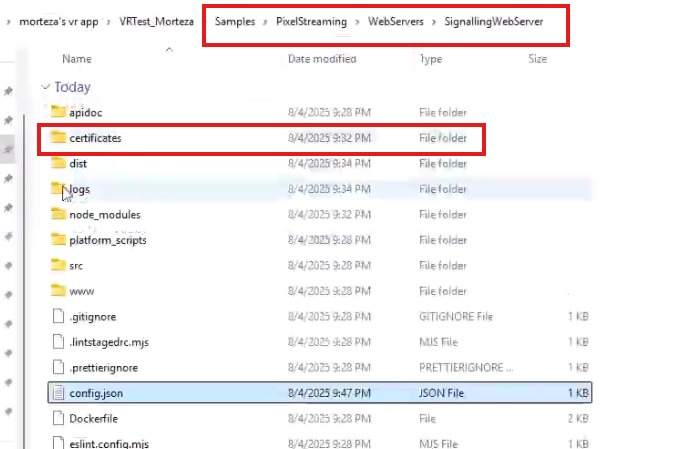
Make sure the extracted folder includes the necessary certificate files.
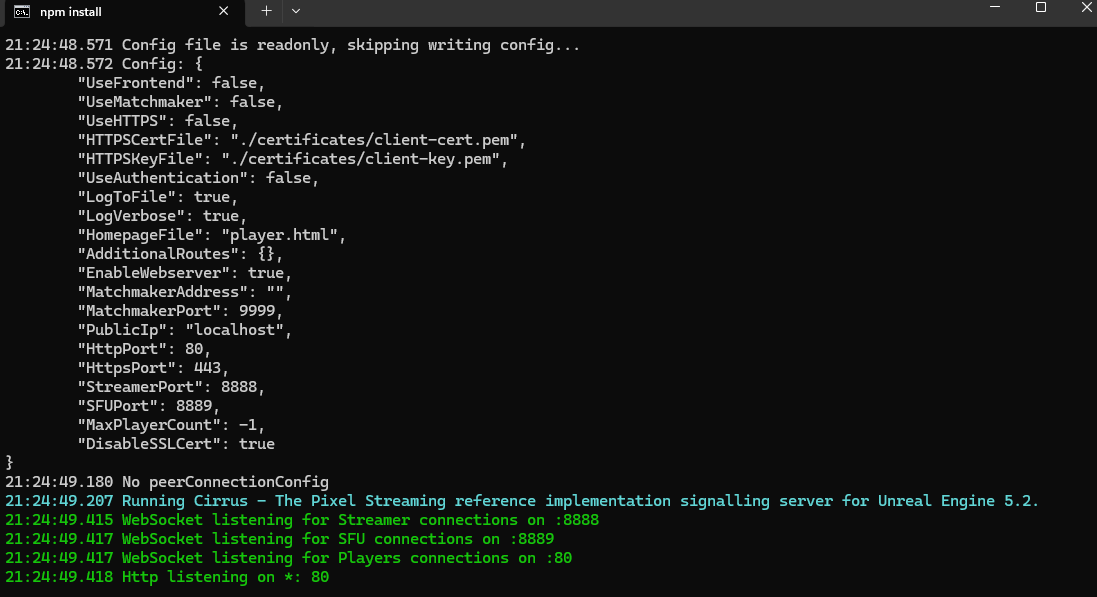
Step 5. Run the Signaling Server
-
Navigate to: [Packaged Folder] > Windows > [Your Project Name] > Samples > PixelStreaming > WebServers > SignalingWebServer > platform_scripts > cmd
-
Run the
run_local.batfile.
In newer versions of Unreal Engine, the file is renamed to Start.bat. Use that if run_local.bat is not present.
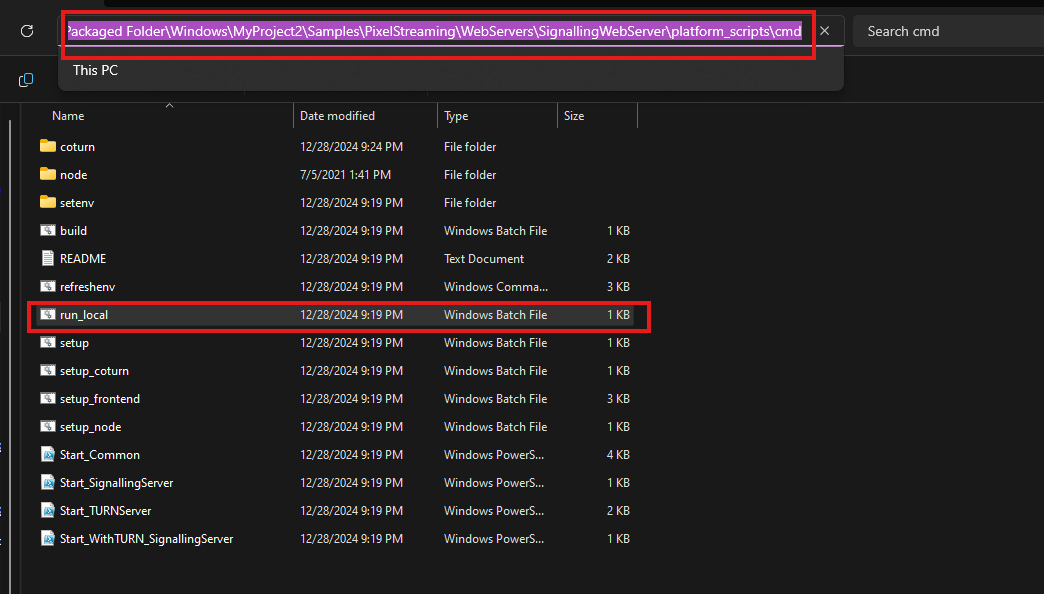
run_local.bat or Start.bat
Important: Keep the terminal window open for the remainder of the steps
Step 6. Wait for Local Server Setup
-
When the script runs, additional files will be downloaded.
-
Once completed, leave the terminal open.
Don’t close the terminal for rest of the steps of this section
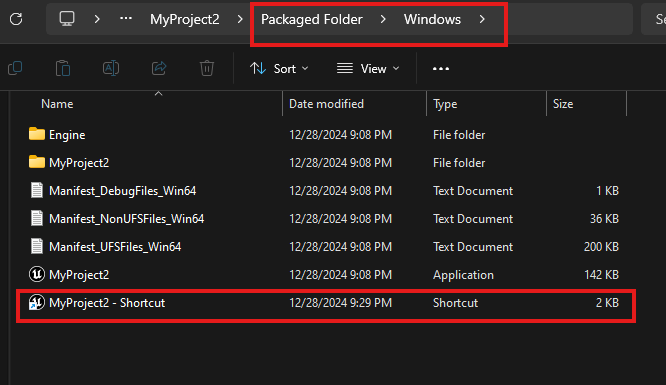
Step 7. Create a Shortcut of Your App Executable
-
Go to: [Packaged Folder] > Windows
-
Locate the
.exefile of your app (e.g.,MyProject2.exe), right-click, and select Create Shortcut.
Step 8. Add Command-Line Arguments to the Shortcut
-
Right-click the shortcut > Properties
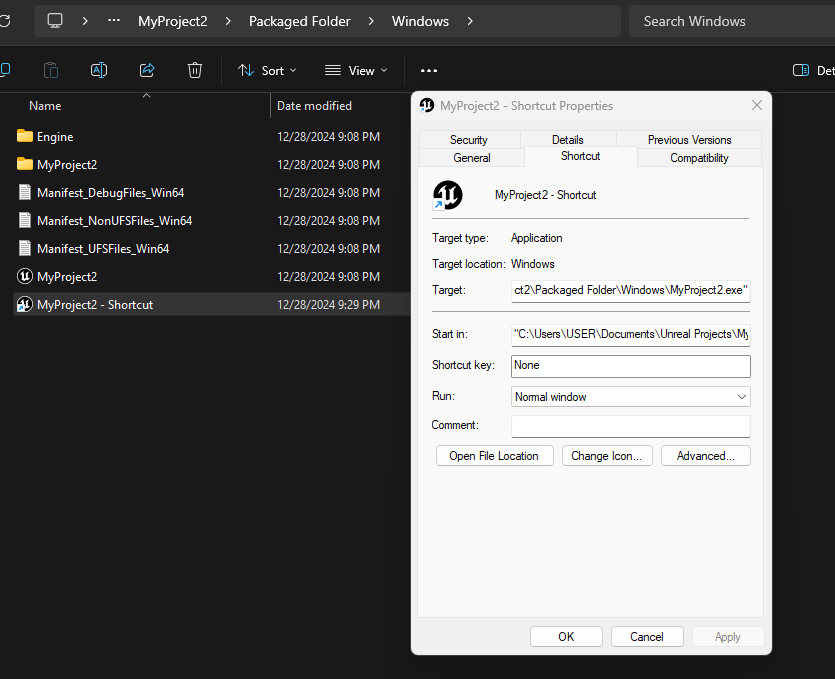
Figure 10. Edit shortcut properties
-
In the Target field, after the existing path, add a space and then the following:
-log -AudioMixer -PixelStreamingIP=localhost -PixelStreamingPort=8888 -RenderOffScreen -AllowPixelStreamingCommands -PixelStreamingEnableHMD -ResX=1920 -ResY=1080
Example:
"C:\Path\To\MyProject2.exe" -log -AudioMixer -PixelStreamingIP=localhost -PixelStreamingPort=8888 -RenderOffScreen -AllowPixelStreamingCommands -PixelStreamingEnableHMD -ResX=1920 -ResY=1080
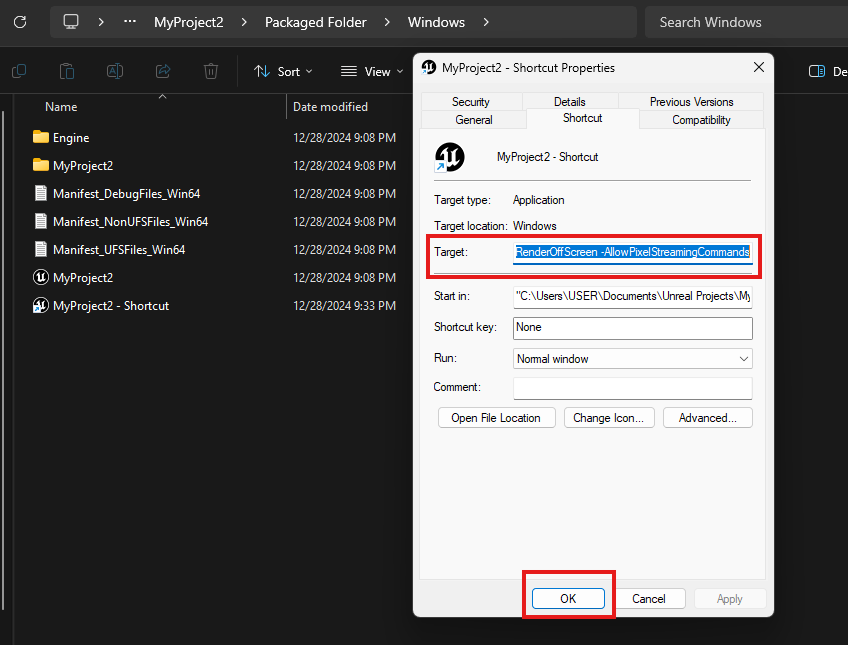
-
Apply the changes
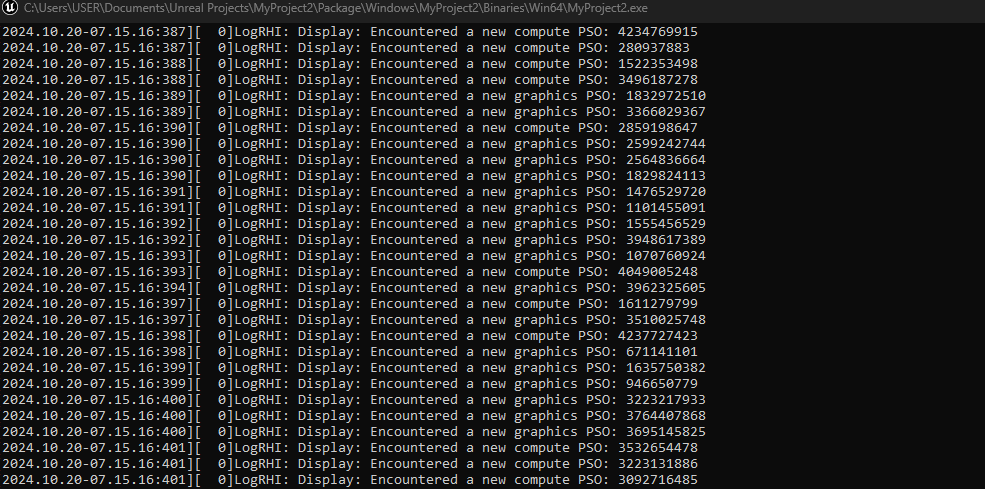
Step 9. Double click on the shortcut of the exe file to open it.
Keep the terminal window from Step 5 open while doing this.
If you see an error like Encoder pending resolution exceeds device max capabilities, ensure the -ResX=1920 -ResY=1080 flags are included.
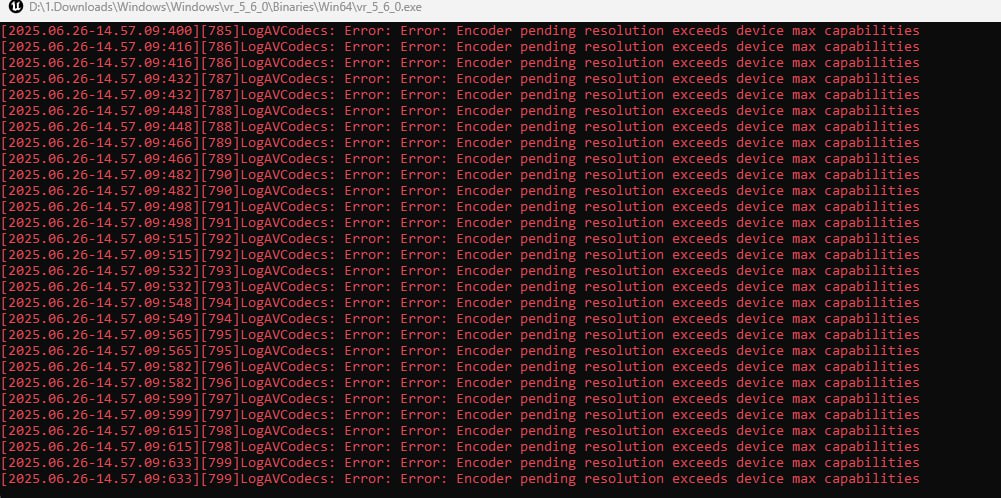
Encoder pending resolution exceeds device max capabilities
Step 10. : Get Your Local IP
-
Go to your command prompt and type “ipconfig” and press “Enter” key.
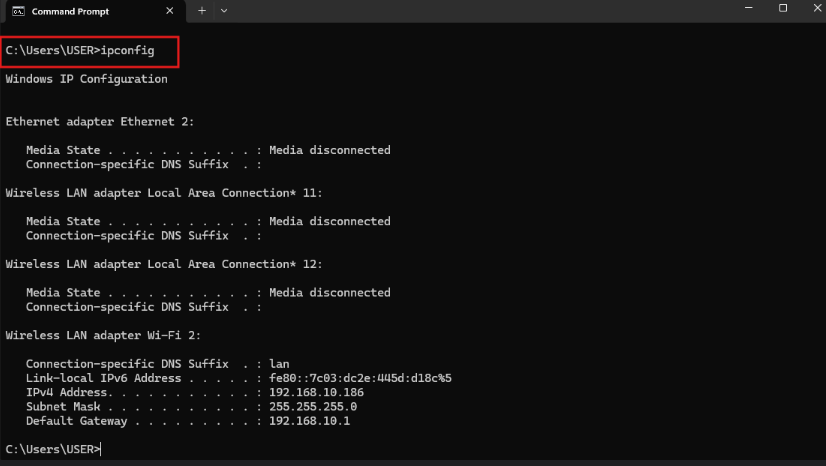
Figure 14. Finding IPV4 Address
-
Copy IPV4 Address.
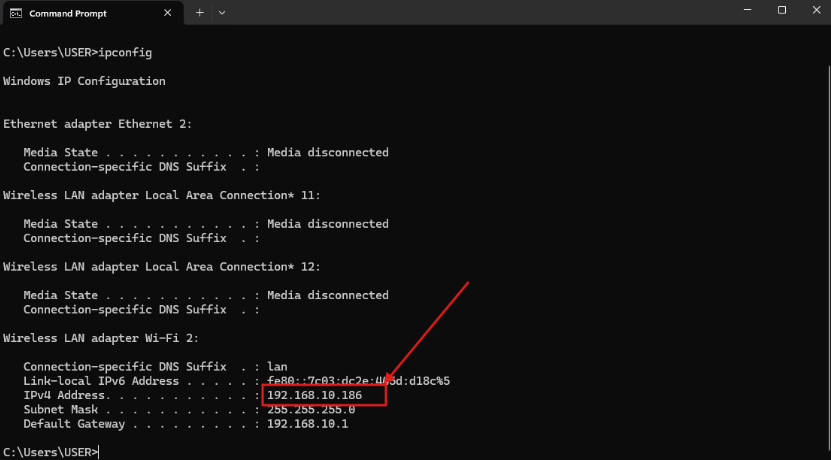
Figure 15. Copy the IPV4 Address
Use the displayed IP address to open the stream on your VR headset browser.
Step 11. Open the Stream in Your VR Headset
Important:
Make sure your VR headset and the machine running the Unreal Engine application are connected to the same local network.
-
On your VR headset, open the browser and enter the following URL using the local IP address you obtained in Step 10 on your computer:
Example: If Step 10 showed your IP as192.168.1.25, enter: https://192.168.1.25
-
Press the XR button to launch immersive mode.
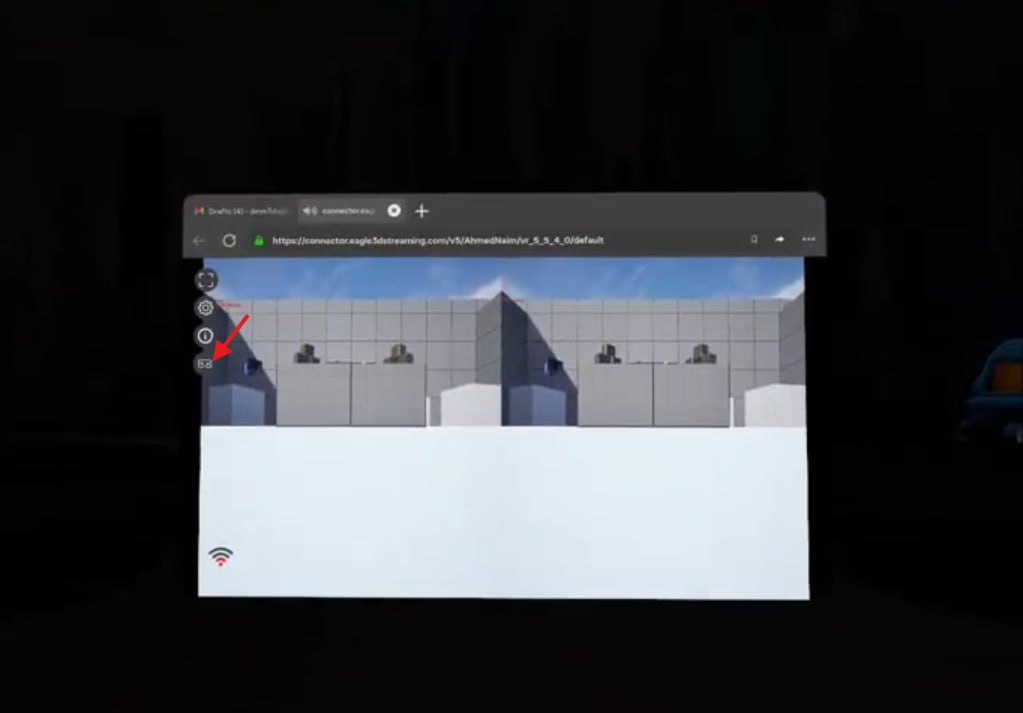
Figure 16. Press the XR Button
Your app should now stream locally via Pixel Streaming.
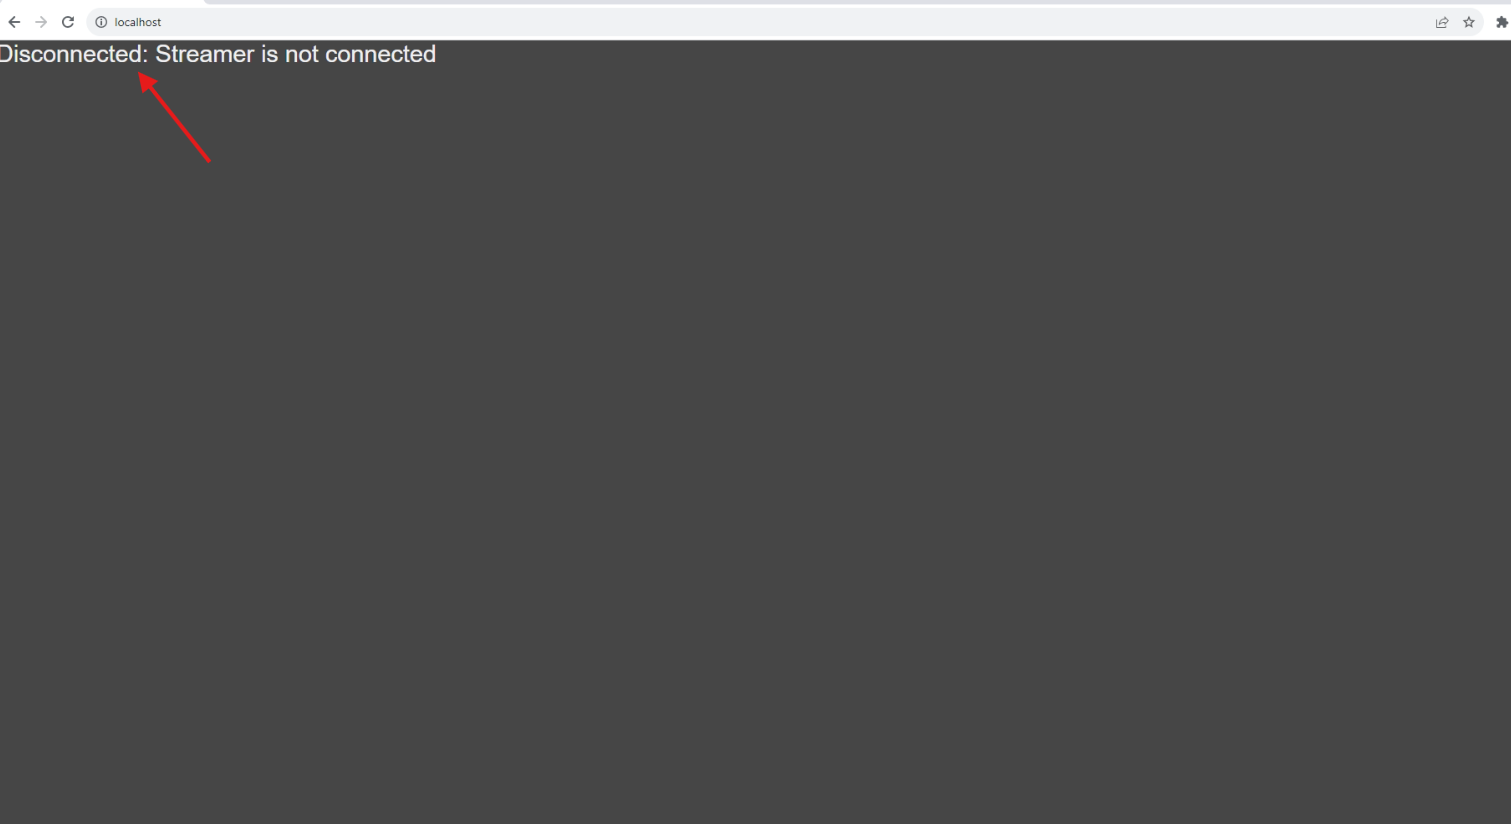
Your App will start only if the Pixel Streaming plugin is enabled.
If the Pixel Streaming plugin wasn’t enabled before packaging your app, the stream won't launch. Instead, you’ll see a generic server interface. To enable pixel streaming go to Enable Pixel Streaming Section
Need help?
If you need any assistance, feel free to reach out through any of the following channels:
🛠️ Support Portal: Contact Our Support Team
💬 Discord Community (Faster Support): Join Our Discord Community
📧 Email Support: support@eagle3dstreaming.com
Follow us on: