Selecting Enterprise
Select Eagle 3D’s Enterprise plan from the Control Panel.
Hosting an Event soon? Need to stream your UE Project? We’ve got you covered!
Gain access to unlimited CCUs, scalable server capacity and ample storage with our Eagle 3D Enterprise plan delivering high performance streaming and no session limits.
Overview
If you're hosting an event and need to stream your Unreal Engine (UE) application to users across one or multiple regions globally, our Cloud Deployment Solutions with the Enterprise plan are essential.
This plan ensures optimized, scalable, and low-latency streaming performance, no matter the geographical distribution of your audience. Our Enterprise specialists will reach out to coordinate a detailed consultation and discuss tailored deployment strategies that fit your specific requirements.
Please contact us at least one month prior to your event date for proper planning and deployment.
This ensures ample time for system configuration, testing, and any necessary adjustments to guarantee a seamless streaming experience.
Check the following topic: Cloud VM Hardware Specifications.
Instructions
Step 1. Sign In to the Control Panel
Login with your information.
Step 2. Click ‘Upgrade Now’
.png?inst-v=d5d7d4bc-bed9-4832-b5d0-fb72d9bc98bc)
Image 1. Upgrade Now
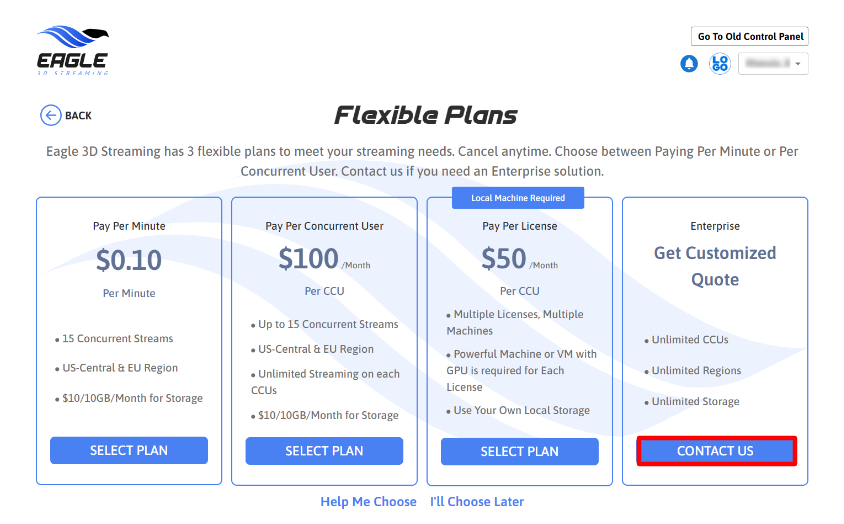
Step 3. On the Plan Selection page, click ‘Contact Us’
Clicking ‘Upgrade Now’ will take you directly to the ‘Plan Selection’ page.
Select ‘Enterprise' and click ‘Contact Us’, or use this URL for quick access to the Plan Selection page.

Image 2. Contact Us
Step 4. Send a request from the Support Portal
Clicking ‘Contact Us’ will automatically redirect you to the Support Portal. For quick access, click here.
Follow these steps:
Sign up
You will need to enter your Email, create a Password and type your Full name.
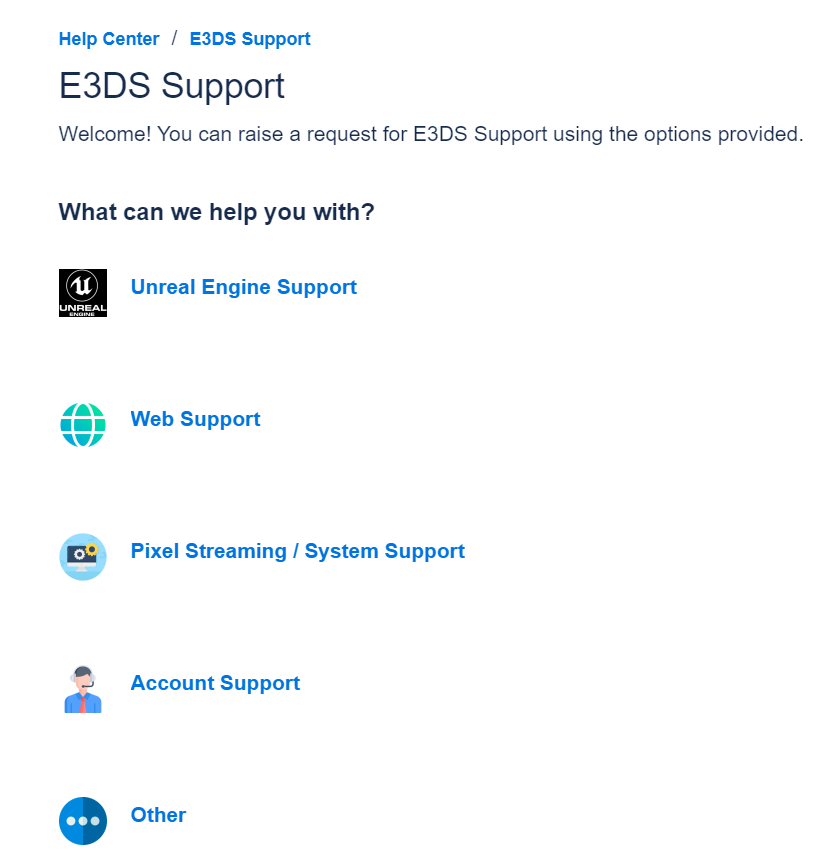
Click ‘Other’
It is possible to click any option provided in the Help Center.

Image 3. Other
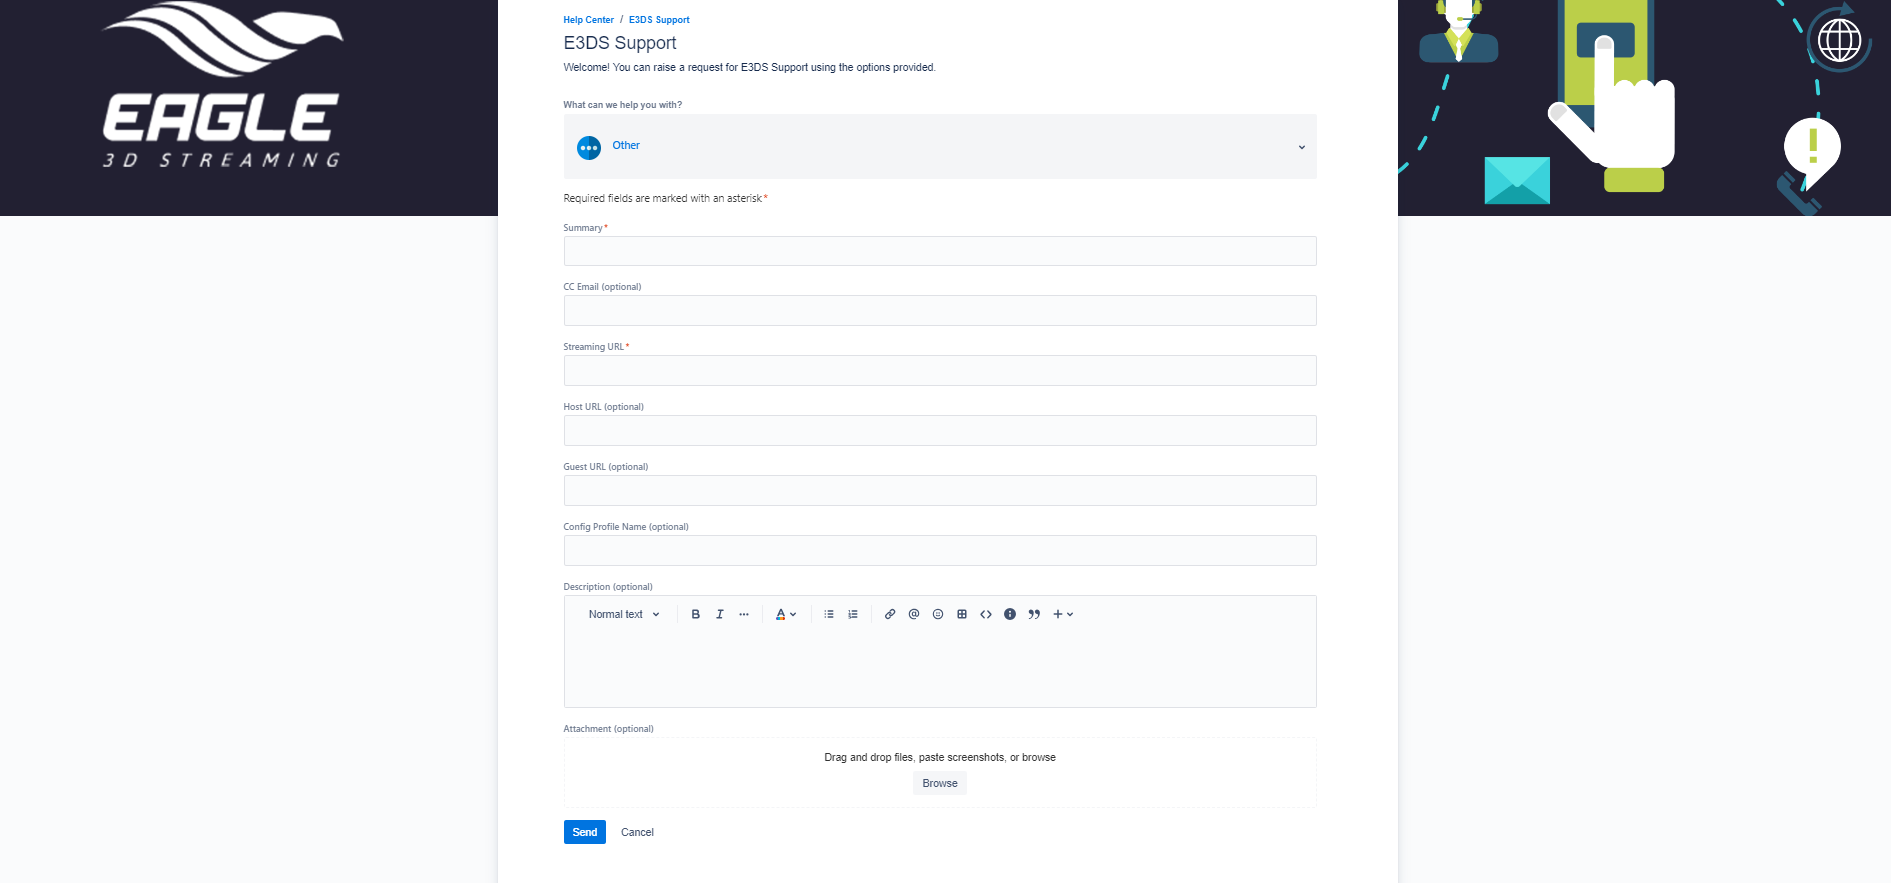
Fill In the required fields
Text boxes marked with a red asterisk are mandatory.
Indicate in your request that you are interested in an Enterprise plan.

Image 4. Fill In the Text boxes
Click ‘Send’
Your request will be sent to our Support Team, who will promptly receive your inquiry and get back to you.
Step 5. Schedule a Meeting with us
Our Support Team will process your inquiry and provide a calendar link for scheduling a meeting.
Our Platform Specialists will reach out to confirm the meeting date or adjust it according to your availability.
Step 6. Review and Discuss Specifics with Our Specialists During the Meeting
This allows for a comprehensive discussion of requirements, solutions, and next steps.
Step 7. Approve the Proposal
A proposal or custom quote will be presented during or following the meeting.
Upon mutual satisfaction with the proposal, we will proceed to sign the contract and finalize the payment process.
Step 8. Sign the Contract
Once the proposal has been approved, we’ll provide you with a contract outlining all terms of service.
Review and sign the contract to officially secure your access to our solutions.
This critical step formalizes the agreement, allowing us to swiftly move forward with the implementation of your selected services.
Step 9. Complete the Payment process
Once the agreement is finalized, our specialists will initiate and complete the payment process.
Step 10. Build and Test Phase
Our team will build your system based on your specifications and perform rigorous testing to validate that all the requirements are satisfied.
Testing will continue iteratively until all criteria are met and the system operates as intended.
Step 11. Test the system
Conduct comprehensive testing of the system to ensure all functionalities perform as intended.
Our Support Team will maintain communication to ensure the system is fully prepared for the event and promptly address any issues that may arise during the process.
Need help?
🛠️ Contact our Support Team
💬 Join the Community on Discord
Follow us on:
Facebook | GitHub | LinkedIn | YouTube
