
Step 1. Follow Unreal Engine docs here to install Unreal Engine and then come back to this docs.
If you already have installed Unreal Engine then skip this step
Check the system requirements to install Unreal Engine.
Step 2. Follow the docs here to configure Visual Studio with Unreal Engine.
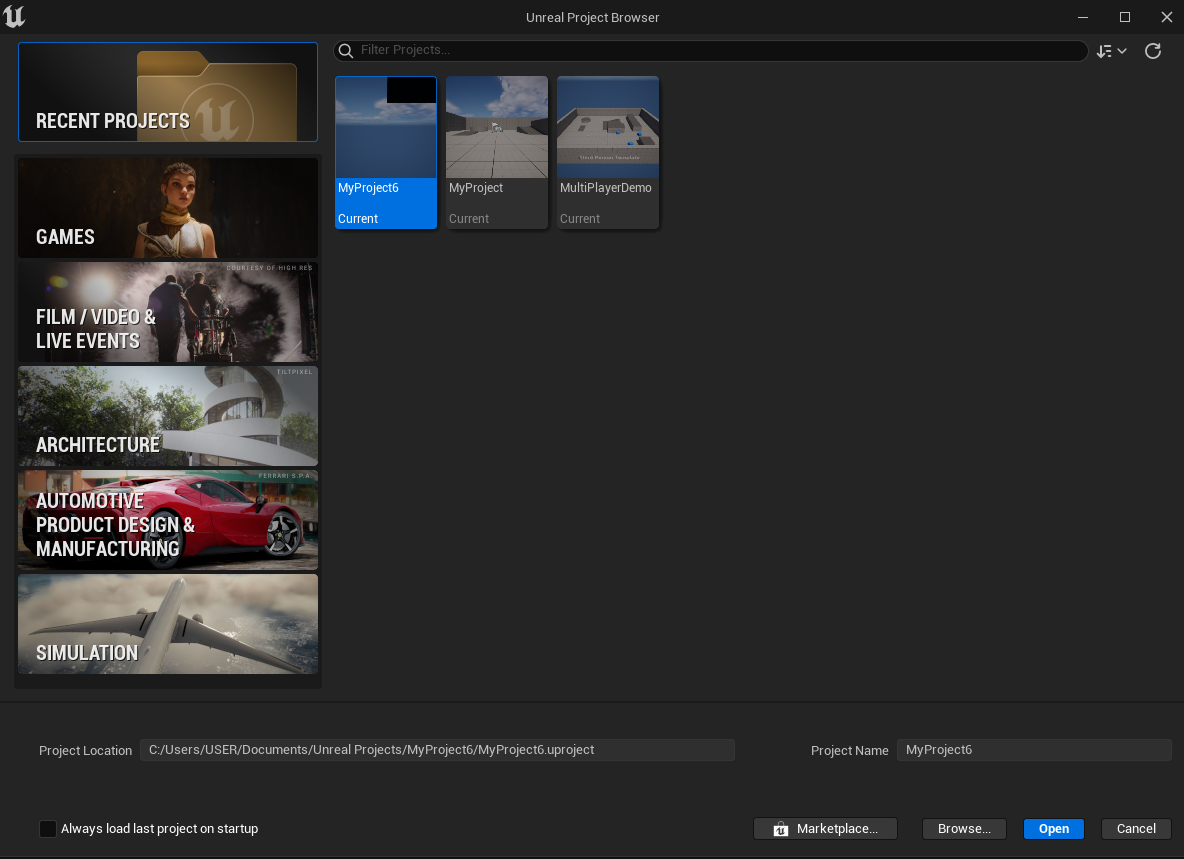
Step 3. Open Unreal Editor.
If you already have a project, open it in Unreal Editor and skip this section. You can proceed directly to the Enabling the Pixel Streaming Plugin section.
Step 4. Select Third Person from GAMES option.
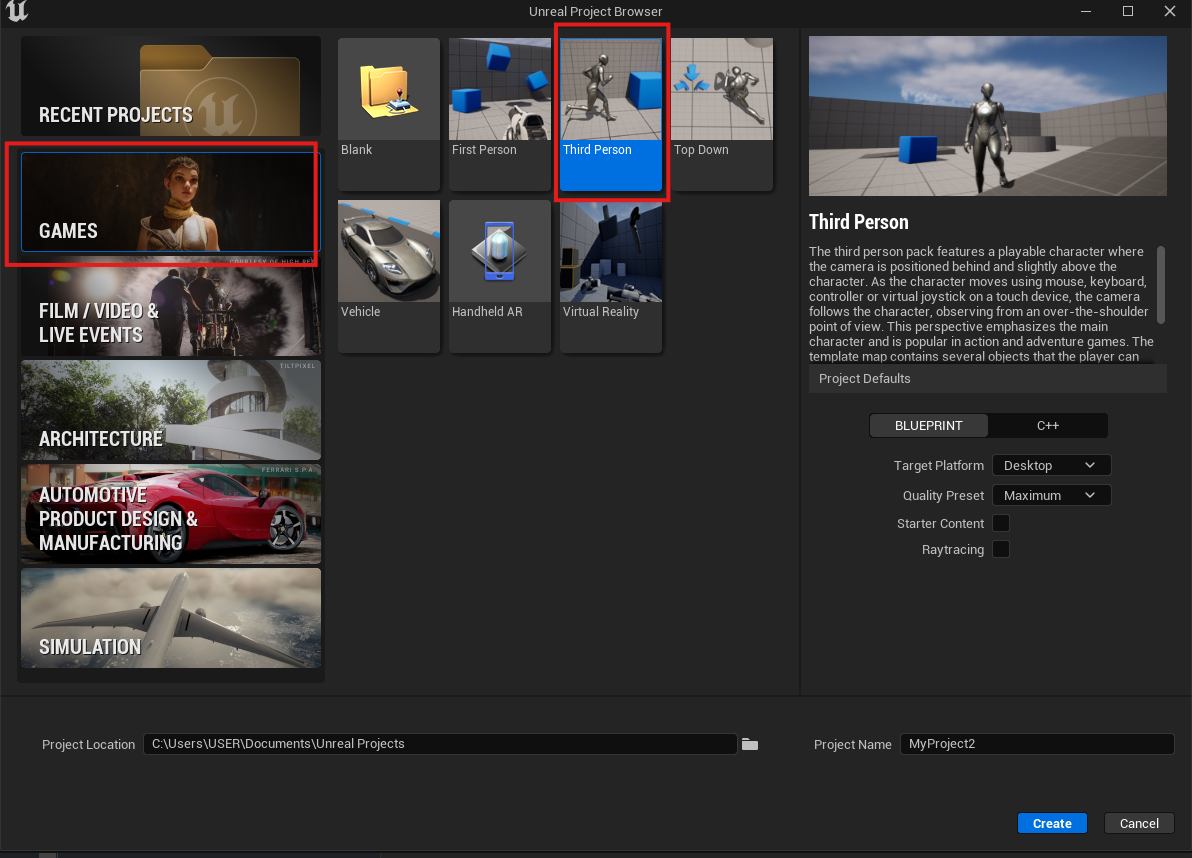
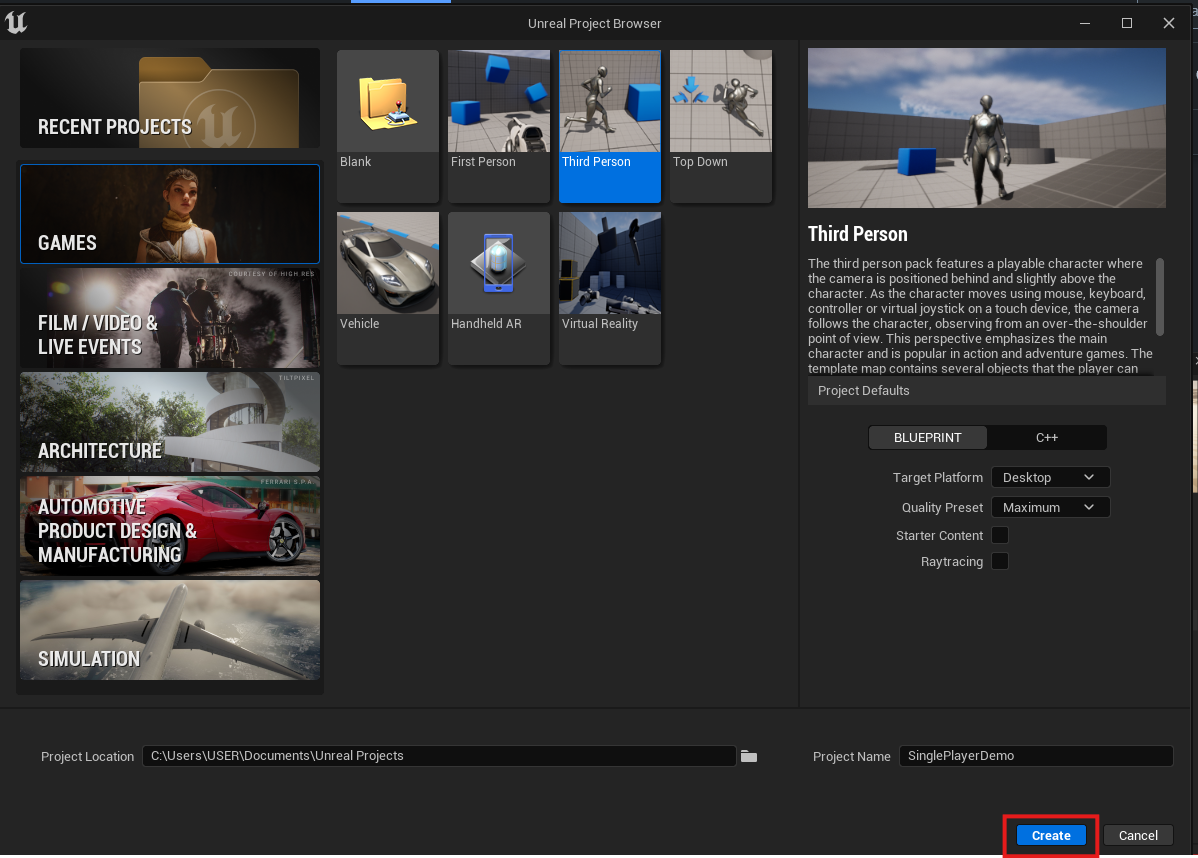
Step 5. Enter Project Name.

Step 6. Press the Create button
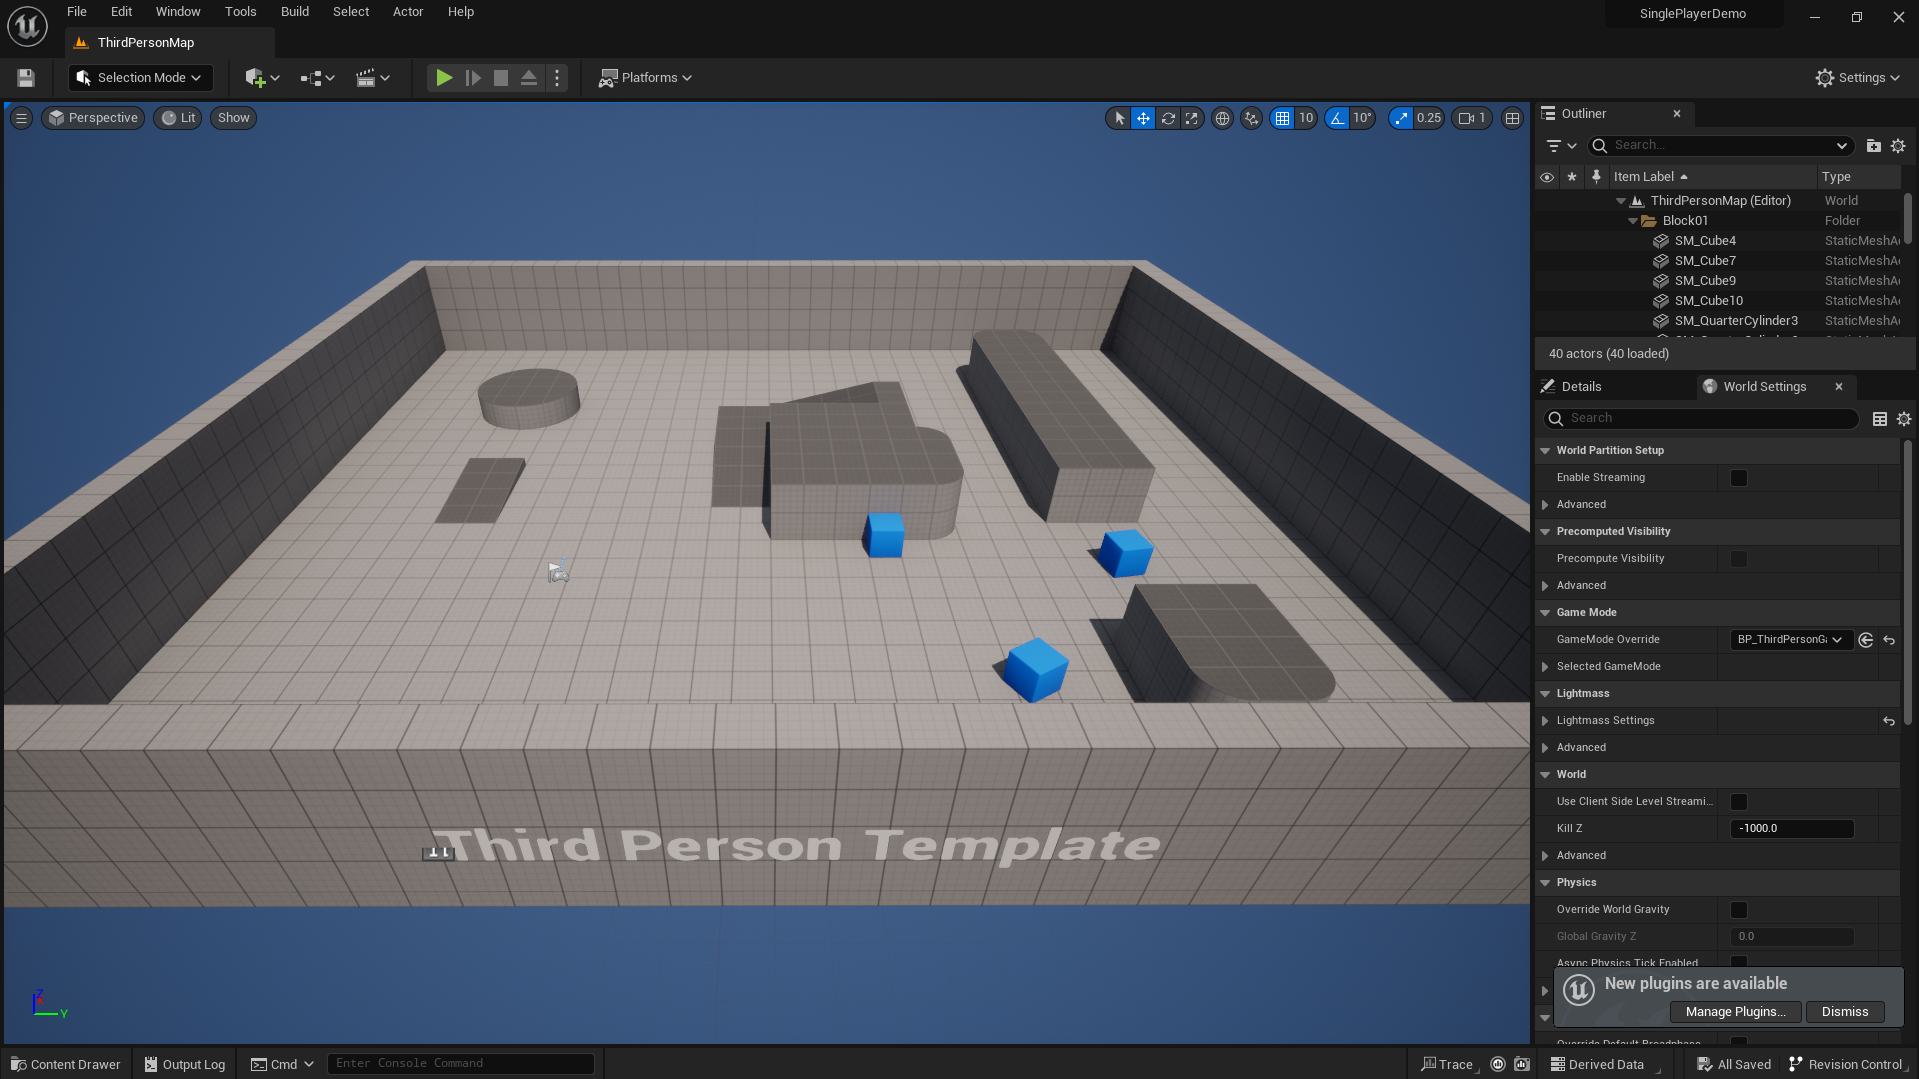
Step 7. A basic Unreal Engine project is created.
Need help?
If you need any assistance, feel free to reach out through any of the following channels:
-
🛠️ Support Portal: Contact Our Support Team
-
💬 Discord Community (Faster Support): Join Our Discord Community
-
📧 Email Support: support@eagle3dstreaming.com
Follow us on: