
Test your App Locally with Epic's Signaling Server
Epic’s Signalling Server Local test from Computer and Mobile.
Overview
Before uploading your App on the Control Panel, you should test it with Epic’s Signaling Server first, to make sure it is ready for Pixel Streaming.
Learn how to test your App Locally with Epic’s Signalling Server in this tutorial from your Computer and Mobile. Follow the instructions below.
Instructions
1. Test from your Computer
Step 1. Prepare for the setup
You can either create a Build from scratch or download our Sample Build “E3DSFeaturesTemplate” to use it in this tutorial.
a. Create a Packaged Build, follow the steps below :
Create a Build in Unreal Engine.
Enable the Pixel Streaming Plugin. Refer to this document.
Package the Build from Unreal Engine. Refer to this document.
b. Download our Sample Build :
(it is already Packaged and has the Pixel Streaming plugin enabled) https://drive.google.com/drive/folders/1PgK85pCfBqNhgVKauk0j3VfD8Mf7Y1rK?usp=sharing
For the rest of this tutorial, we are going to use “E3DS Features Template” (i.e. the Sample Build provided above) to test it Locally with Epic’s Signalling Server.
Important Note :
A properly Packaged Build should have this folder structure :
{Your Packaged Application Folder} > {Your Project Name Folder} > Samples > Pixel Streaming.
If you are using “E3DSFeaturesTemplate”, it should be :
Windows > E3DSFeaturesTemplate > Samples > Pixel Streaming
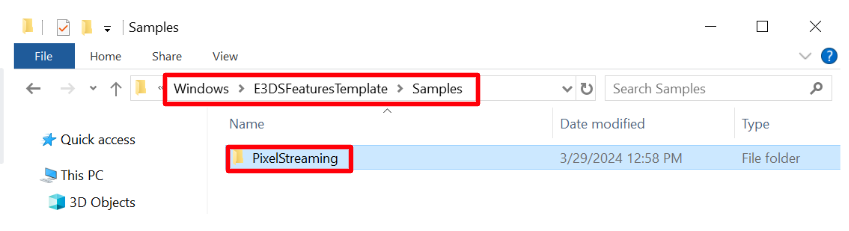
Image 1. Folder Structure of a Packaged Build
Now that you prepared the setup, you are ready to move to step 2 of this tutorial.
Step 2. Follow the path below and click on “get_ps_servers.bat”
Go to :
Windows > E3DSFeaturesTemplate > Samples > Pixel Streaming > Webservers > get_ps_servers.bat

Image 2. Click get_ps_servers.bat
Clicking “get_ps_servers.bat” should be done ONLY one time per project.
1. The required files will start downloading
Once you click on “get_ps_servers.bat”, some files start downloading and the terminal below (Image 3) is displayed.
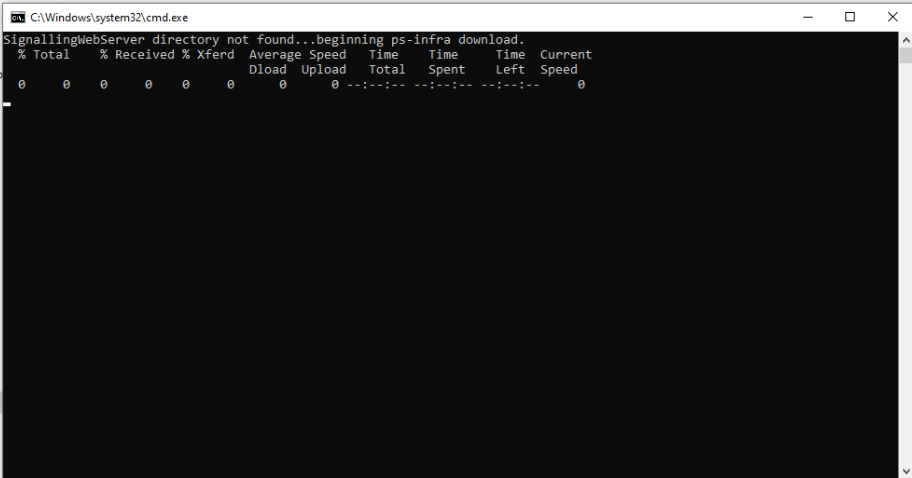
Image 3. Required files downloading
2. Follow the path below and click on ‘'run_local.bat’'
Once all the required files are done downloading, the terminal is closed immediately.
You should then follow the path below and click on “run_local.bat”
Go to:
Windows > E3DSFeaturesTemplate > Samples > Pixel Streaming > Webservers > Signaling Web Server > platform_scripts > cmd > run_local.bat.
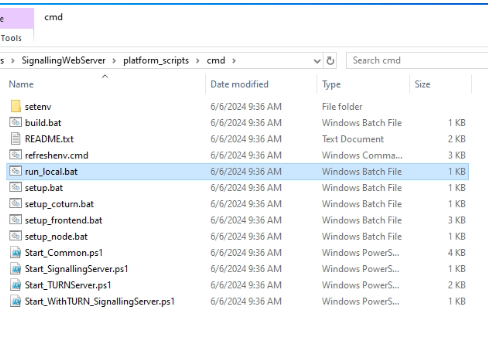
Image 4. Click on run_local.bat
3.All the required files get downloaded
Once you click on “run_local.bat”, some files start to download and the terminal below is displayed.
Please keep the file “run_local.bat” running for the rest of the tutorial.
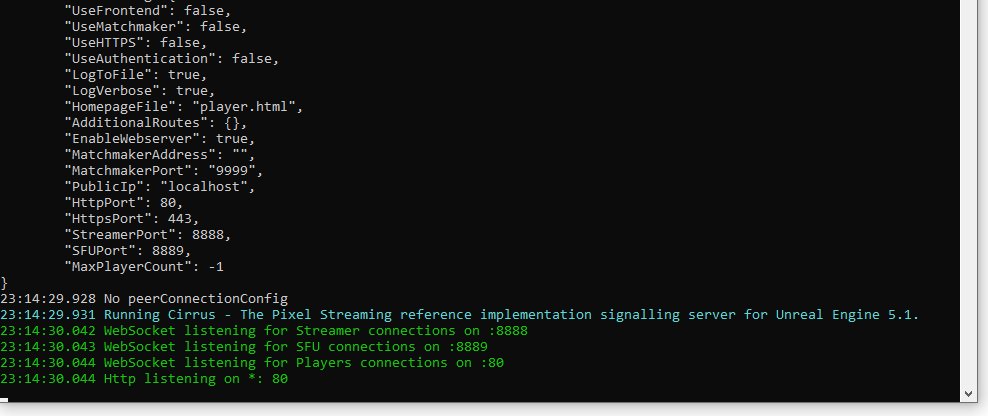
Image 5. Download completed
4. Create a shortcut of the exe of your App
Go to the {Windows} folder where your App is Packaged.
Right click on the exe file and create a Shortcut.

Image 6. Create a shortcut of the exe file of your App
5. Right click on the shortcut and go to Properties
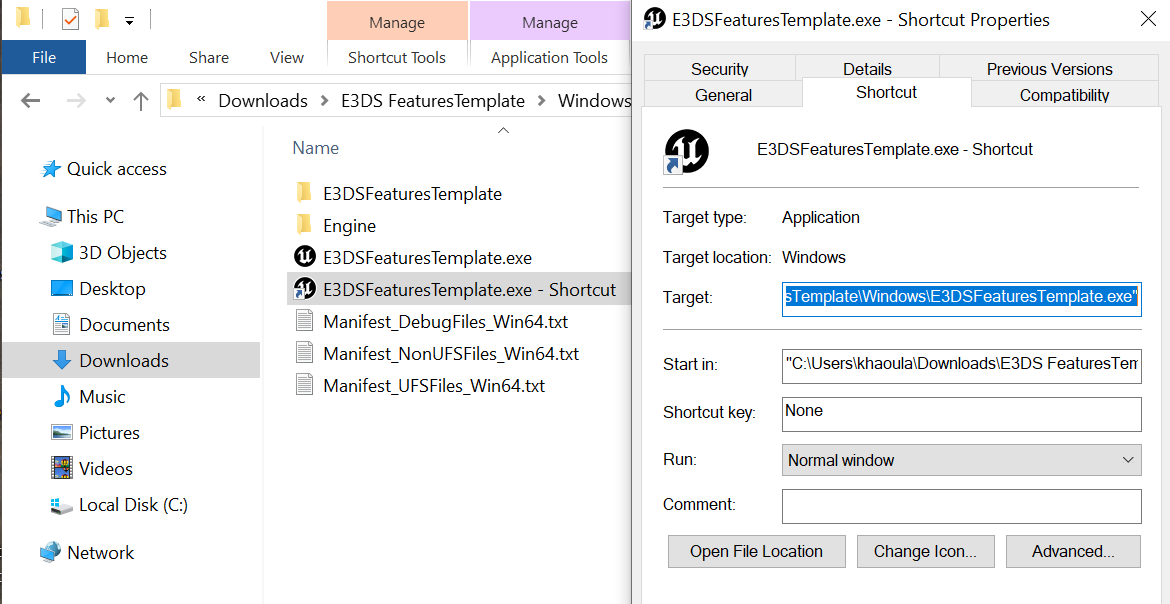
Image 7. Shortcut properties
6. In the Target line, hit space from your Keyboard and Paste this Command
Paste this Command at the end of the Target Line after hitting the space bar on your keyboard once :
-log -AudioMixer -PixelStreamingIP=localhost -PixelStreamingPort=8888 -RenderOffScreen
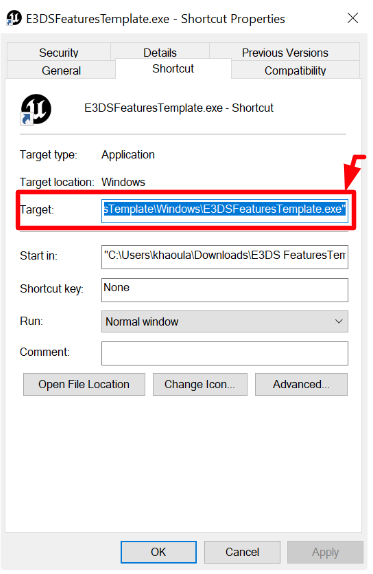
Image 7. Paste the Command at the end of the Target line
7. Click Apply then OK
8. Double click on the shortcut of the exe file to open it
In the Windows folder, click and open the Shortcut previously created.
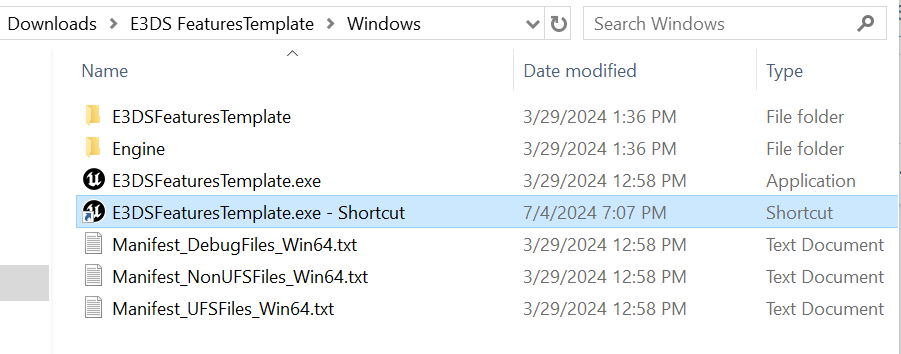
Image 8. Click on the Shortcut to open it
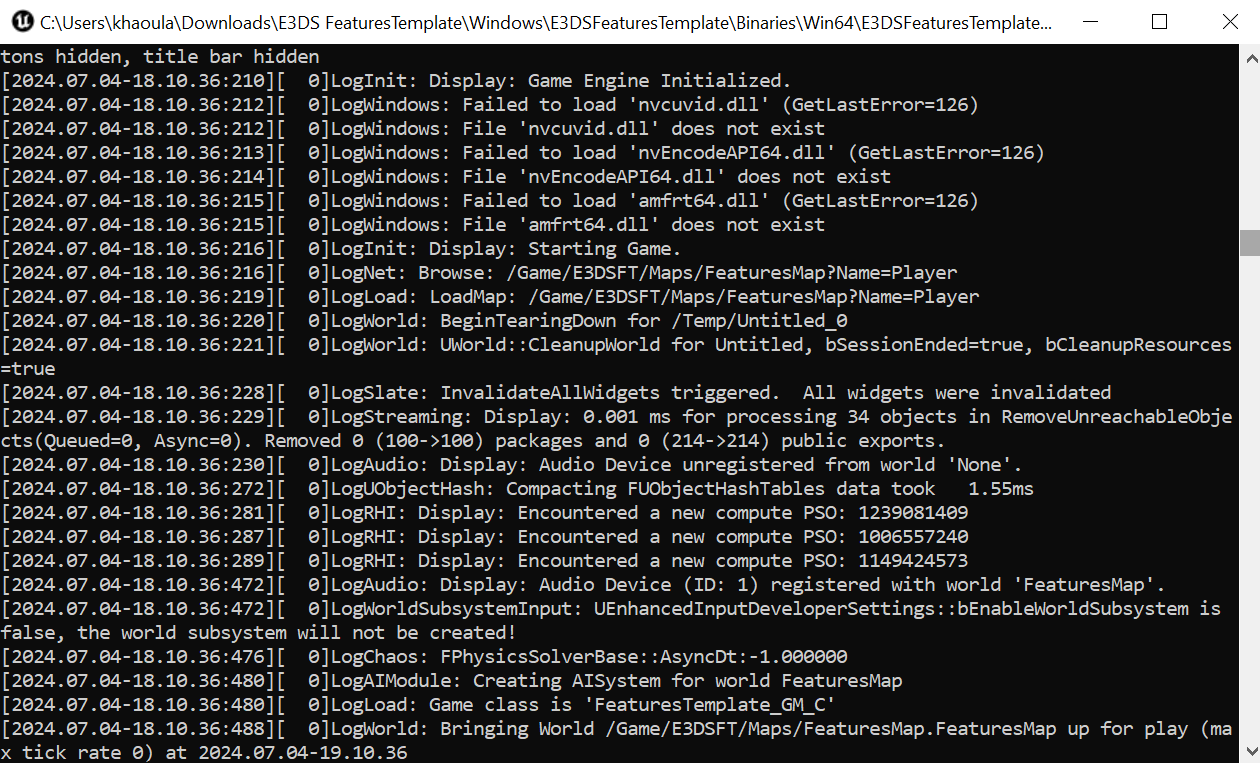
Image 9. E3DSFeaturesTemplate Shortcut opened
9. Open your browser and type “localhost” or “127.0.0.1”
10. Press ‘Click To Start’
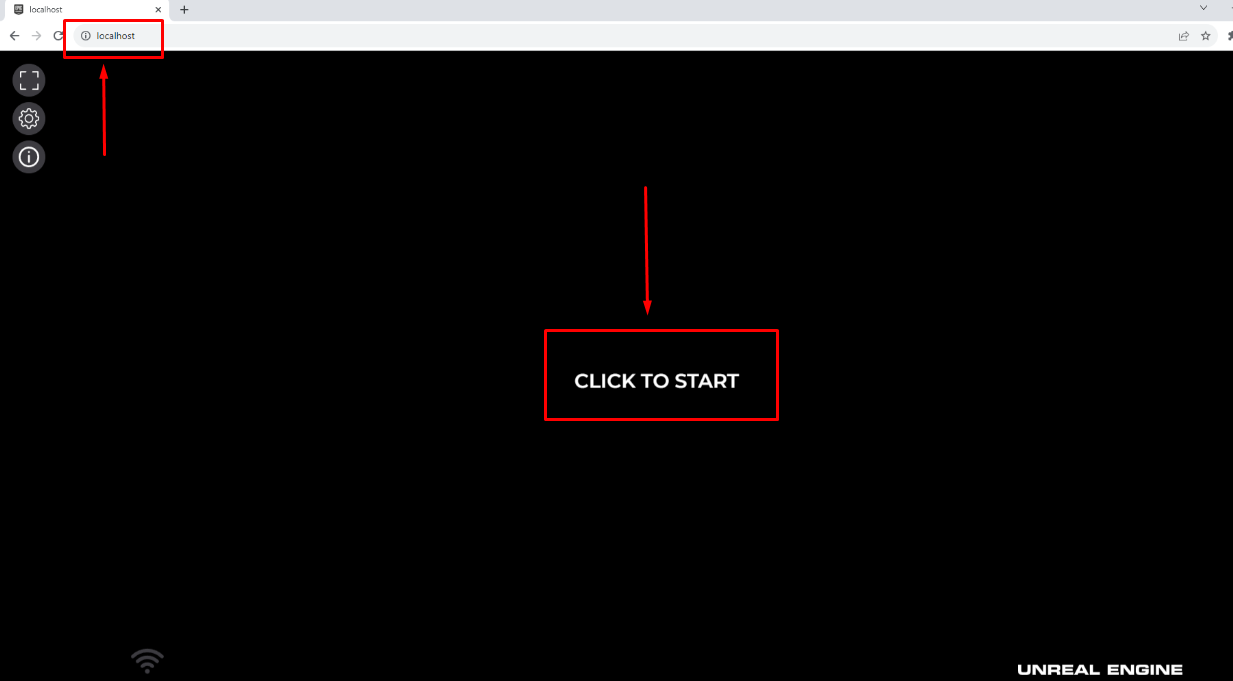
Image 8. localhost : Click to Start
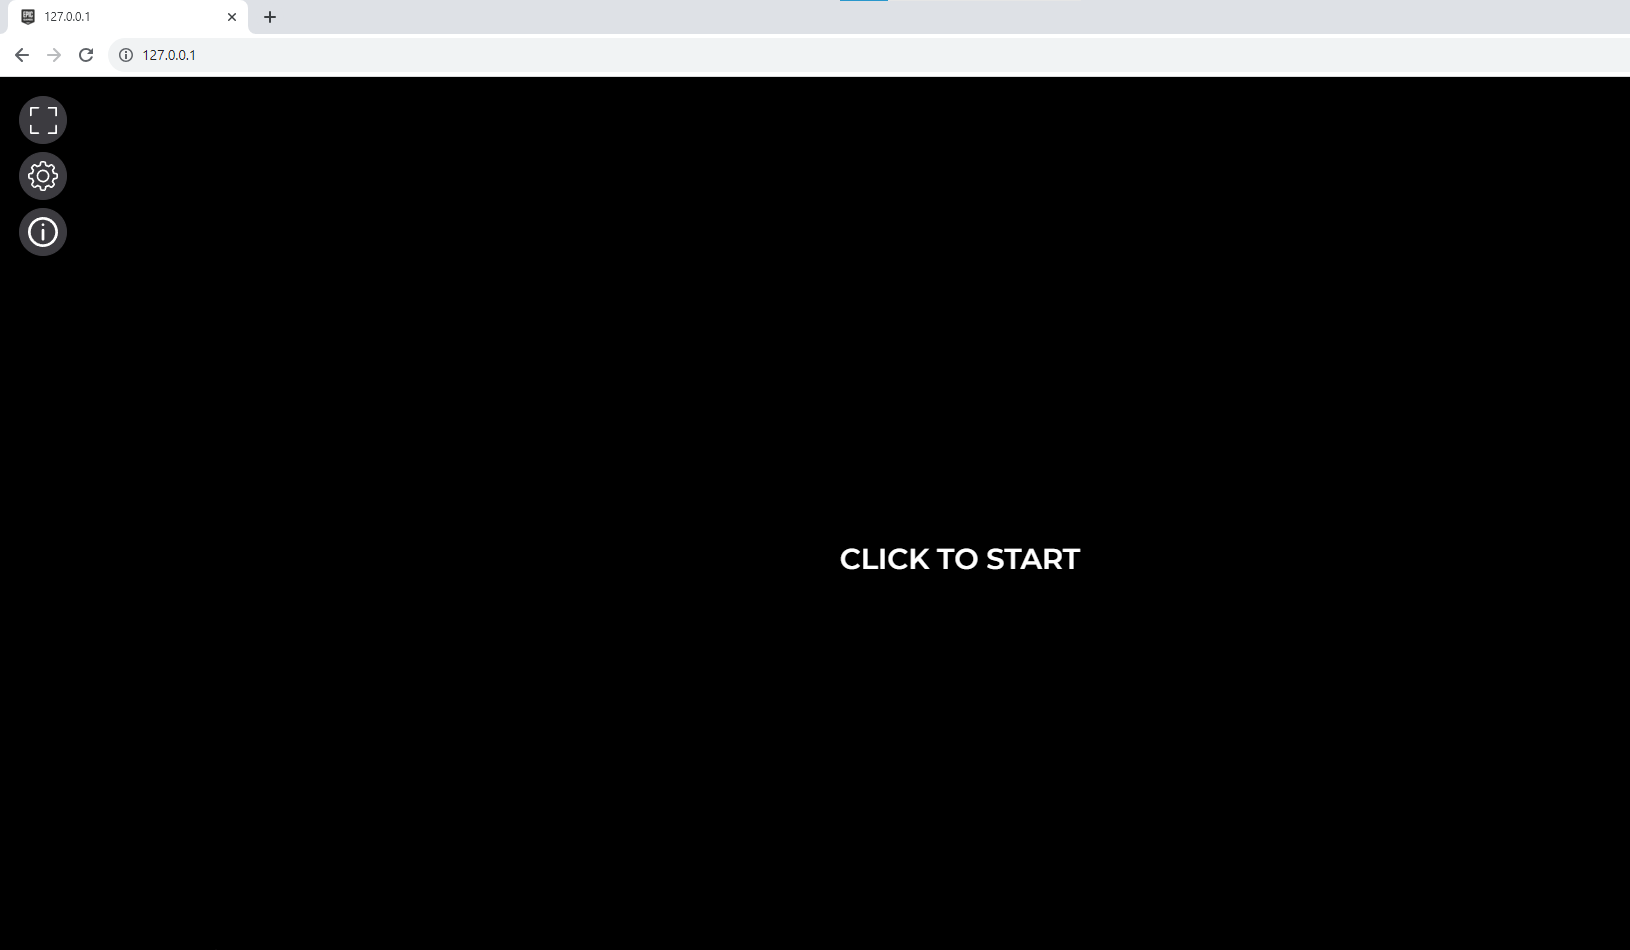
Image 9. 127.0.0.1 : Click to Start
Note : Your App will start only if the Pixel Streaming plugin is enabled.
If the Pixel Streaming plugin was not enabled before Packaging your Build from Unreal Engine, you will see a message below. (Image 10).
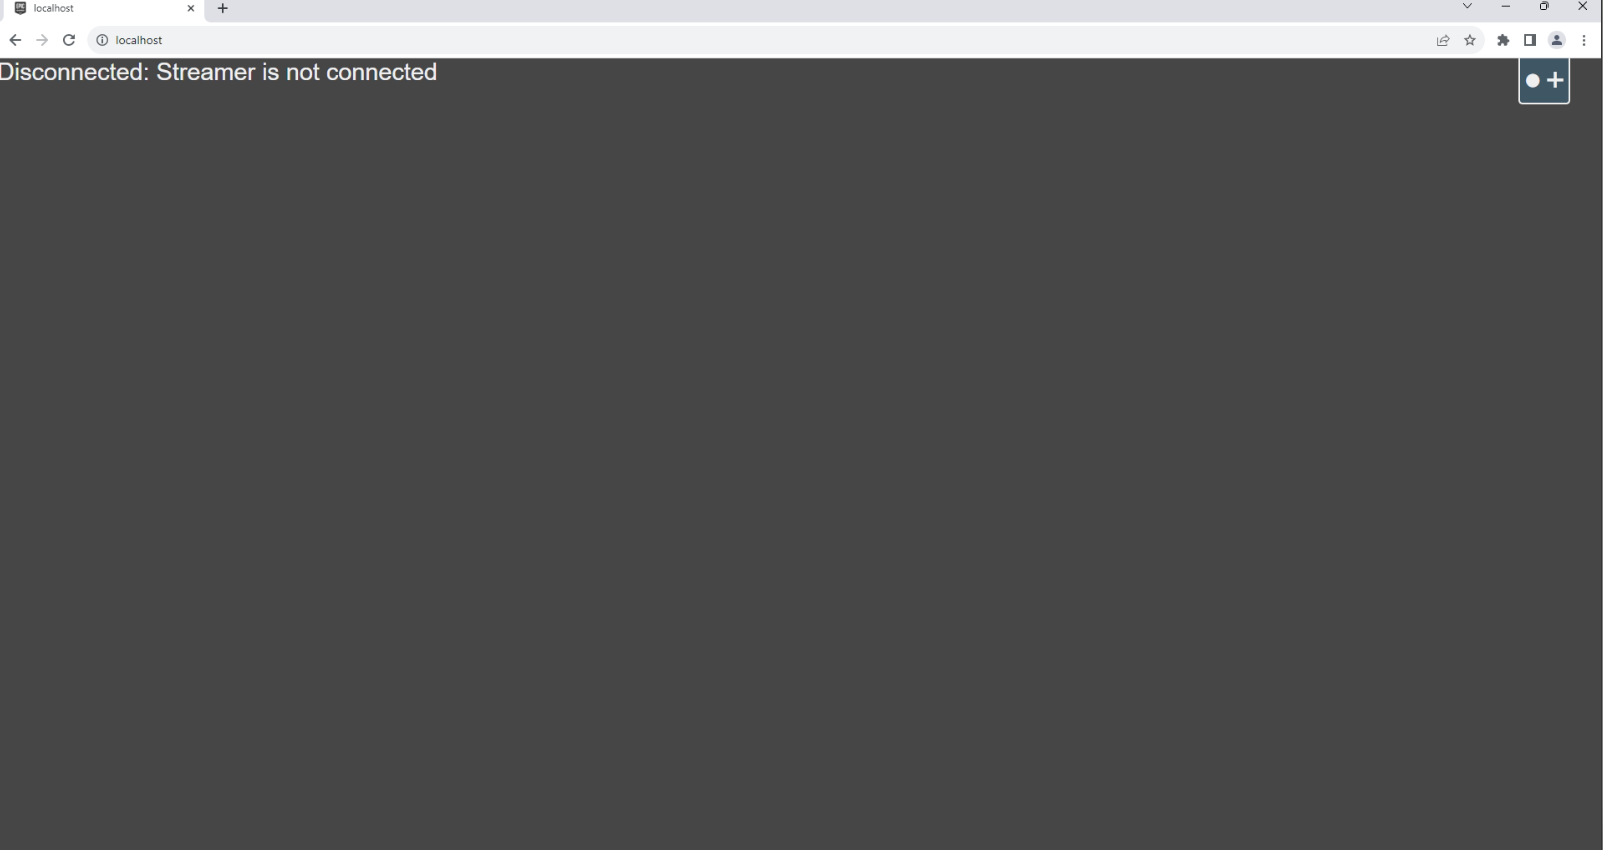
Image 10. Pixel Streaming Plugin not enabled : Disconnected: Streamer is not connected
In this case, you should enable the Pixel Streaming plugin for your App then Package it again and re-upload it on our Platform. (Refer to this document if you are using the New Control Panel and this document if you are using the Old Control Panel to upload your App).
Close your App from the task manager if it does not automatically close after you are done testing it, as it might take a lot of your system resources.
2. Test from your Mobile
There are 2 scenarios and in both cases , 8888 port needs to be open on the computer to establish Pixel Streaming Connections.
Scenario 1:
If your machine and mobile device are in 2 different networks, you will need to add a static IP to your machine where you are hosting the App.
If you have done that, then start following the instructions below :
How to find the IP address of your machine to stream from your mobile device :
Go to What Is My IP Address
Copy your IPv4
Now start the stream locally on your machine (Who’s IP address you copied in Step 2)
While the stream is running, put the IP address in a mobile device’s browser and the video stream will start on that mobile device
Scenario 2:
If you don’t have a static IP, your computer and mobile should be in the same network .
(Instructions will be added later )
Show the Browser Mouse Cursor :
You have to attach “HoveringMouse=true“ in your URL.
The Final URL will be this :
http://localhost/?HoveringMouse=true (See image 11).
or this :
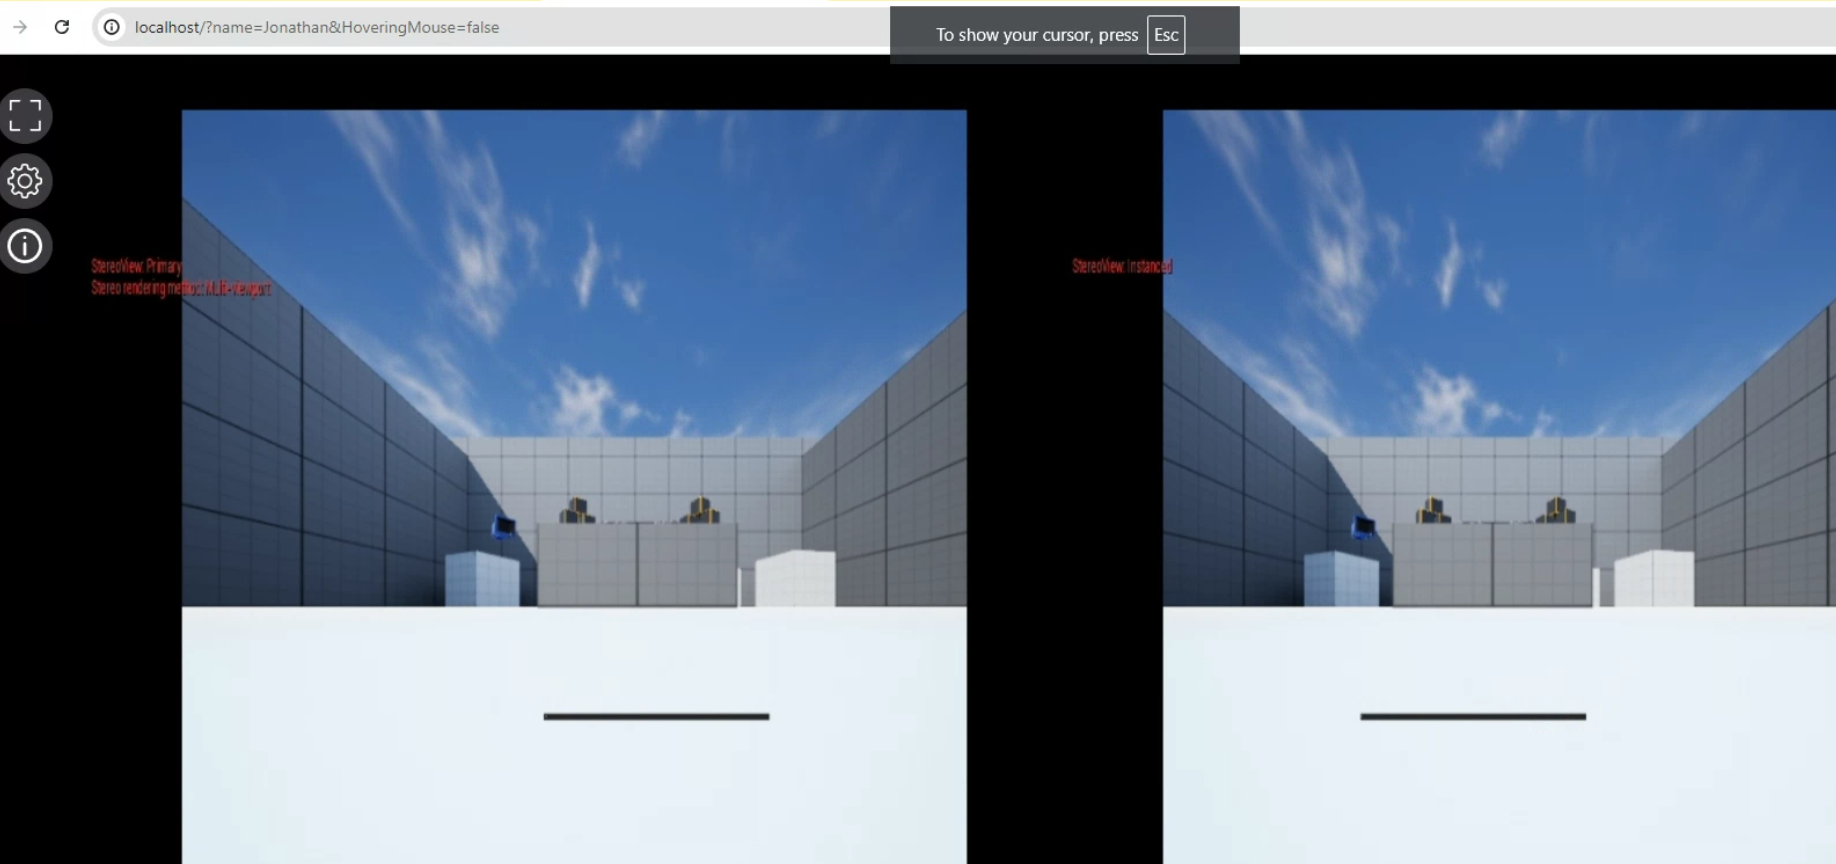
http://localhost/?anotherfield=value&HoveringMouse=false (See Image 12).
HoveringMouse=true will put the mouse in Hovering Mouse mode and HoveringMouse=false will put the mouse in the Locked Mouse mode.
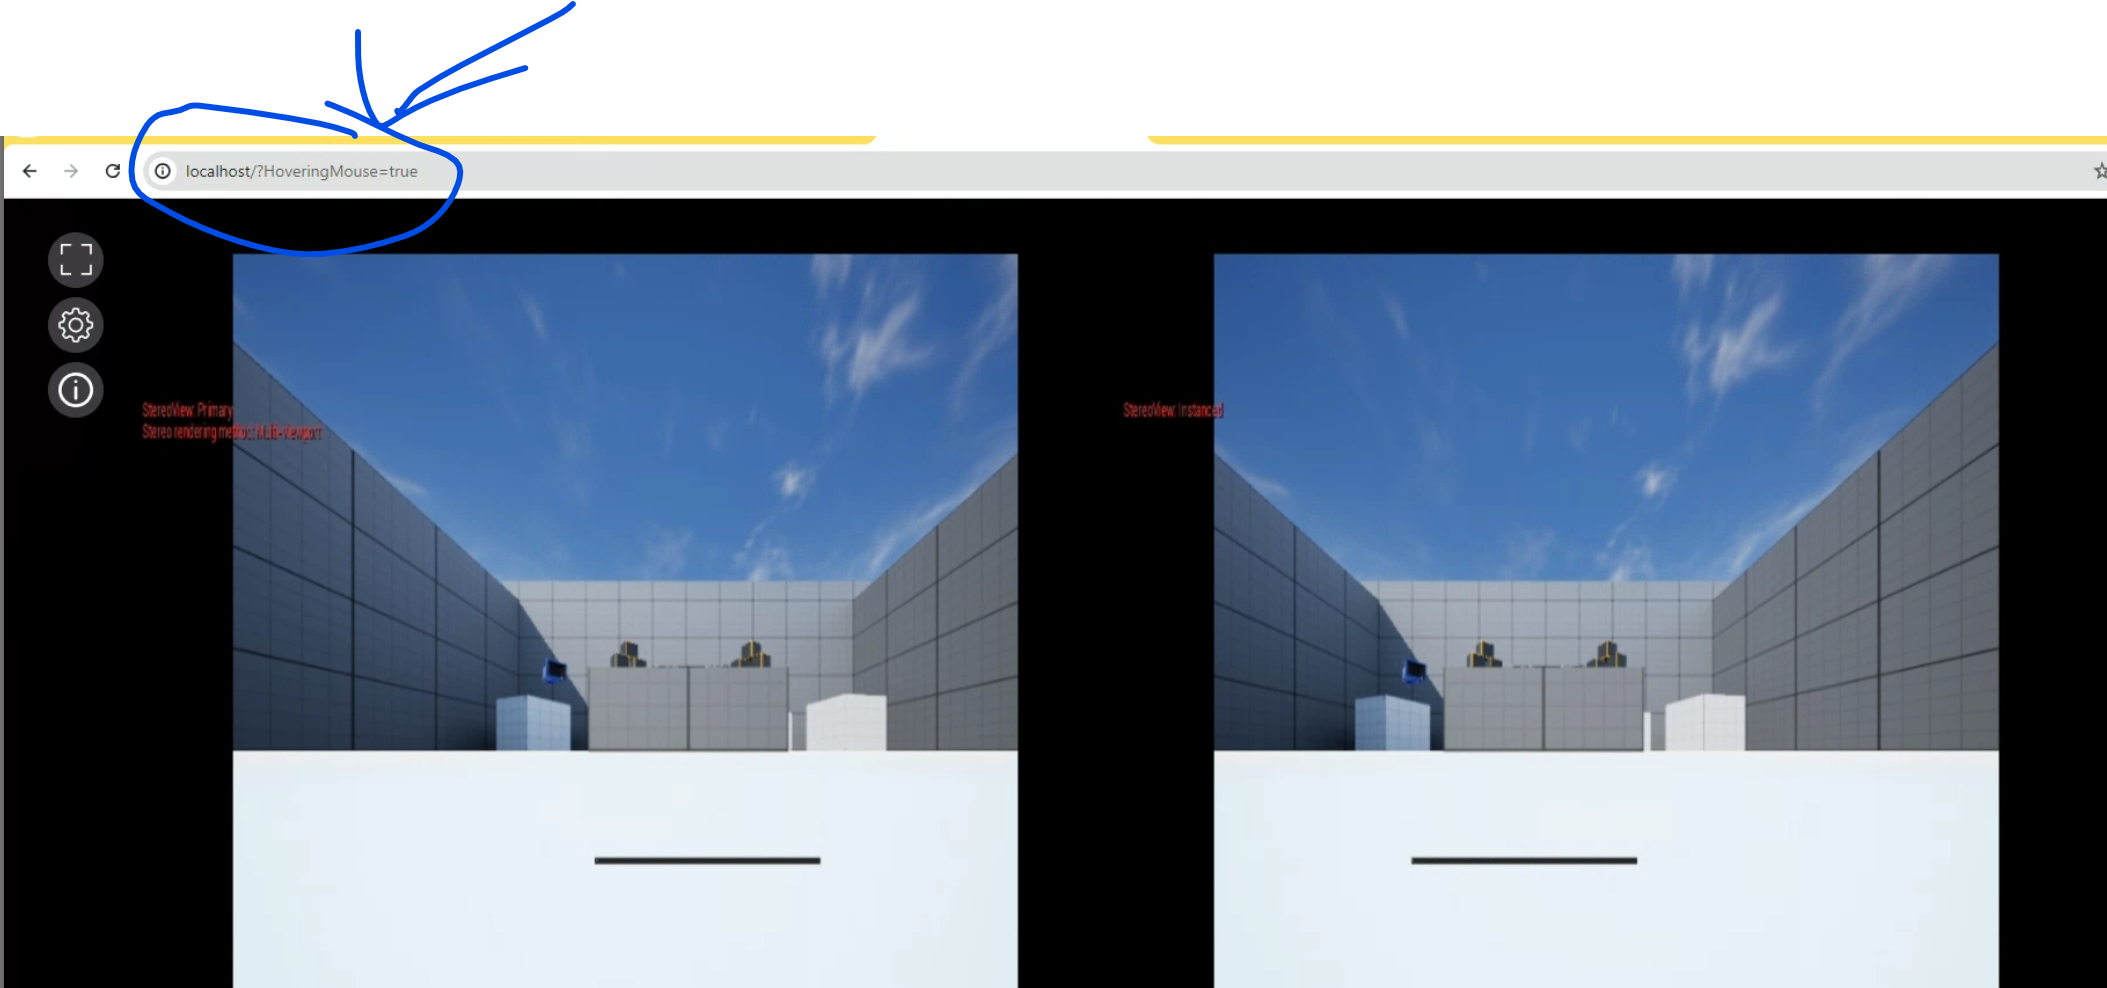
Image 11. http://localhost/?HoveringMouse=true
Now you know how to test your App with Epic’s Signalling Server from your Computer and from Mobile !
Microphone Test
If you are planning to use the Browser Side Microphone to send Audio Data to Unreal Engine then you should run :
The Signaling Server And unreal app in a computer.
Your Browser into a 3rd device.
Do not run all of them in the same machine !!
Doing so will make the Unreal App grab the Audio Data from the microphone of that computer instead of the Browser side microphone data .
So you will not be able to be sure if your App is getting the Audio Data from the Browser or from the Machines microphone.
If you need instructions on how to run the Signaling Server, the Unreal App or the Browser from different computers then please let us know.
We will also write that part down here in this document.
Was this article helpful? Comment Below. Let us know your feedback.
Need help? Contact Support
Submit a new request at E3DS support portal.
Requests sent on weekends will not be addressed until the following business day.