
Part 1 : Prepare to Upload your App
Part 1 of the document series.
If you are on Trial, activate your Account today! Find our Pricing Plans here.
Overview
Prepare the setup for the Upload of your Project.
In this tutorial, you will create an Archive of your files, select and open it on the Control Panel, create an App thumbnail, type the name of your App and enable the Feature that gives an update through Email once your App is successfully uploaded.
Prerequisites
Enable the Pixel Streaming plugin. Refer to this document.
Package your App for Windows. Refer to this document.
Test your App Locally with Epic’s Signalling Server. Refer to this document.
Your App has to pass the Epic’s Signalling Server Test.
Make sure the App behaves the same as your Desktop App before uploading it on the Control Panel.
Instructions
Step 1. Create an Archive of your UE App
The Supported Archive Format is ZIP.
Without archiving the Build, the upload will fail later.
1. Select all the files in the root folder
In the Root folder, where the exe file of your Application is located, select all the files and folders.
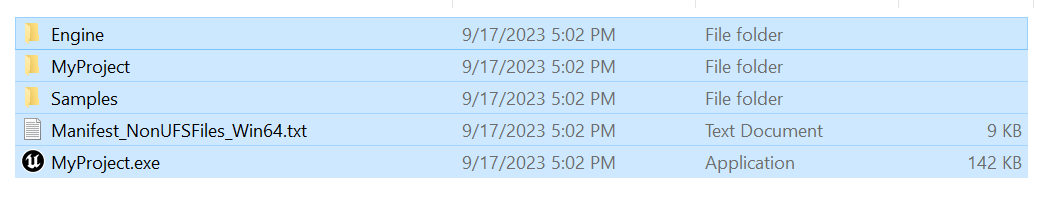
Image 1. Root Folder : Select all the files and folders
2. Right click the mouse and compress the files
Right-click on the selected files →Send to → Compressed (zipped) folder.
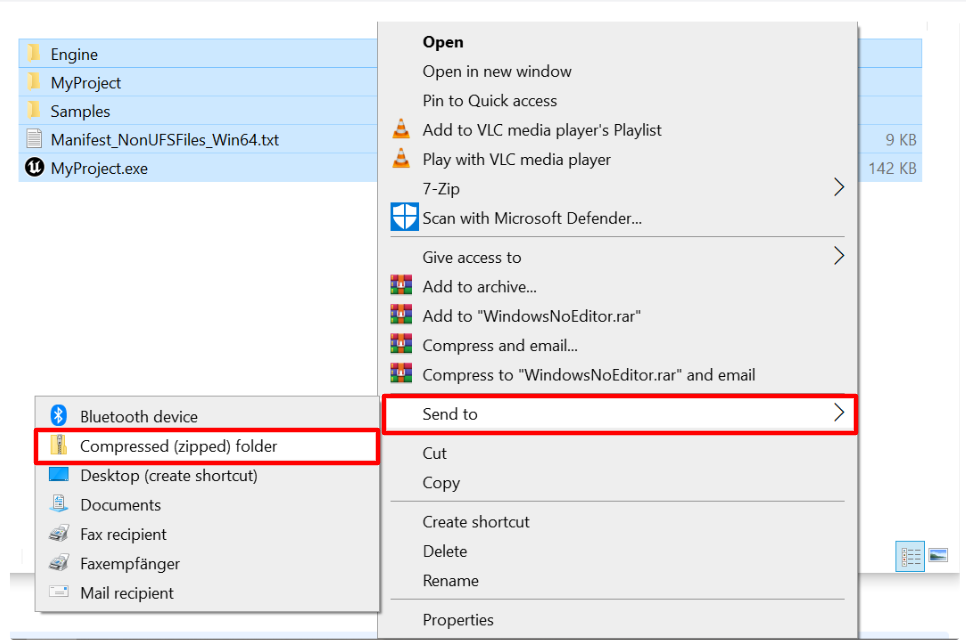
Image 2. Right click on the mouse : Send to : Compressed (zipped) folder
3. Archive created
The compressed Archive created is what you will upload on the Control Panel later. (in the steps below).
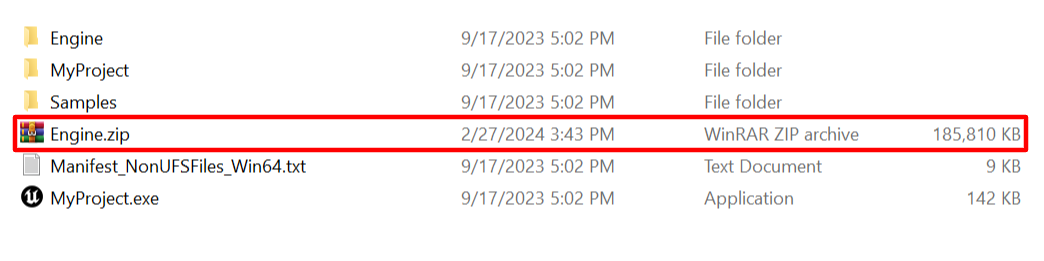
Image 3. zipped file in the root folder
Step 2. Open the Archive in the Control Panel
1. Login to your Control Panel
2. Click “Add Application”
.png?inst-v=27e98e0b-a7f8-4fea-87e8-8659c502a385)
Image 4. New Control Panel Interface : Add Application
3. Click ‘Browse’
You can also Drag and Drop the Zip file.
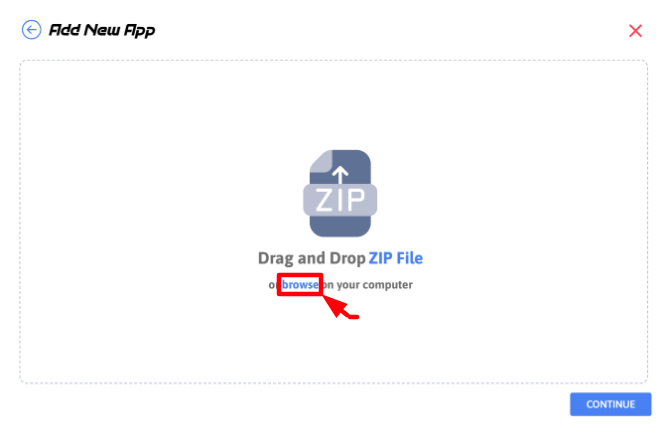
Image 5. Add Application : Click Browse
4. Select your Archived App and click ‘Open’
Select and open the Archive previously created.
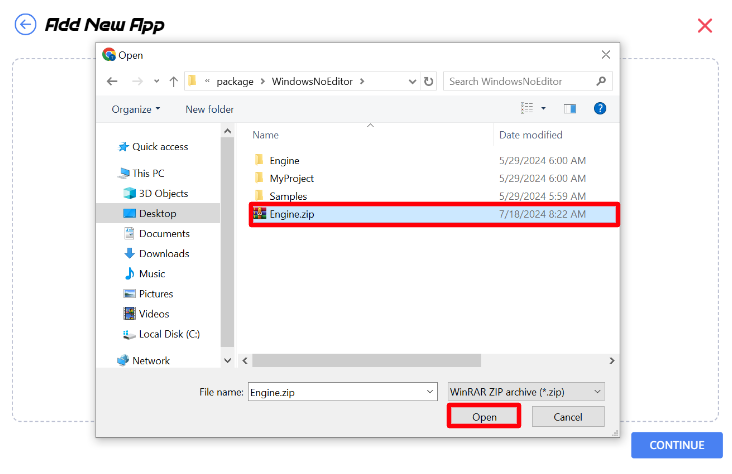
Image 6. Select the Archive : Click Open
5. Click ‘Continue’
Step 3. Prepare your App for the Upload
1. You will be redirected to the Pre-Upload page
Your App starts uploading only if you click the Button ‘Upload’.
This page displays information about :
a. Where to Upload a Thumbnail for your App. Refer to this document.
b. The name of your Zip File (i.e. Engine.zip in our case).
c. The Size of the App to be uploaded (i.e. Required : 0.46 GB. We are using a Blank Project for this tutorial hence the small size).
d. ‘Upload 0%’, ‘Average upload Speed’ and the ‘Estimated upload time’ (in this Pre Upload page, these values are all set for 0 because the Upload did not start yet. You can track these when the App starts uploading).
e. Storage :
-Total Storage : 10 GB { Free 10 GB offered by Eagle 3D}.
-Used : 1.51 GB { Size of your Apps that are already uploaded}.
-Required : 0.46 GB { Size of the current App to be uploaded}.
-Available : 8.49 GB { How much Storage left}.
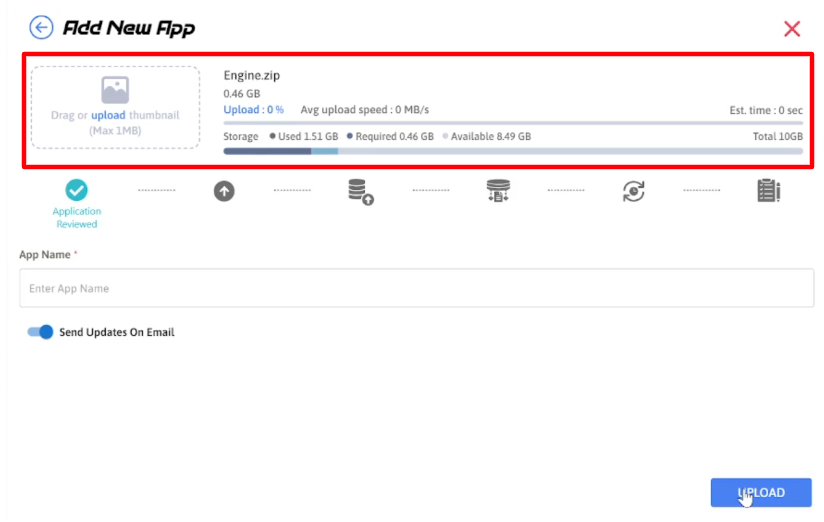
Image 7. Useful App information
2. Upload an App Thumbnail (Optional)
3. Enter the name of your App
1- Your App name should match the .exe name of your App !! or else it will get stuck on Loading endlessly.
2- Use only letters and numbers for the name. (i.e. No dots or spaces as it causes issues later).
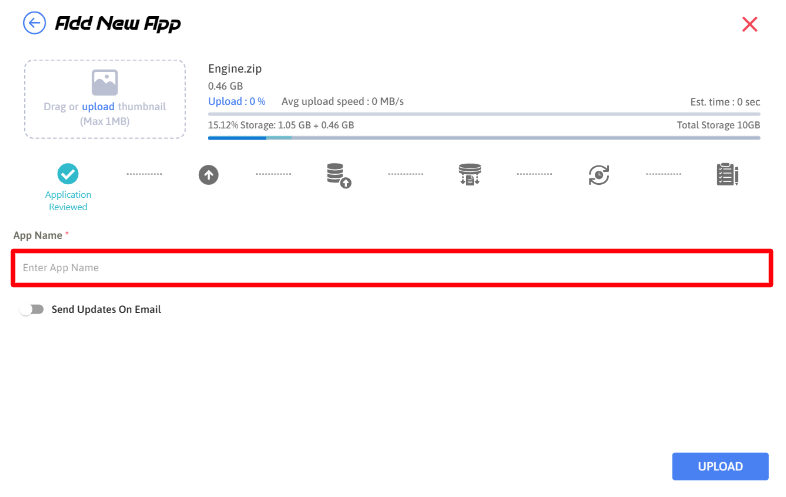
Image 8. Enter an App name
Note :
You cannot upload an App without entering an App name. Clicking ‘Upload’ before entering an App name is not possible.
4. Enable ‘Send Updates on Email’

Image 9. Enable Send Updates On Email
By enabling this Feature, you will receive an Email later when the App is successfully uploaded on the Control Panel. (See Image below).
.png?inst-v=27e98e0b-a7f8-4fea-87e8-8659c502a385)
Image 10. Email received by Eagle 3D Streaming upon successful upload
5. Notice the Upload Sequence Tests
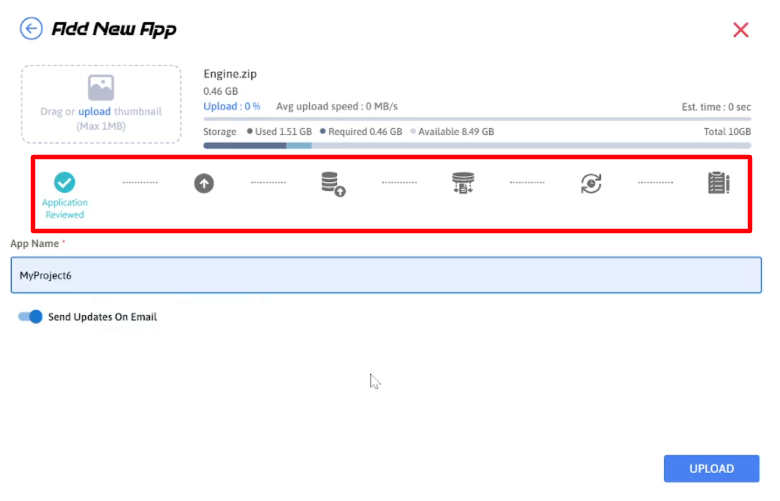
Image 11. Upload Sequence Tests
Refer to this document for Part 2 of this tutorial to upload your App and for more details on the Upload Sequence Tests.
Was this article helpful? Comment Below. Let us know your feedback.
Need help? Contact Support
Submit a new request at E3DS support portal.
Requests sent on weekends will not be addressed until the following business day.