
This guide explains how to switch between Hovering Mouse and Locked Mouse from a webpage that uses an Eagle 3D Streaming iFrame embed.
Instead of relying on the default controls, you can create your own UI and send mouse control commands directly to the stream.
There are three ways to switch the mouse control scheme:
-
Switch Mouse Mode in iFrame: Covered in this guide.
-
Switch Mouse Mode Using SDK: Refer to the Switch Between Hover and Locked Mouse Using SDK guide.
-
Inside the Unreal App (Blueprint): Refer to the Switch Between Hover and Locked Mouse Using Blueprint guide.
Step 1. Add the Eagle 3D Streaming iFrame
First, embed the stream in your webpage. Replace the src value with your Eagle 3D Streaming URL.
<iframe
  id="iframe_1"
  src="YOUR_STREAMING_URL"
  allowfullscreen
  title="Unreal Stream"
></iframe>
Step 2. Create a JavaScript function
Add a JavaScript function that sends the mouse control scheme to the iFrame using postMessage().
<script>
  function setMouseScheme(scheme) {
    let obj = {
      cmd: "switchMouseControlSchemeTo",
      value: scheme,
    };

    document
      .getElementById("iframe_1")
      .contentWindow.postMessage(JSON.stringify(obj), "*");
  }
</script>
This function sends the switchMouseControlSchemeTo command along with the selected mouse control scheme.
Step 3. Add Mouse Control Buttons
Create buttons on your webpage and connect them to the setMouseScheme() function.
<button onclick="setMouseScheme('HoveringMouse')">
  Hovering Mouse
</button>

<button onclick="setMouseScheme('LockedMouse')">
  Locked Mouse
</button>
When a user clicks one of these buttons, the selected mouse control scheme is immediately applied to the Pixel Streaming session.
Step 4. Use the Correct Mouse Control Scheme Values
Use the following values when switching the mouse control scheme:
|
Mouse Control Scheme |
Value |
|---|---|
|
Hovering Mouse |
|
|
Locked Mouse |
|
Hovering Mouse
The mouse cursor remains visible and can freely move across the webpage. This mode is commonly used for UI-driven applications.
Locked Mouse
The mouse cursor is locked inside the streaming window, making it suitable for first-person or free-look camera controls.
Step 5. Test the Integration
Note: Wait until the Pixel Streaming session is fully connected before clicking the Hovering Mouse or Locked Mouse buttons. Commands sent before the stream has finished connecting may be ignored.
Open the webpage in your browser.
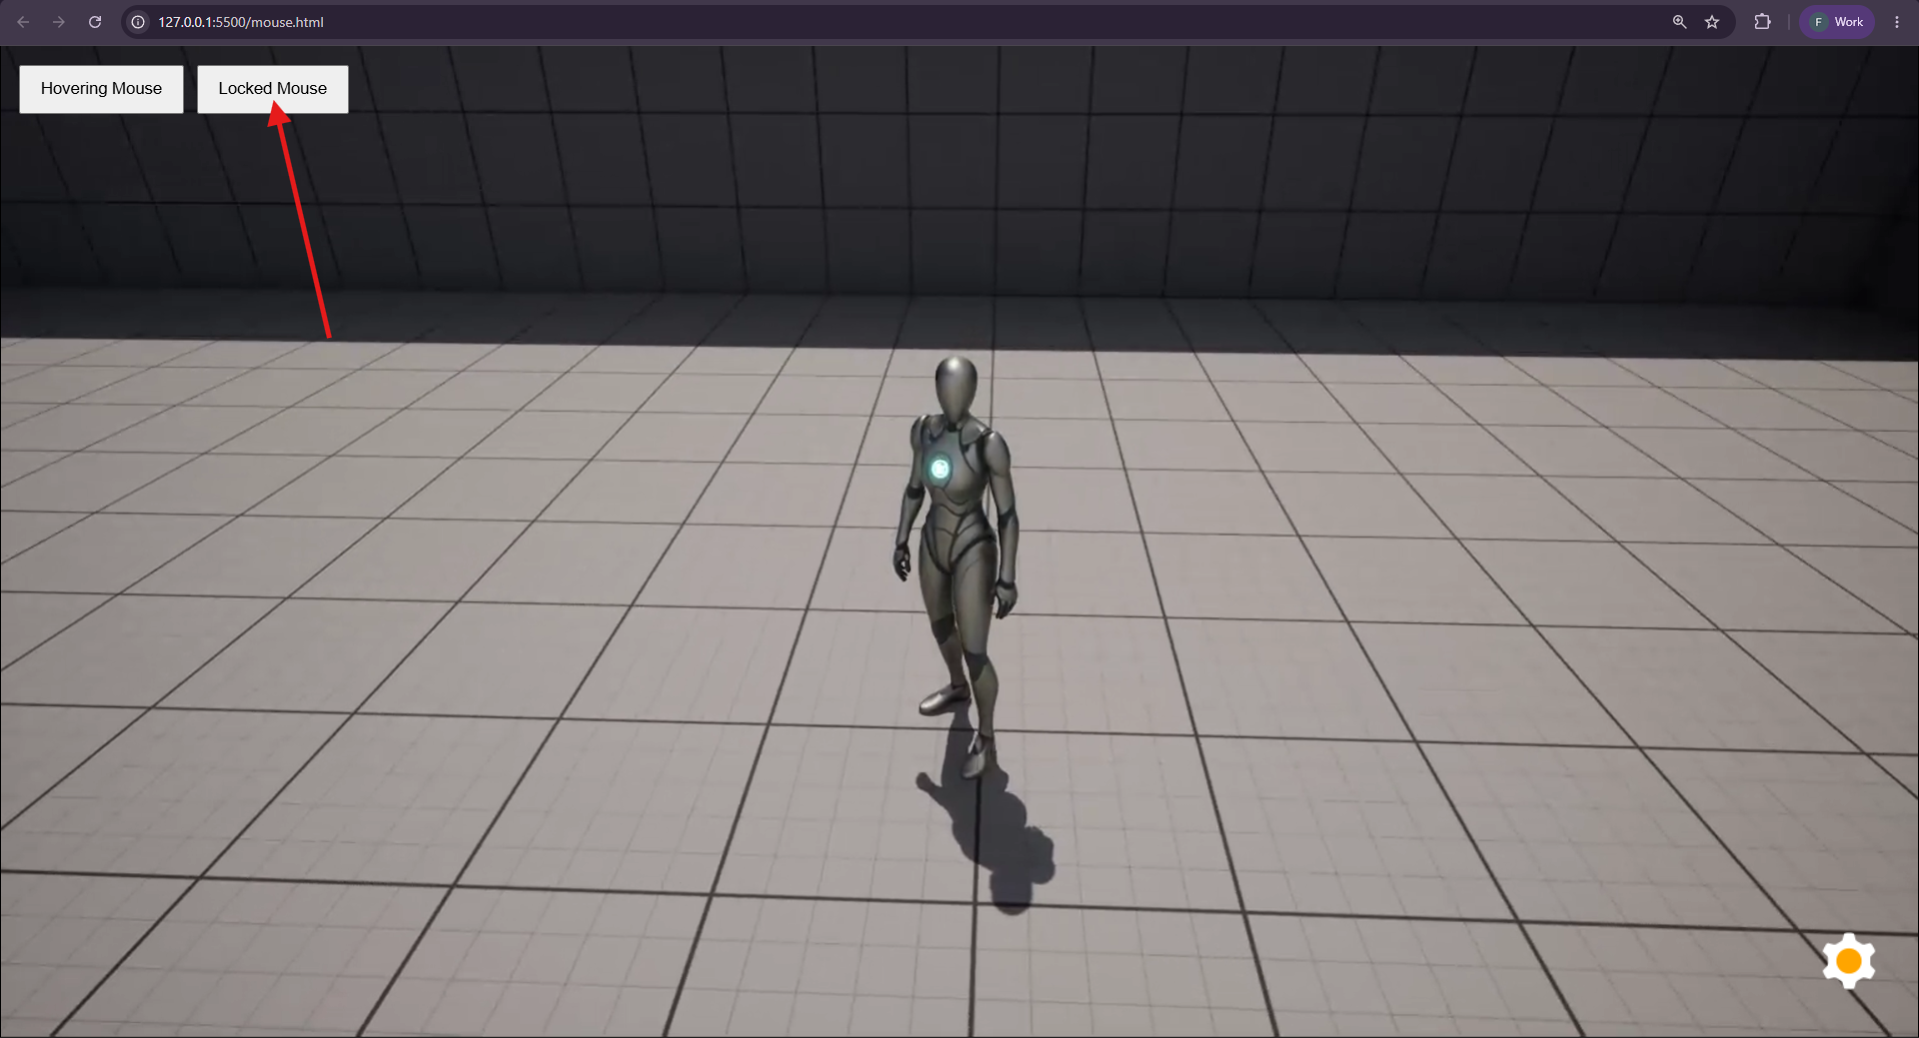
Click Locked Mouse to lock the mouse cursor to the streaming window.
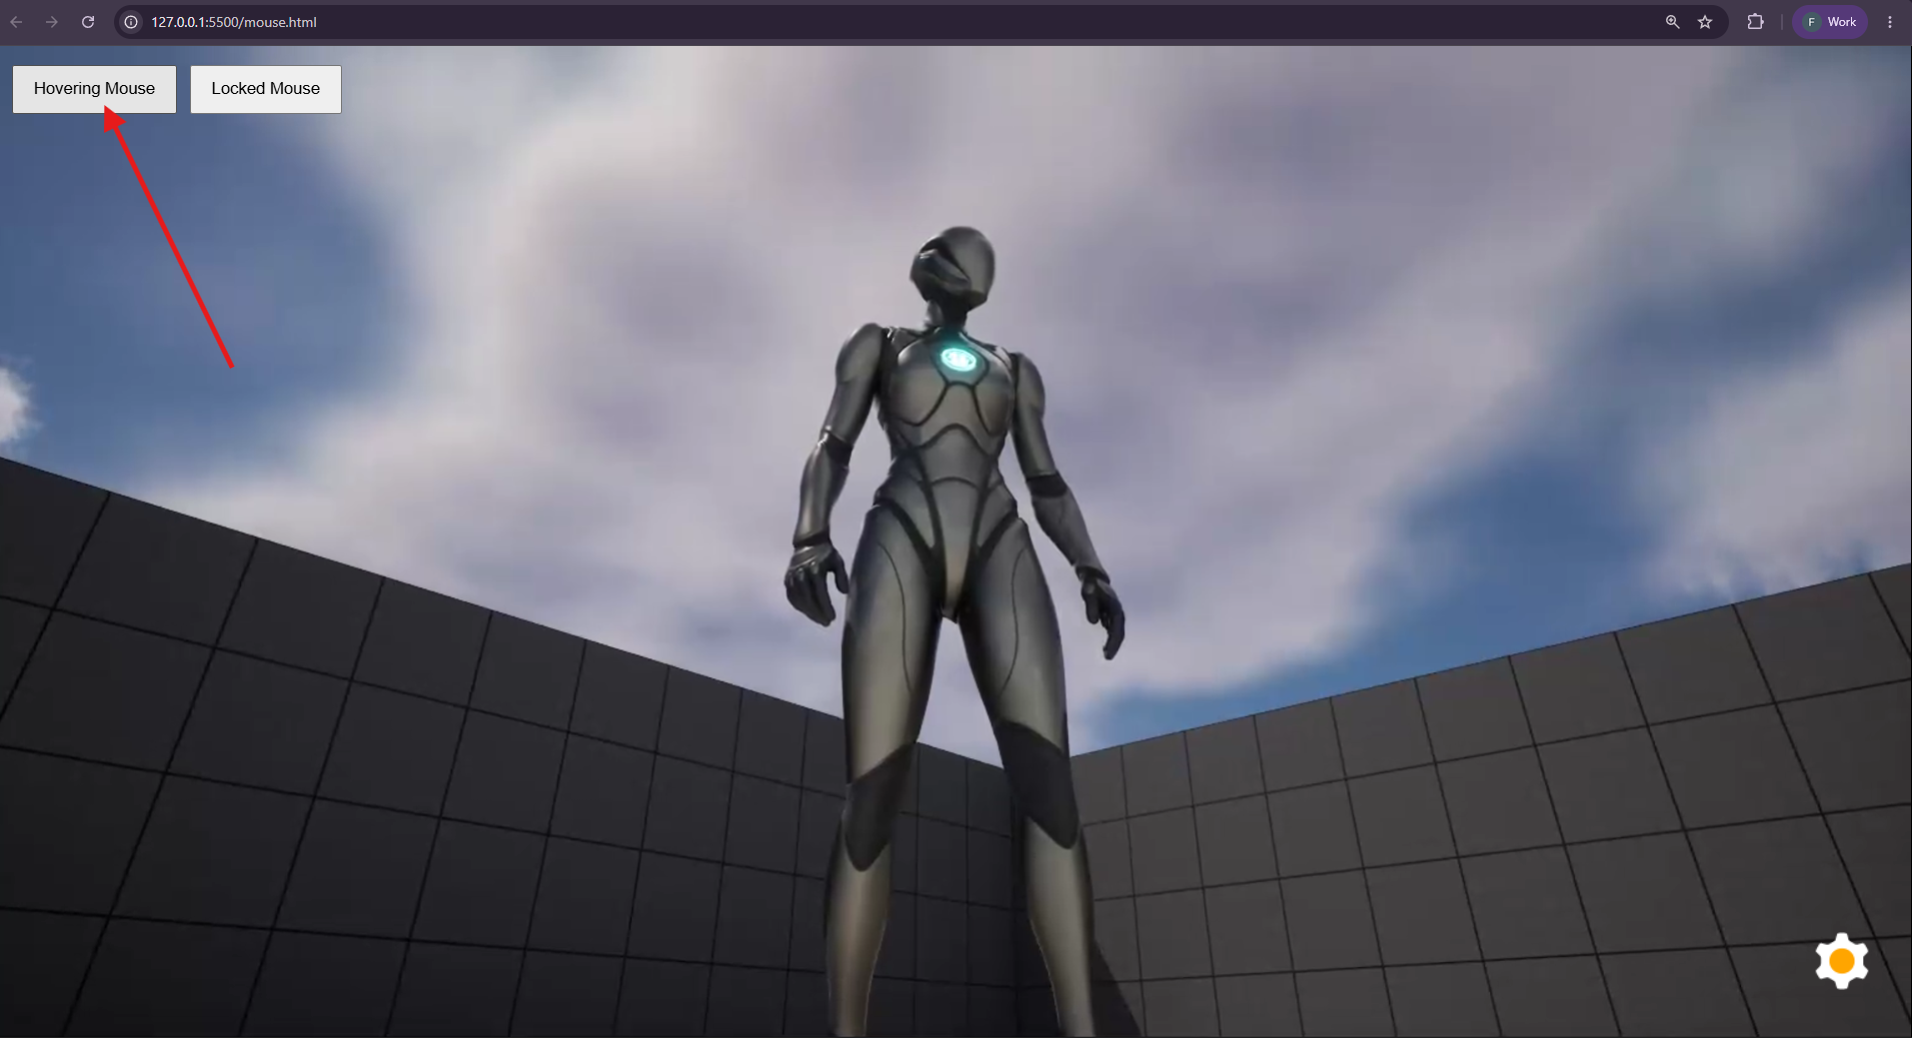
Press Esc on your keyboard to release the mouse cursor, then click Hovering Mouse to switch back to hovering mode.
Verify that the mouse behavior changes as expected.
Full Example Code
Expand to view the complete example.
Notes
-
Mouse control changes are applied immediately without restarting the stream.
-
The
switchMouseControlSchemeTocommand must be sent usingpostMessage(). -
Ensure the target iFrame ID matches the ID used in your JavaScript code.
-
HoveringMouseis recommended for UI-based applications. -
LockedMouseis recommended for FPS, TPS, and free-camera experiences.
Troubleshooting
|
Issue |
Possible Cause |
Solution |
|---|---|---|
|
Clicking the button does nothing. |
The command was not sent to the correct iFrame. |
Verify that the iFrame ID matches the ID used in |
|
Mouse behavior does not change. |
An invalid mouse scheme value was sent. |
Use only |
|
JavaScript error: |
The iFrame has not finished loading. |
Wait until the Pixel Streaming session is fully loaded before sending mouse control commands. |
|
Pressing Esc does not release the mouse cursor. |
The browser has not received mouse focus or Pointer Lock has not been activated correctly. |
Click inside the streaming window first, then press Esc again. If the cursor is still locked, switch to Hovering Mouse or refresh the page and reconnect the stream. |
|
Commands are ignored. |
The message was sent before the streaming session was ready. |
Wait until the Pixel Streaming session has fully connected before sending the command. |
|
The cursor remains locked after switching to Hovering Mouse. |
The application has not processed the command yet. |
Press Esc, then click inside the stream again if necessary, or resend the HoveringMouse command. |
Need help?
If you need any assistance, feel free to reach out through any of the following channels:
🛠️ Support Portal: Contact Our Support Team
💬 Discord Community (Faster Support): Join Our Discord Community
📧 Email Support: support@eagle3dstreaming.com
Follow us on: